
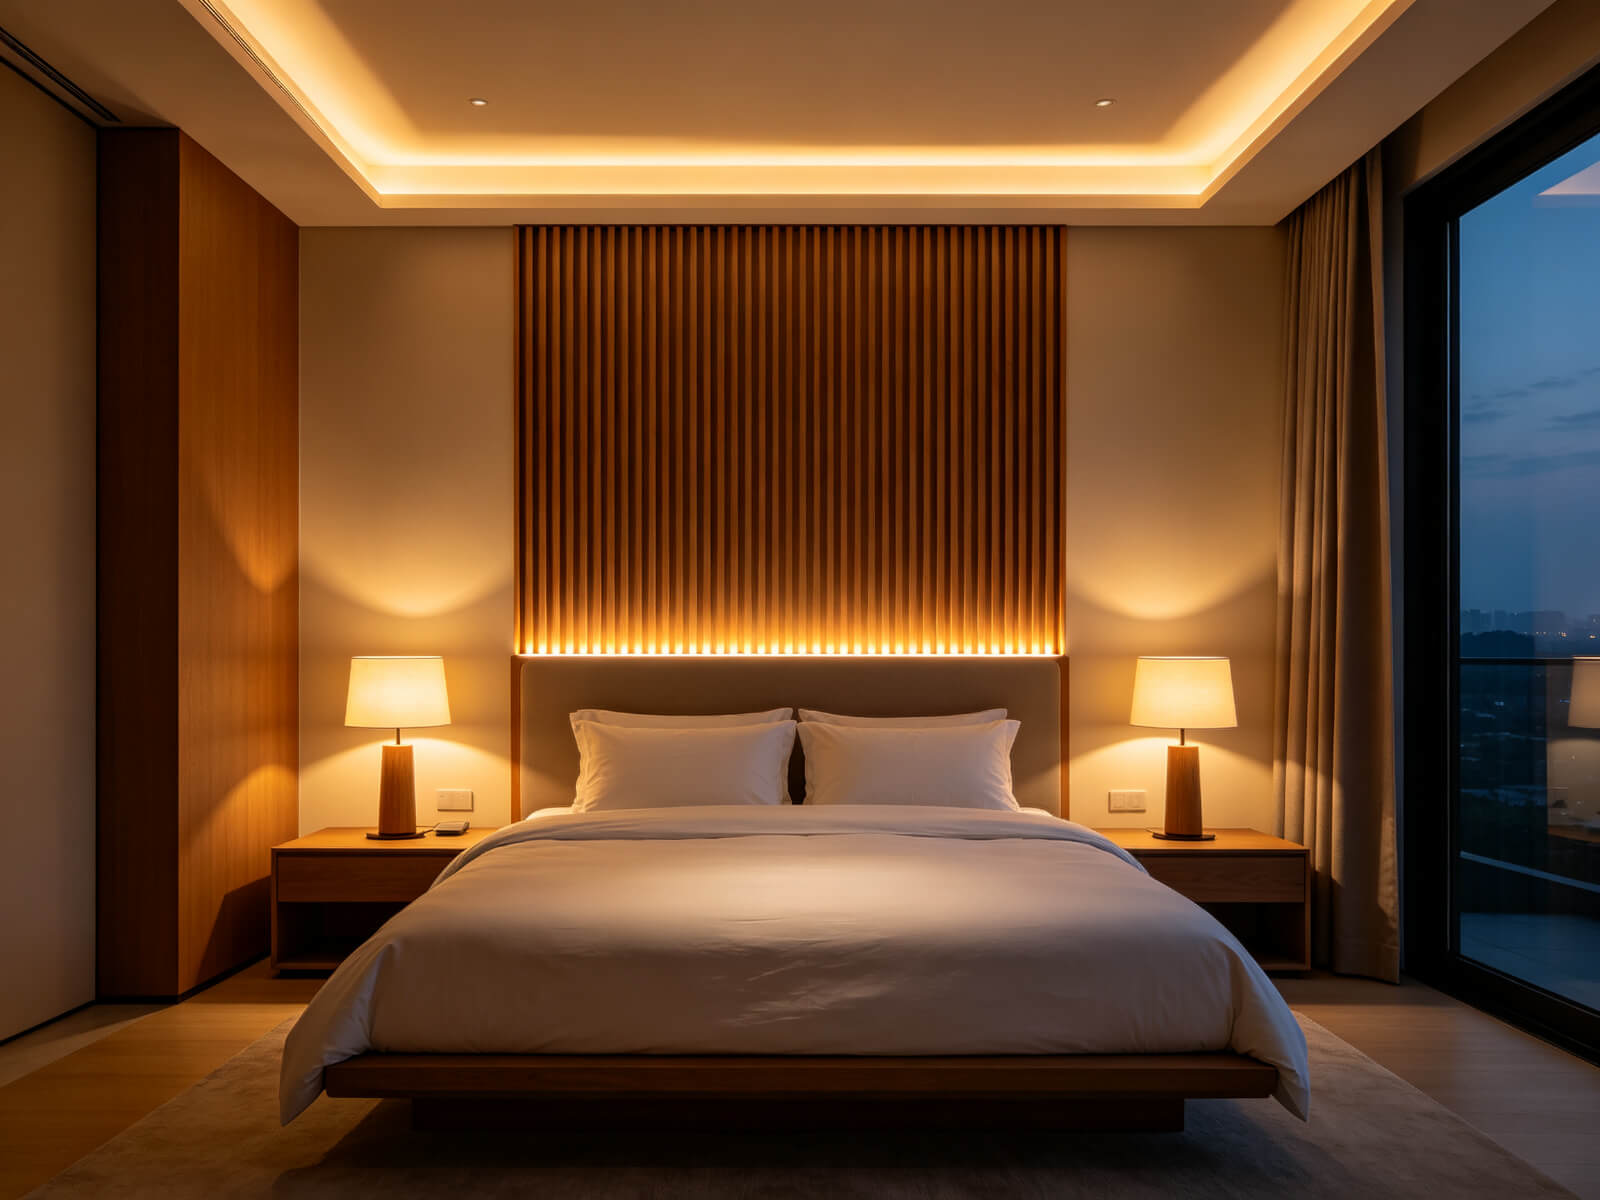
La tua camera da letto è l'unica stanza che appartiene solo a te: l'ultimo spazio che vedi prima di addormentarti e il primo che apri gli occhi al mattino. Tuttavia, per la maggior parte di noi, l’illuminazione è bloccata in due impostazioni: una plafoniera completamente accesa o completamente spenta.
Le strisce LED cambiano la situazione. Con una striscia di luce sottile e flessibile, puoi aggiungere una morbida luce ambientale dietro la testiera, un alone fluttuante sotto il letto, una delicata luce da lavoro su una scrivania e una luce calda sul soffitto: tutto dimmerabile, tutto commutabile per adattarsi al tuo umore. È uno degli aggiornamenti più convenienti e reversibili che puoi apportare a una camera da letto.
Ma ecco la parte che la maggior parte delle guide salta: la differenza tra una luminosità da “dormitorio universitario” e una finitura da “suite d’albergo” di solito non è la striscia LED stessa. Dipende da come lo monti e se usi un file Profilo in alluminio LED per trasformare una striscia nuda in una luce architettonica pulita e diffusa. Quel dettaglio è ciò che separa il temporaneo dal progettato.
Ecco cosa tratta questa guida:
- Perché le strisce LED dovrebbero essere installate nella tua camera da letto (e in che modo la luce influisce sul tuo sonno)
- Le cinque specifiche che contano quando scegli una striscia
- Oltre 30 idee di posizionamento, organizzate per zona
- In che modo i profili LED in alluminio offrono una finitura professionale e come installarli
- Errori comuni da evitare e risposte dirette alle domande più frequenti che le persone pongono
Parte 1 · Perché le strisce LED meritano un posto nella tua camera da letto
1. L’illuminazione è a strati e nella maggior parte delle camere da letto mancano degli strati
Gli interior designer raramente illuminano una stanza con un unico apparecchio. Pensano in tre livelli:
- Luce ambientale — l'illuminazione generale di fondo che riempie la stanza.
- Luce da lavoro — luce focalizzata per leggere, vestirsi o lavorare.
- Luce d'accento - luce che attira l'attenzione su una testiera, un'opera d'arte o una parete strutturata.
Una plafoniera da sola ti dà solo uno strato ambientale piatto. Le strisce LED riempiono il resto – accento dietro la testiera, lampada da lavoro sotto uno scaffale, ambiente morbido in una baia – conferendo alla stanza profondità invece di una singola luminosità, che è ciò che fa sembrare uno spazio calmo.
2. La luce controlla il tuo sonno, quindi usala di proposito
Il tuo corpo corre secondo un ritmo circadiano, un orologio di 24 ore fortemente modellato dalla luce. La luce ricca di blu – quella che si trova nella luce del giorno e nelle lampadine bianche fredde – sopprime la melatonina, l’ormone che segnala il tempo di sonno. La ricerca mostra che la luce ricca di blu nelle ore prima di andare a letto ritarda l’inizio del sonno, motivo per cui gli specialisti del sonno raccomandano una luce calda, fioca e scarsa la sera.
La soluzione pratica per una camera da letto: scegli strisce con una temperatura di colore calda intorno a 2700K–3000K e mantieni la luminosità bassa di notte. Non è solo accogliente: funziona con la tua biologia invece che contro di essa. (Spiegheremo correttamente la temperatura del colore nella Parte 2.)
3. È economico, efficiente e duraturo
- Energia: Le strisce LED consumano il 70-80% in meno di elettricità rispetto alle lampadine a incandescenza a parità di emissione luminosa.
- Durata: una striscia di qualità può durare circa 25.000-50.000 ore, ben più di un decennio con poche ore a notte.
- A fuoco basso: I LED si raffreddano, quindi sono al sicuro dietro le testiere in tessuto, sotto i letti e all'interno dei mobili.
- Reversibile: I sistemi stacca-e-incolla e a clip ti consentono di modificare la configurazione in qualsiasi momento: per la maggior parte dei lavori non è necessario l'intervento dell'elettricista.
4. È più che una semplice decorazione
Una configurazione ben pianificata fa un vero lavoro: una luce notturna sotto il letto, una luce da lettura senza abbagliamento, una luce dell'armadio che si accende con la porta e una luce soffusa per il risveglio. La luce non è solo l’aspetto di una camera da letto: è come funziona.
Parte 2 · Come scegliere la striscia LED giusta: le cinque specifiche che contano
Non tutte le strisce LED sono uguali. Prima di acquistare, controlla queste cinque cose: contano più del marchio.
1. Temperatura del colore: la caratteristica più importante per una camera da letto
La temperatura del colore, misurata in Kelvin (K), decide se la luce appare calda (giallastra) o fredda (bluastra).
| Temperatura del colore | Guarda e senti | Miglior utilizzo in una camera da letto |
|---|---|---|
| 2700K–3000K (bianco caldo) | Accogliente, simile al tramonto, rilassante | Lo standard di riferimento: testiera, sottoletto, insenatura, luminosità ambientale |
| 3500K–4000K (bianco neutro) | Equilibrato e pulito | Angolo lettura diurno o vanità; attenuare o spegnere 2 ore prima di andare a letto |
| 5000K–6500K (bianco freddo) | Fresco, clinico, energizzante | Da evitare in camera da letto: sopprime la melatonina e ha un aspetto aggressivo di notte |
2. CRI (indice di resa cromatica)
L'IRC misura con quanta precisione la luce rivela il vero colore, con la luce solare a 100. Per una camera da letto, cerca l'IRC 90 o superiore; sotto gli 80, i colori sembrano sbiaditi: va bene per un garage, non per un santuario.
3. SMD vs. COB: punti o linea continua
È qui che le configurazioni economiche si tradiscono.
- Strisce SMD (2835, 5050, ecc.) mostrano punti visibili: distraggono in una camera da letto buia, accettabile solo se completamente nascosti dietro un diffusore.
- Strisce COB racchiude centinaia di minuscoli LED sotto uno strato continuo di fosforo per una linea liscia e priva di punti: la scelta giusta ogni volta che la striscia o il suo riflesso sono visibili.
Regola pratica: se riesci a vedere la striscia o il suo riflesso, scegli PANNOCCHIA oppure aggiungi un diffusore. Torneremo ai diffusori nella Parte 4.
4. Dimmerabilità e controllo intelligente
La dimmerabilità è quasi essenziale: luminosa per prepararsi al mattino, una luminosità appena pari al 10% di notte. Un controller intelligente va oltre con l'attenuazione programmata "al tramonto" e il controllo vocale o tramite app.
5. Luminosità, lunghezza e tensione
- Misurare la lunghezza esatta della corsa prima, poi acquista un piccolo extra per gli angoli e il percorso.
- Abbina l'alimentatore alla potenza della striscia con circa il 20% di headroom: una striscia da 40 W necessita di un'alimentazione di oltre 48 W.
- Controllare la tensione (USB da 12 V, 24 V o 5 V). Tutto – strip, controller, fornitura – deve corrispondere.
- Non comprare solo la luminosità. Per una luminosità ambientale in camera da letto, i toni morbidi e caldi sono luminosi e aspri.
Parte 3 · Oltre 30 idee di posizionamento, organizzate per zona
Invece di un elenco casuale, ecco le idee raggruppate in base a dove vanno, così puoi mescolare e abbinare uno schema completo invece di scegliere un punto e fermarti.
Dietro e sotto il letto
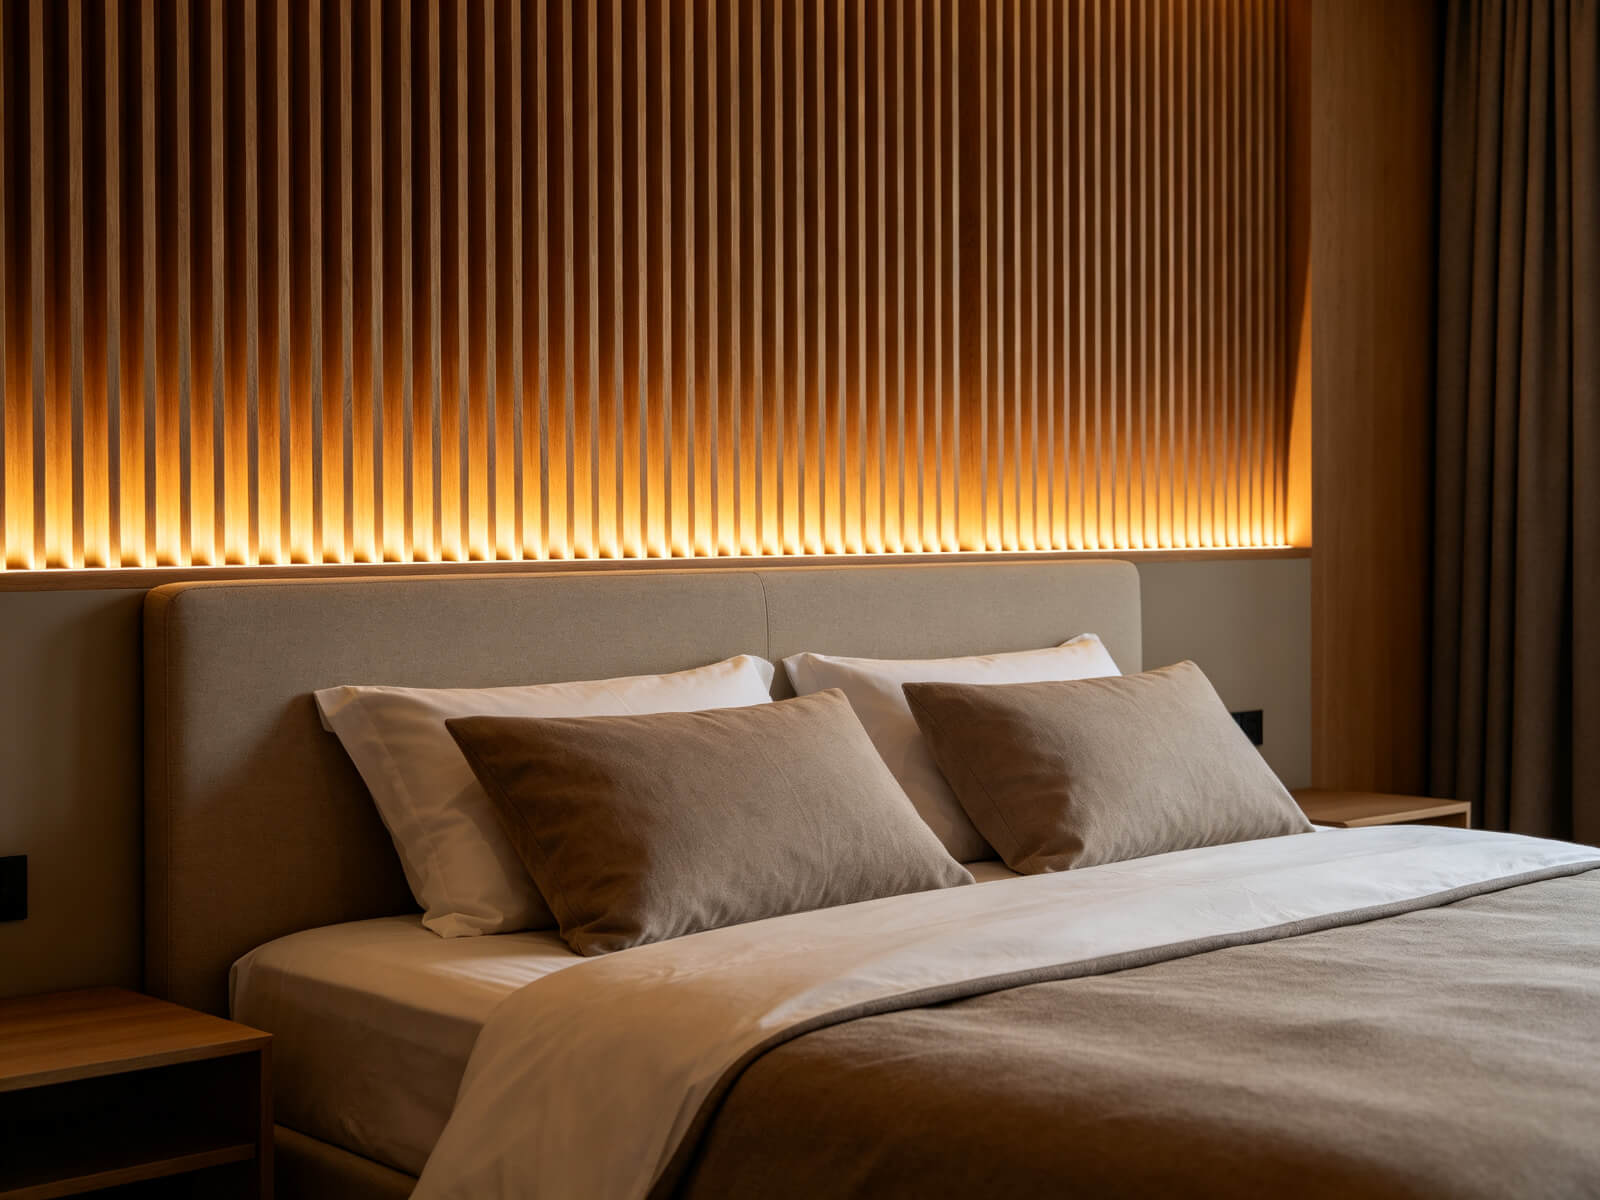
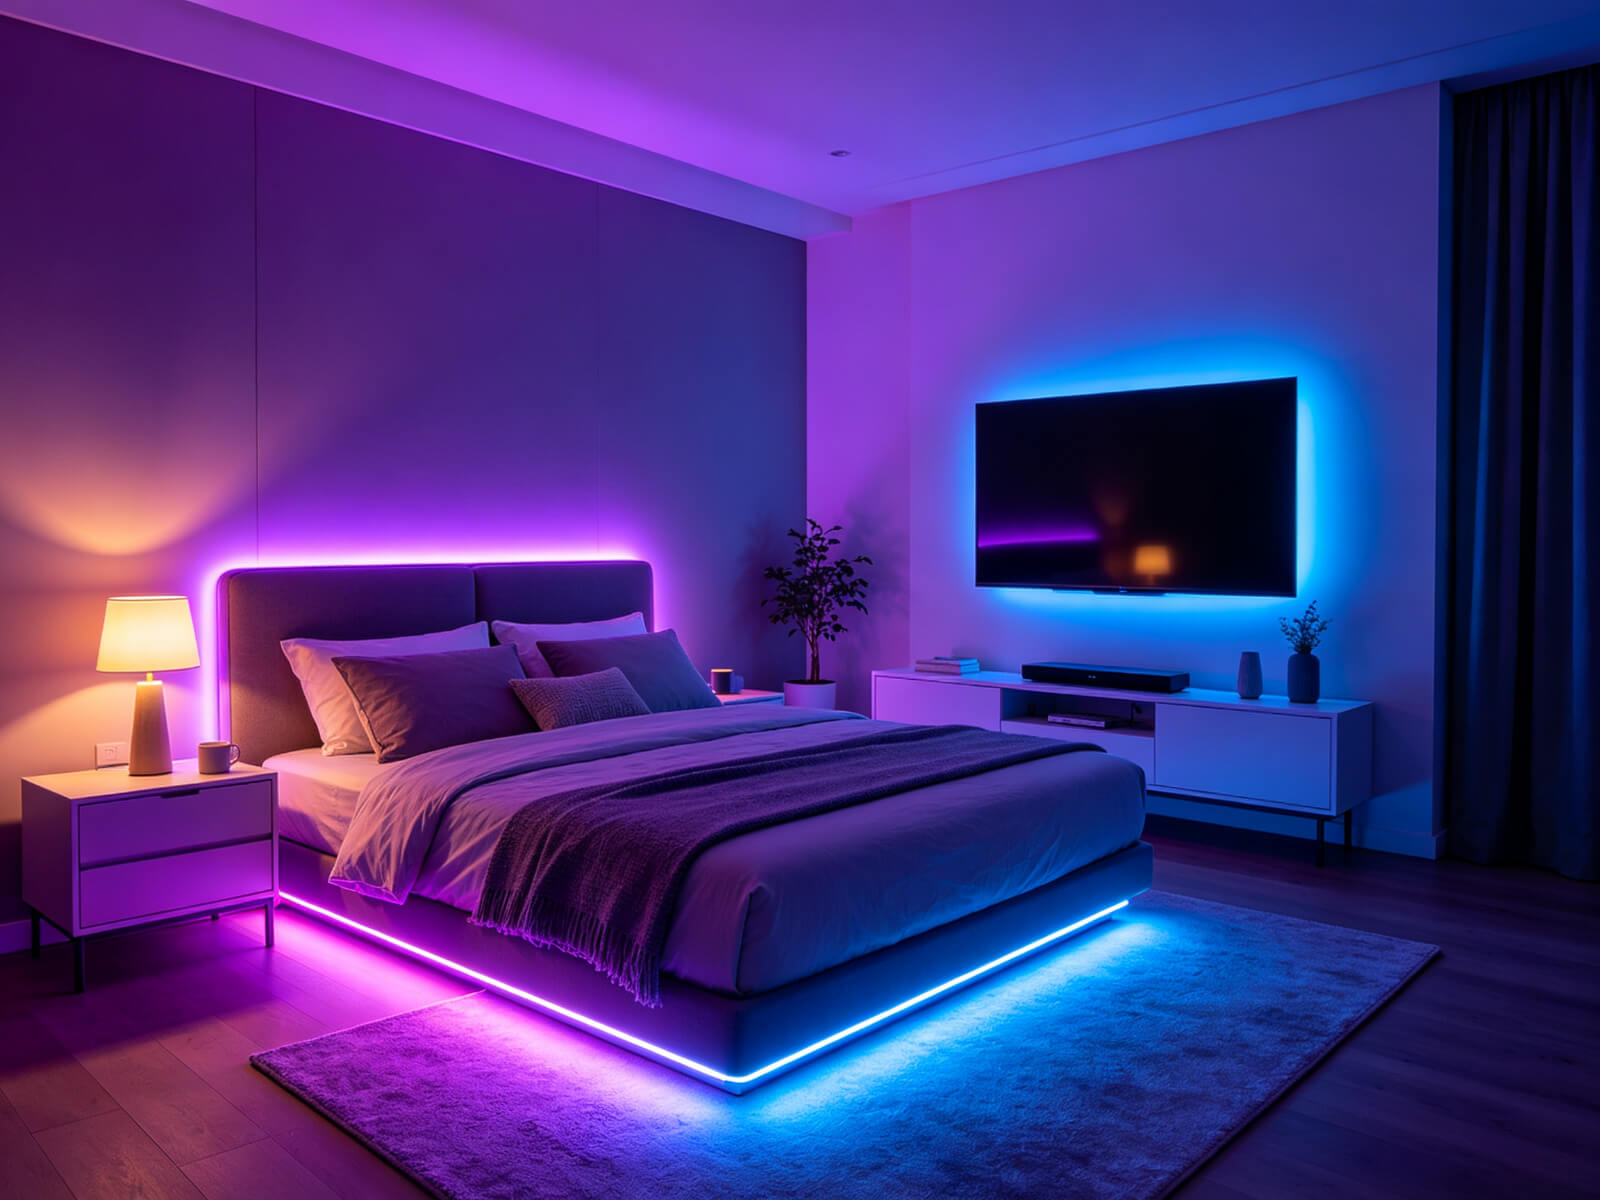
- Testiera retroilluminata. Il classico: una calda fascia lungo il bordo superiore della testiera, o dietro di essa, per un morbido alone che funge anche da luce da lettura. Posizionalo a 2-4 pollici dal bordo e usa a diffusore se il muro è lucido.
- Letto galleggiante. Metti una striscia sotto la struttura del letto rivolta verso il pavimento: il letto sembra fluttuare e la luce funge anche da luce notturna.
- Letto a baldacchino. Avvolgi una striscia da tenue a calda attorno alla struttura del baldacchino per un bagliore romantico, simile a un bozzolo.
- Base letto con piattaforma. Edge-light alla base per una linea pulita e moderna a livello del pavimento.
Soffitto e pareti
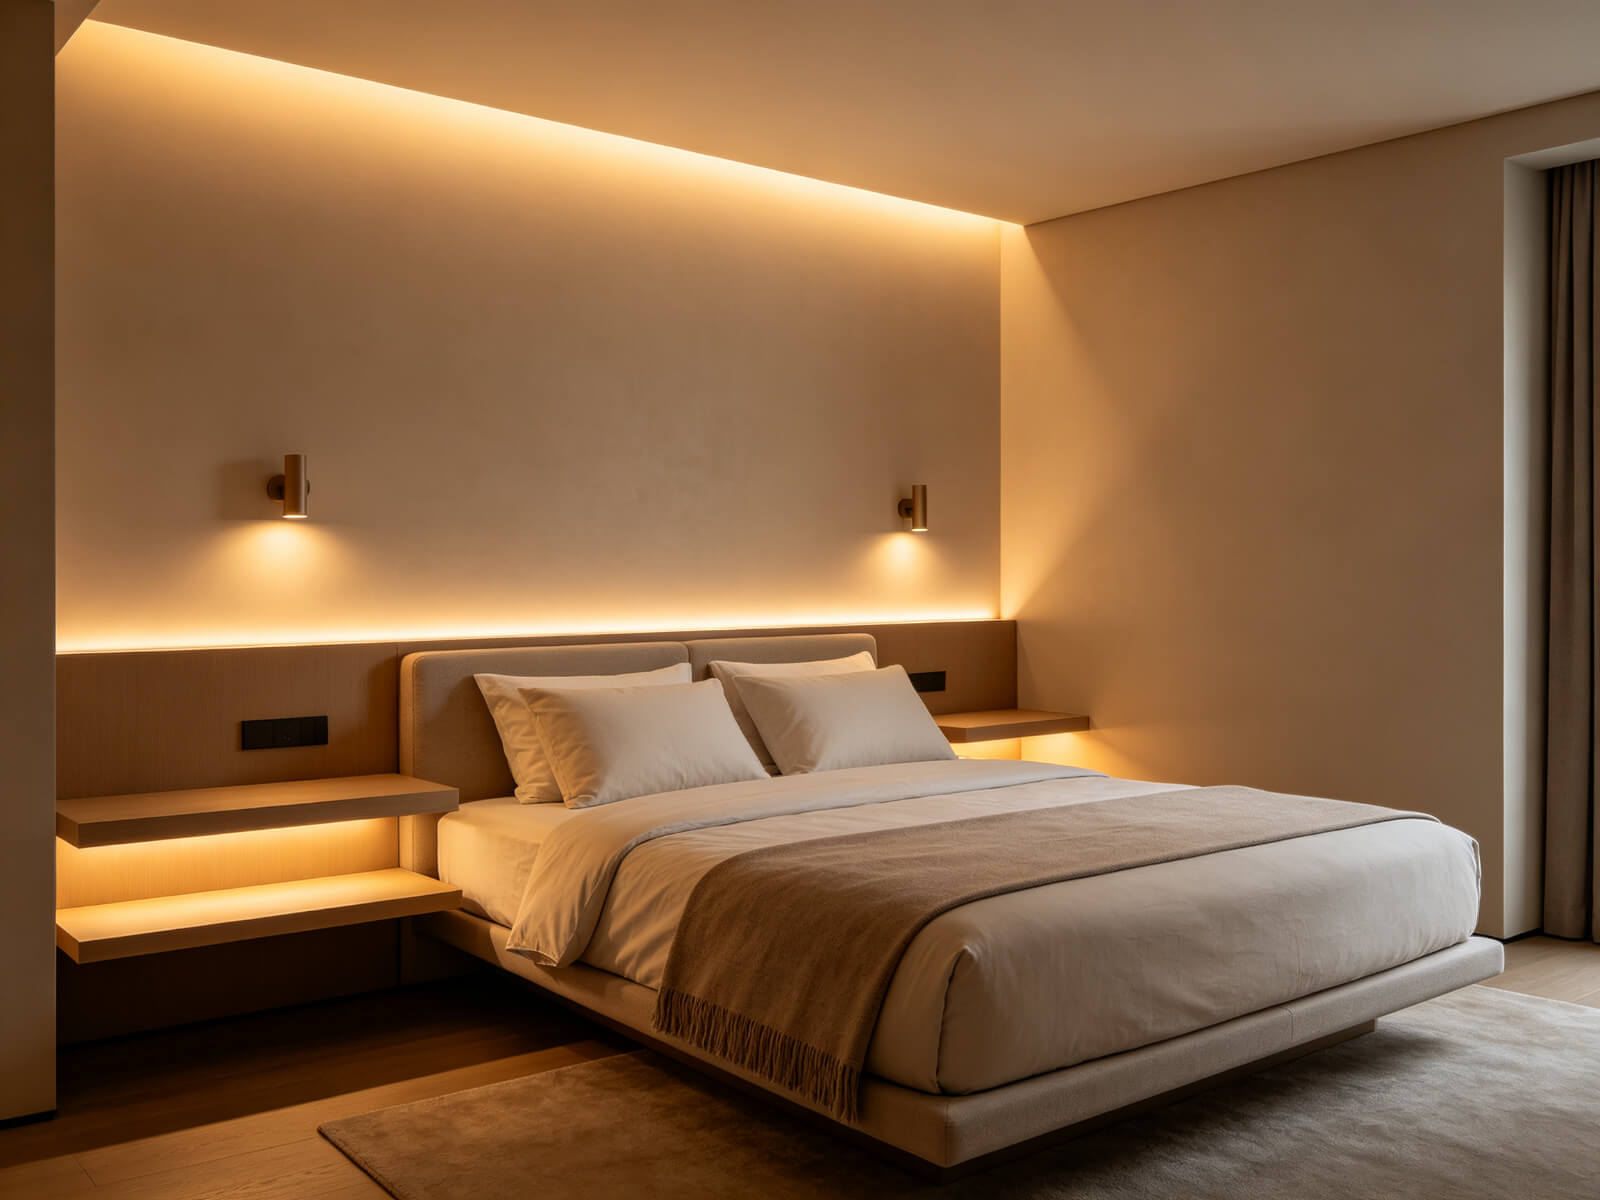
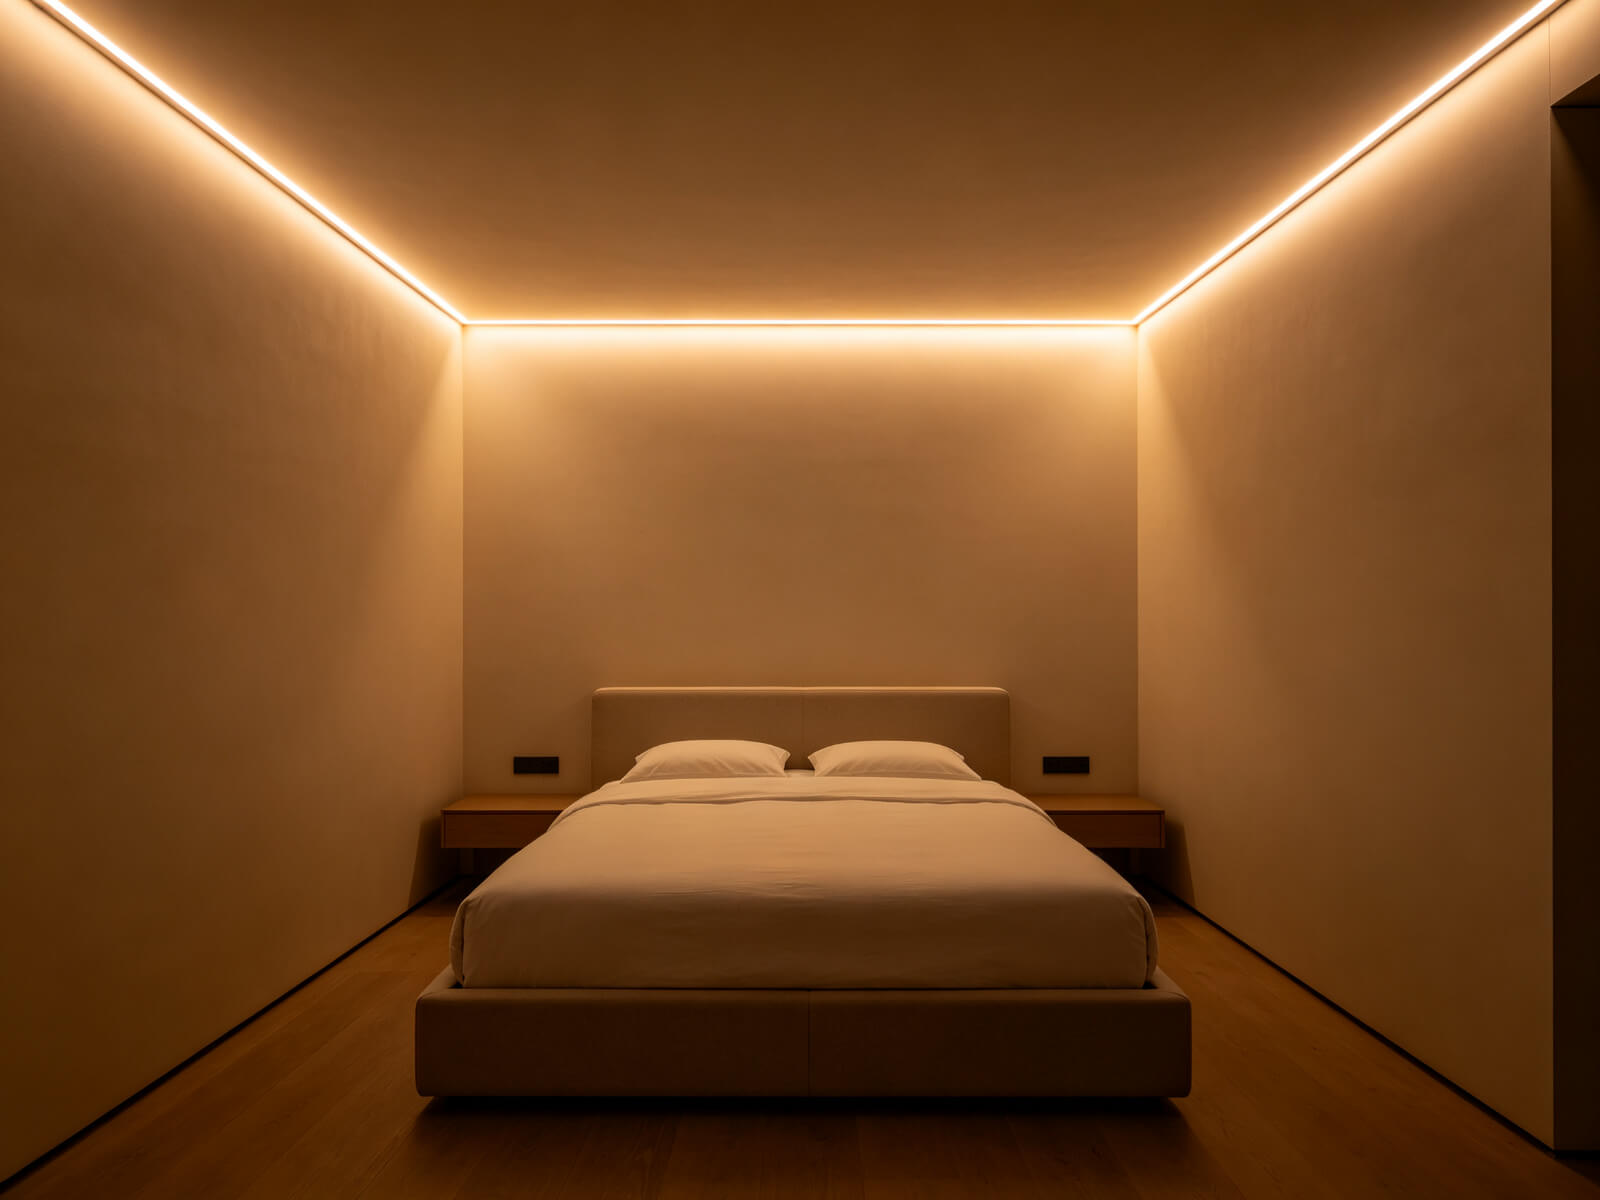
- Baia perimetrale. Una striscia in una rientranza del soffitto, o un profilo appena sotto la linea del soffitto, fa rimbalzare la luce sul soffitto per un effetto morbido e privo di abbagliamento.
- Asole lineari ad incasso. Incassa un profilo sottile a filo nel soffitto o nella parete e intonaca i bordi: la "luce invisibile" degli interni di fascia alta.
- Lavaggio a parete d'accento. Montare una striscia dietro un pannello strutturato o lungo il bordo di una parete caratteristica per sfiorare la struttura.
- Pannello a parete retroilluminato. Nascondi una striscia dietro il bordo superiore dei pannelli a doghe o imbottiti per una delicata luminosità verso l'alto.
- Soffitto stellato. Le strisce indirizzabili su un soffitto scuro creano un sottile scintillio. Mantienilo buio.
- Linea testiera da parete. Un'unica linea orizzontale pulita all'altezza del cuscino conferisce un aspetto da galleria senza testiera.
Armadio e deposito
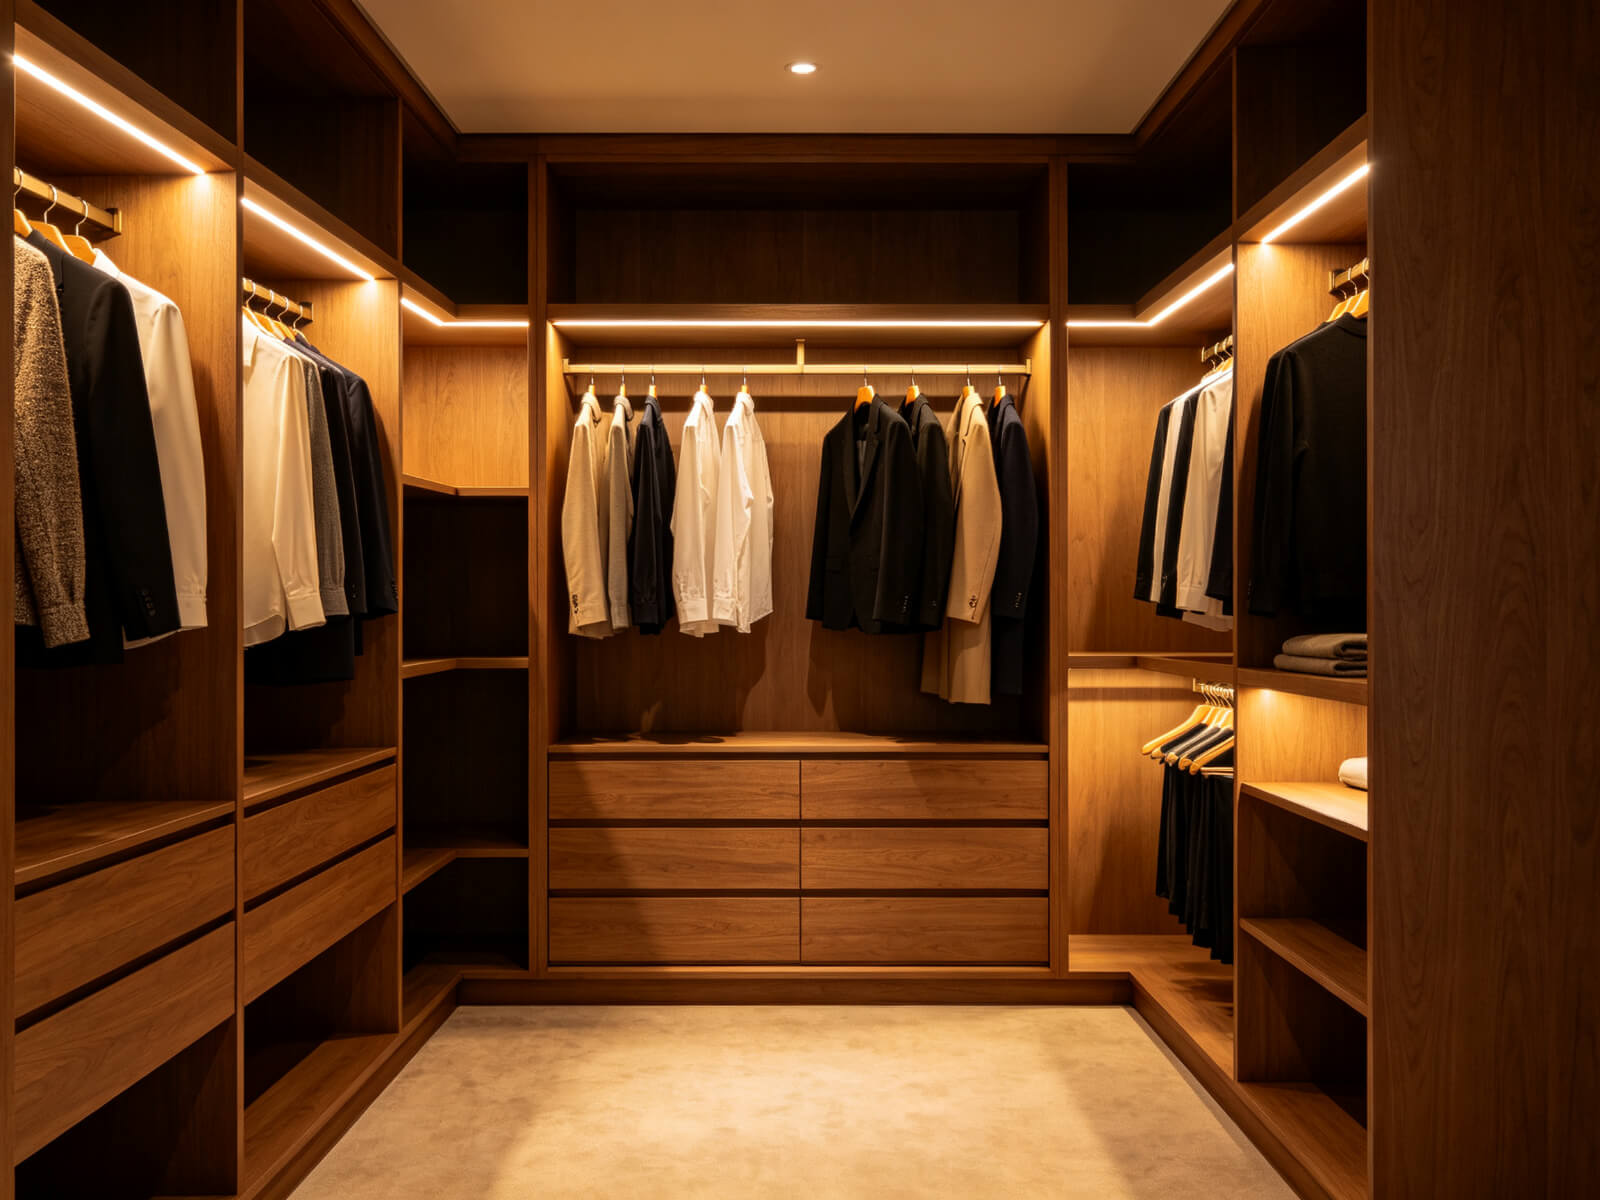
- Armadio/guardaroba. Esegui una striscia lungo il binario appendiabiti o sotto ciascun ripiano in modo che ogni oggetto sia visibile; aggiungi un sensore di movimento.
- Illuminazione sottoscala. Scaffali aperti leggeri dal basso per mostrare decorazioni, libri e vestiti piegati.
- Illuminazione dei cassetti. Piccole strisce all'interno dei cassetti facilitano la ricerca di calzini e accessori.
- Illuminazione battiscopa/battiscopa. Una striscia lungo il battiscopa dona un sottile bagliore a livello del pavimento che ti guida di notte.
- Illuminazione su binario per guardaroba. Edge-light un appendiabiti per un tocco boutique e in stile vendita al dettaglio.
Scrivania e angolo lavoro
- Striscia sotto la scrivania. La luce soffusa sotto la scrivania riduce l'affaticamento degli occhi e fa sembrare l'angolo intenzionale.
- Dietro il monitor. L'illuminazione polarizzata dietro lo schermo riduce il contrasto e l'affaticamento degli occhi durante il lavoro o il gioco fino a tarda notte.
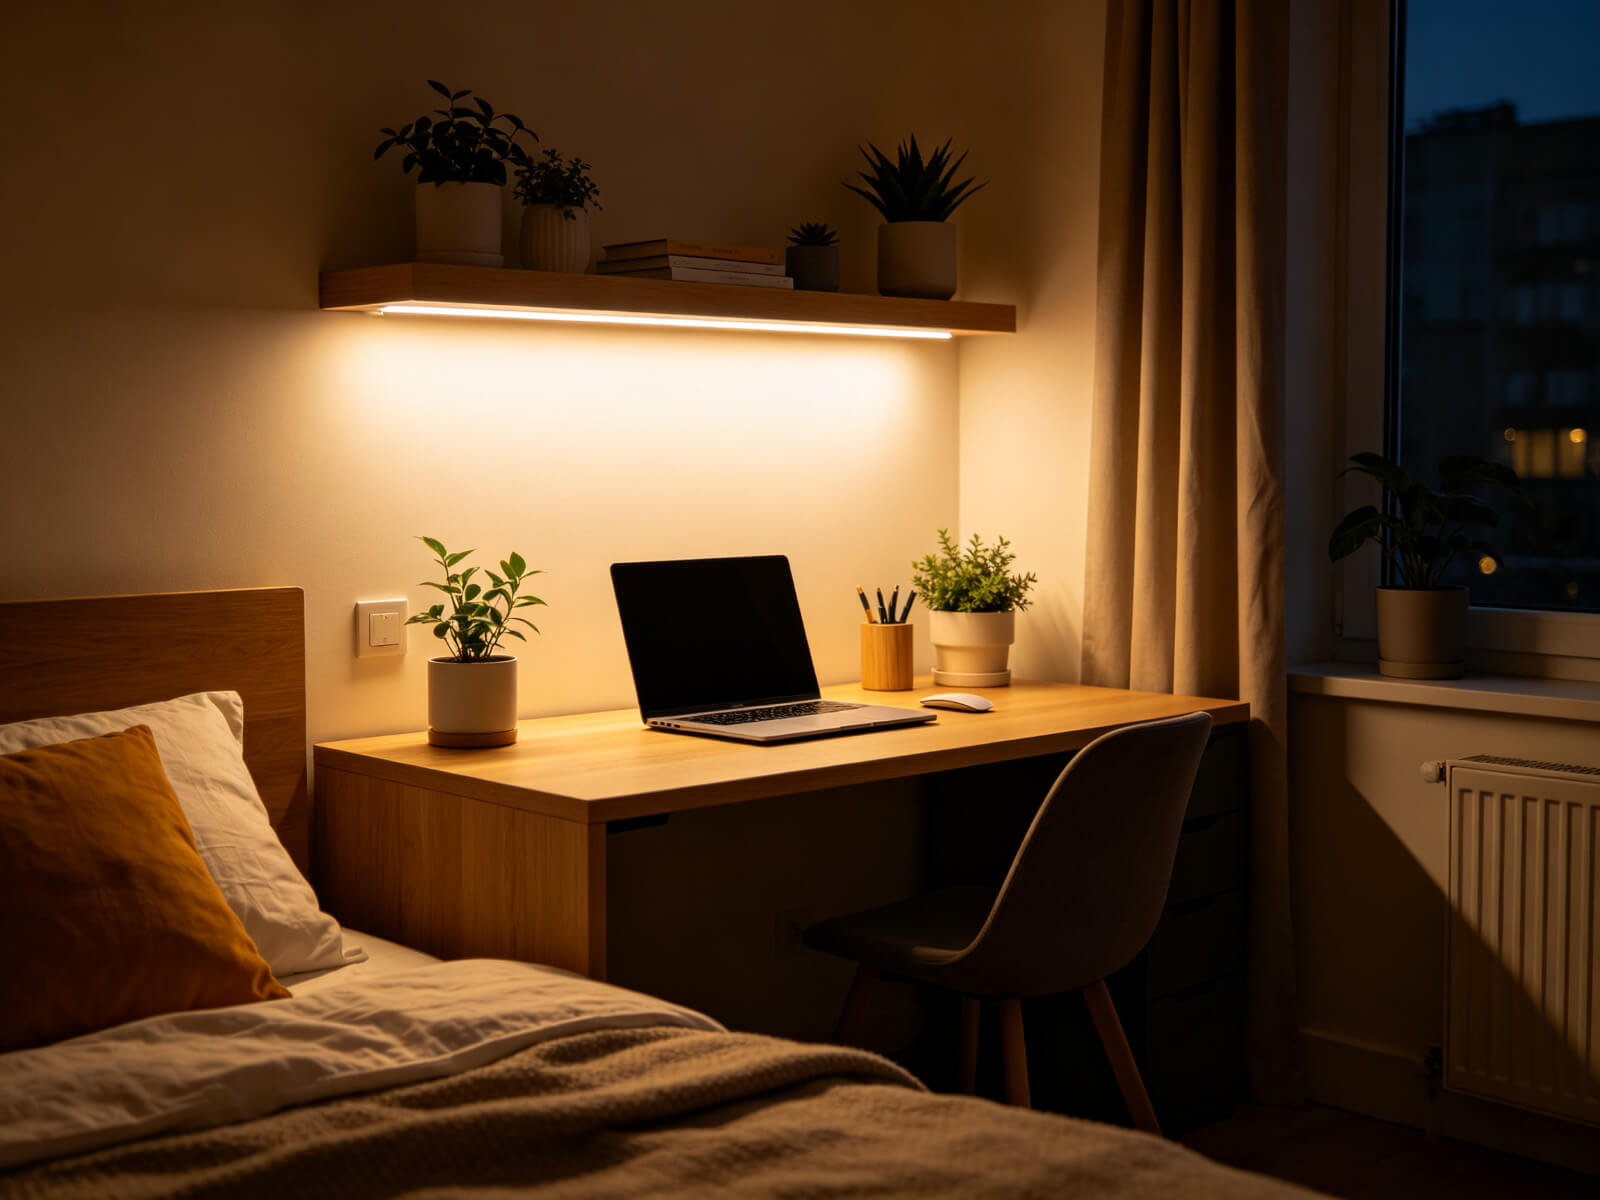
- Mensola sopra la scrivania. Esegui una striscia sotto uno scaffale per illuminare la scrivania senza abbagliare.
Finestre, specchi e decorazioni
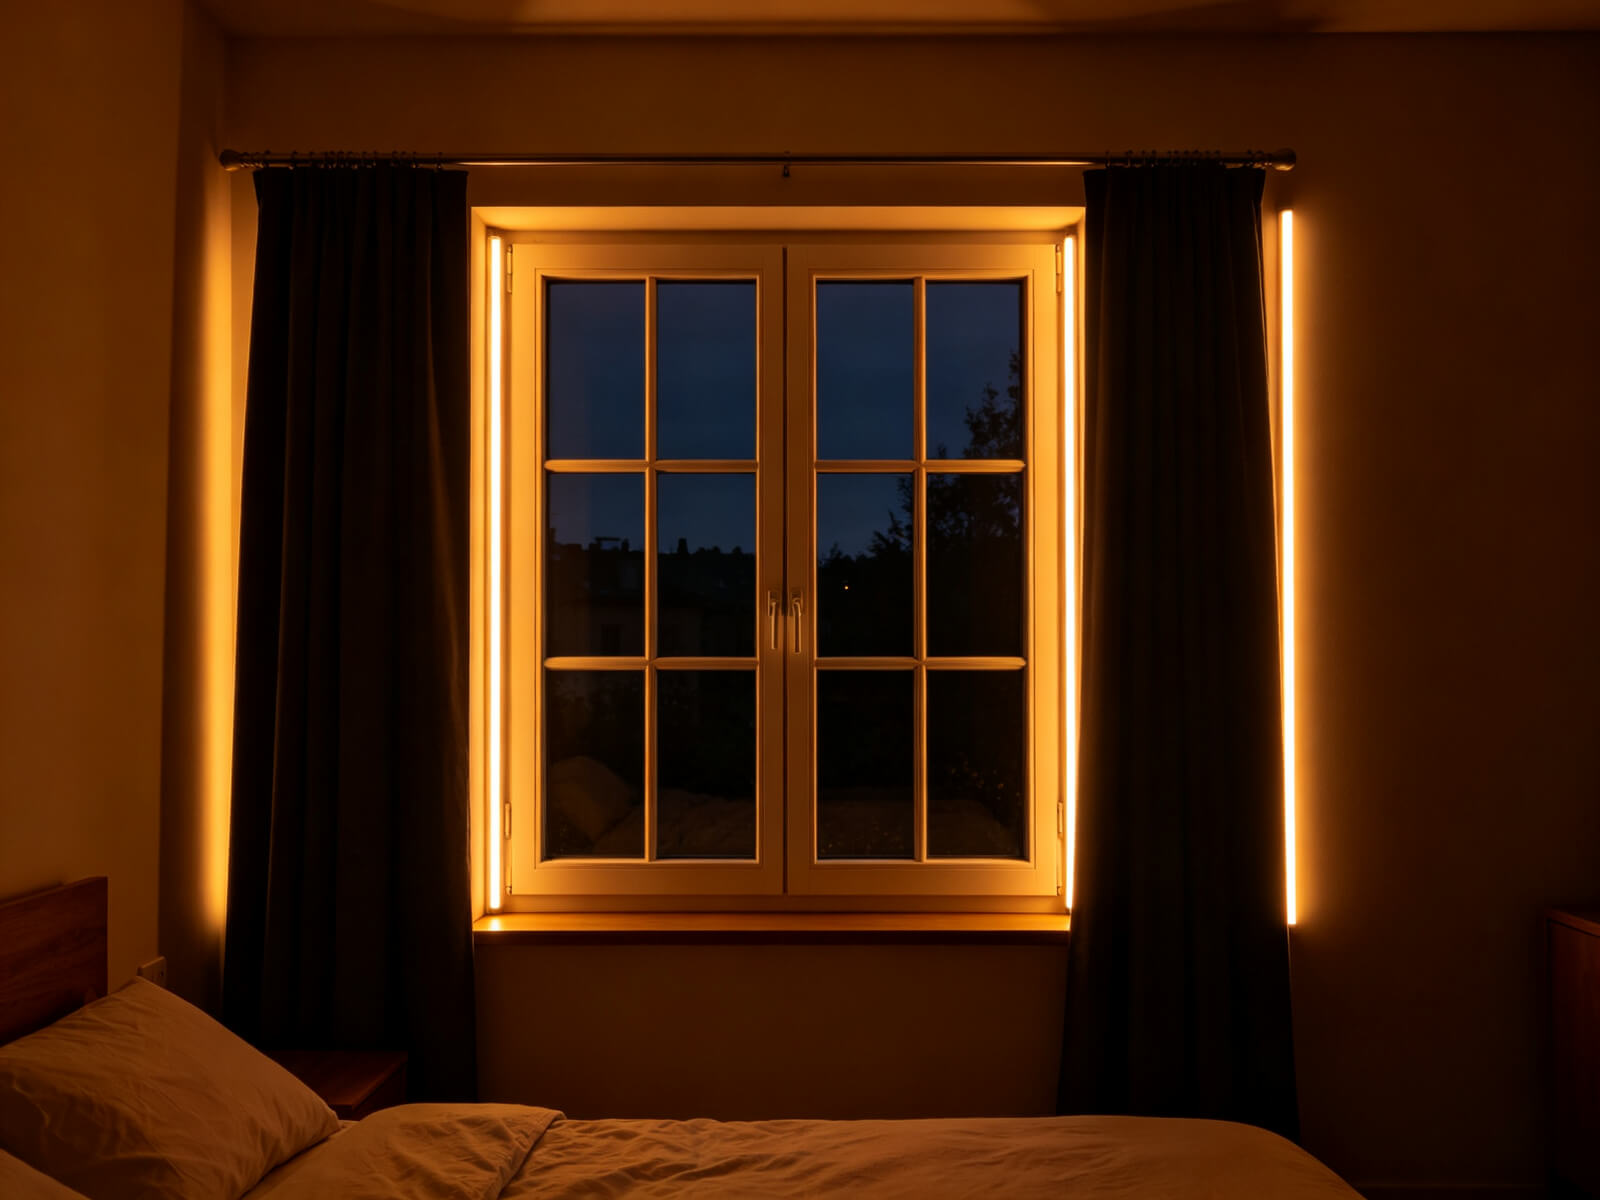
- Dietro le tende. Una striscia dietro le tende trasparenti conferisce alla finestra una calda luce retroilluminata di notte.
- Contorno del telaio della finestra. Incornicia la finestra con un listello per un effetto “cornice” luminoso e moderno.
- Specchio di vanità. Le strisce bianche calde attorno allo specchio forniscono una luce uniforme e gradevole: circa 3000K–4000K con CRI 90+.
- Retroilluminazione artistica da parete. Metti una striscia dietro una grande tela o cornice per un look da galleria.
- Illuminazione del bordo dello scaffale. Esegui una striscia lungo il bordo anteriore degli scaffali mobili in modo che gli oggetti visualizzati risaltino.
- Retroilluminazione del televisore. Una striscia dietro la TV attenua il contrasto e riduce l'affaticamento degli occhi nell'angolo multimediale.
Idee creative e di dichiarazione
- Tenda leggera drappeggiata. Appendi le strisce indirizzabili in percorsi verticali dietro il letto per creare una morbida cortina di luce.
- Motivi geometrici. Rombi, esagoni, zigzag o una semplice griglia creano una parete caratteristica sorprendente.
- Gradini scala/letto a soppalco. Illumina ogni passo per sicurezza e stile in una configurazione con letto a soppalco.
- Testiera moderna “line”. Una singola striscia orizzontale sulla testata del letto funge da elegante sostituto della testiera.
- Pannello retroilluminato/scatola luminosa. Costruisci un semplice pannello retroilluminato come elemento della testiera.
- Retroilluminazione dell'arazzo. Nascondi una striscia dietro un tessuto di grandi dimensioni per aggiungere profondità senza abbagliare.
Sono trenta idee e, onestamente, la maggior parte delle persone ritiene che i risultati migliori provengano dalla combinazione di due o tre zone. La combinazione più popolare è l’illuminazione dell’insenatura + la testiera retroilluminata + la luce sotto il letto.
Parte 4 · Il segreto per una finitura professionale: profili LED in alluminio
Ecco la parte onesta che la maggior parte degli articoli sulle “idee” salta. Prendi la stessa striscia LED e installala in due modi e otterrai due stanze completamente diverse.
- Striscia nuda attaccata al muro: punti visibili, luce irregolare, adesivo scrostato su pareti strutturate, polvere sulla superficie appiccicosa, fili penzolanti: l'inconfondibile aspetto "temporaneo".
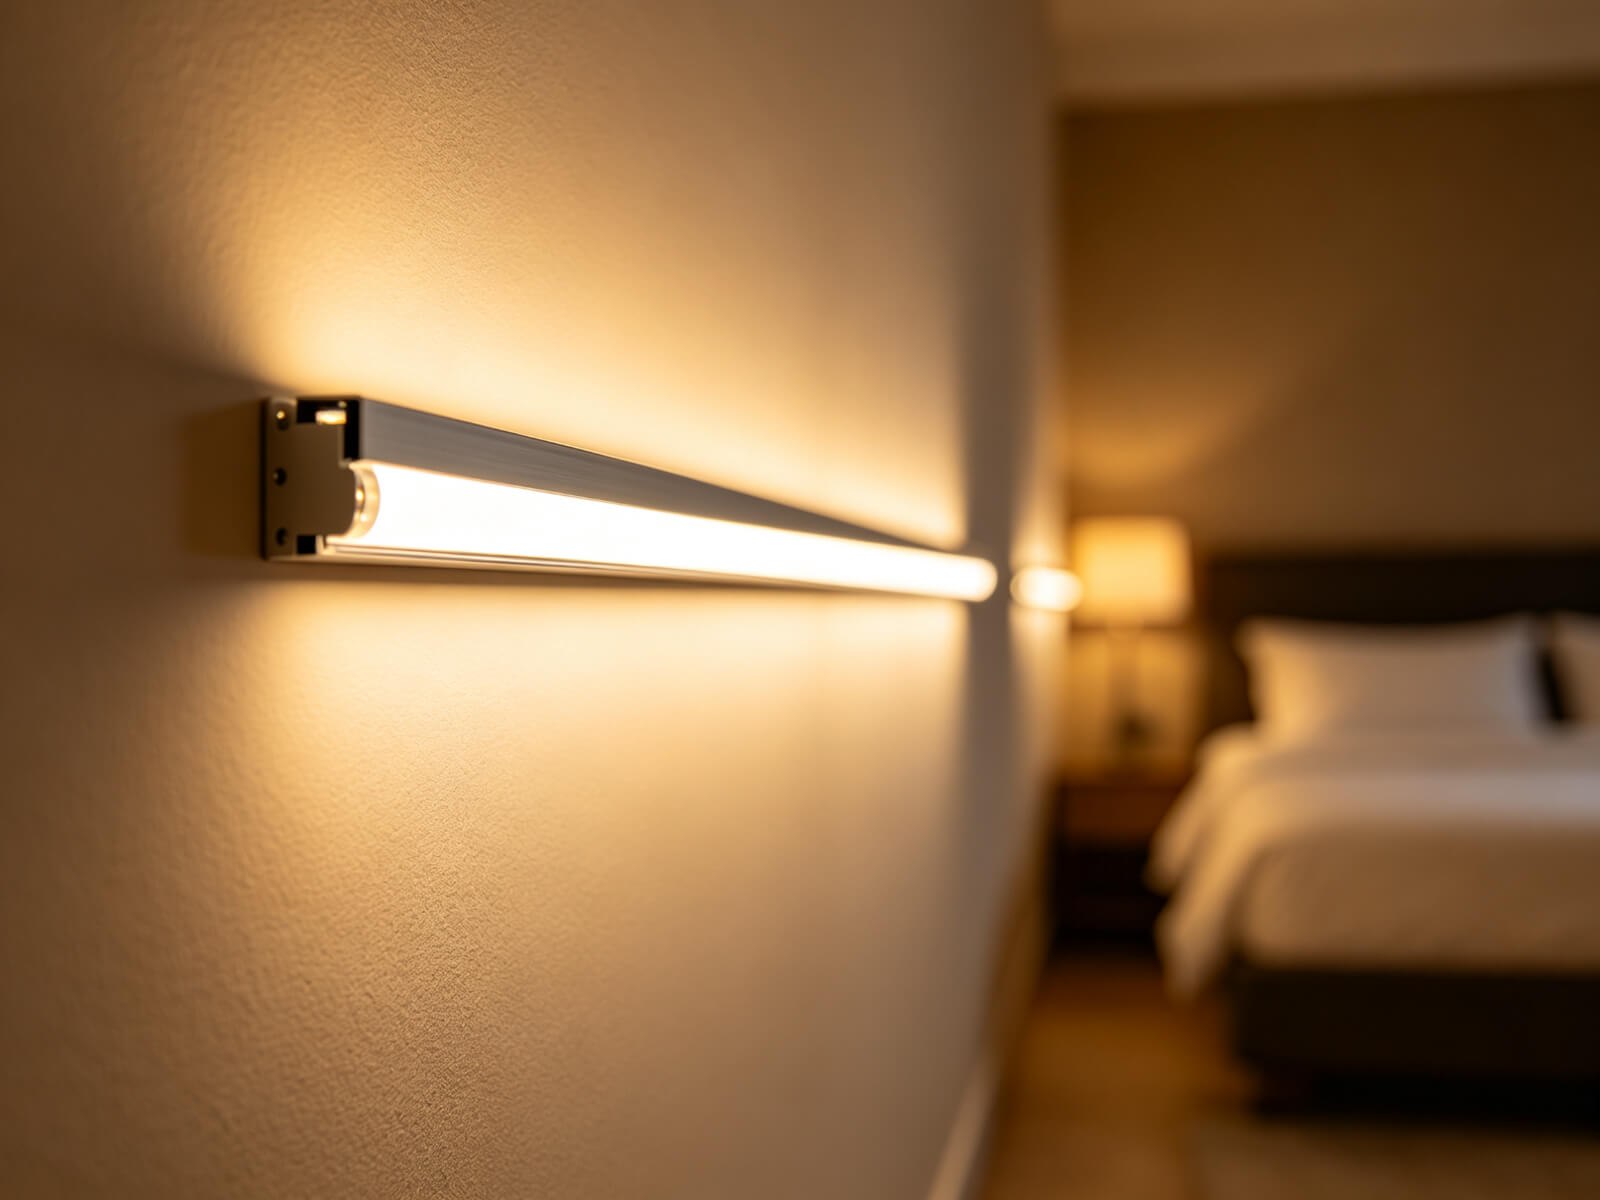
- Striscia all'interno di un profilo in alluminio LED: una linea di luce pulita, continua e uniformemente diffusa; cablaggio nascosto; una striscia protetta; e un look che si legge come un design intenzionale.
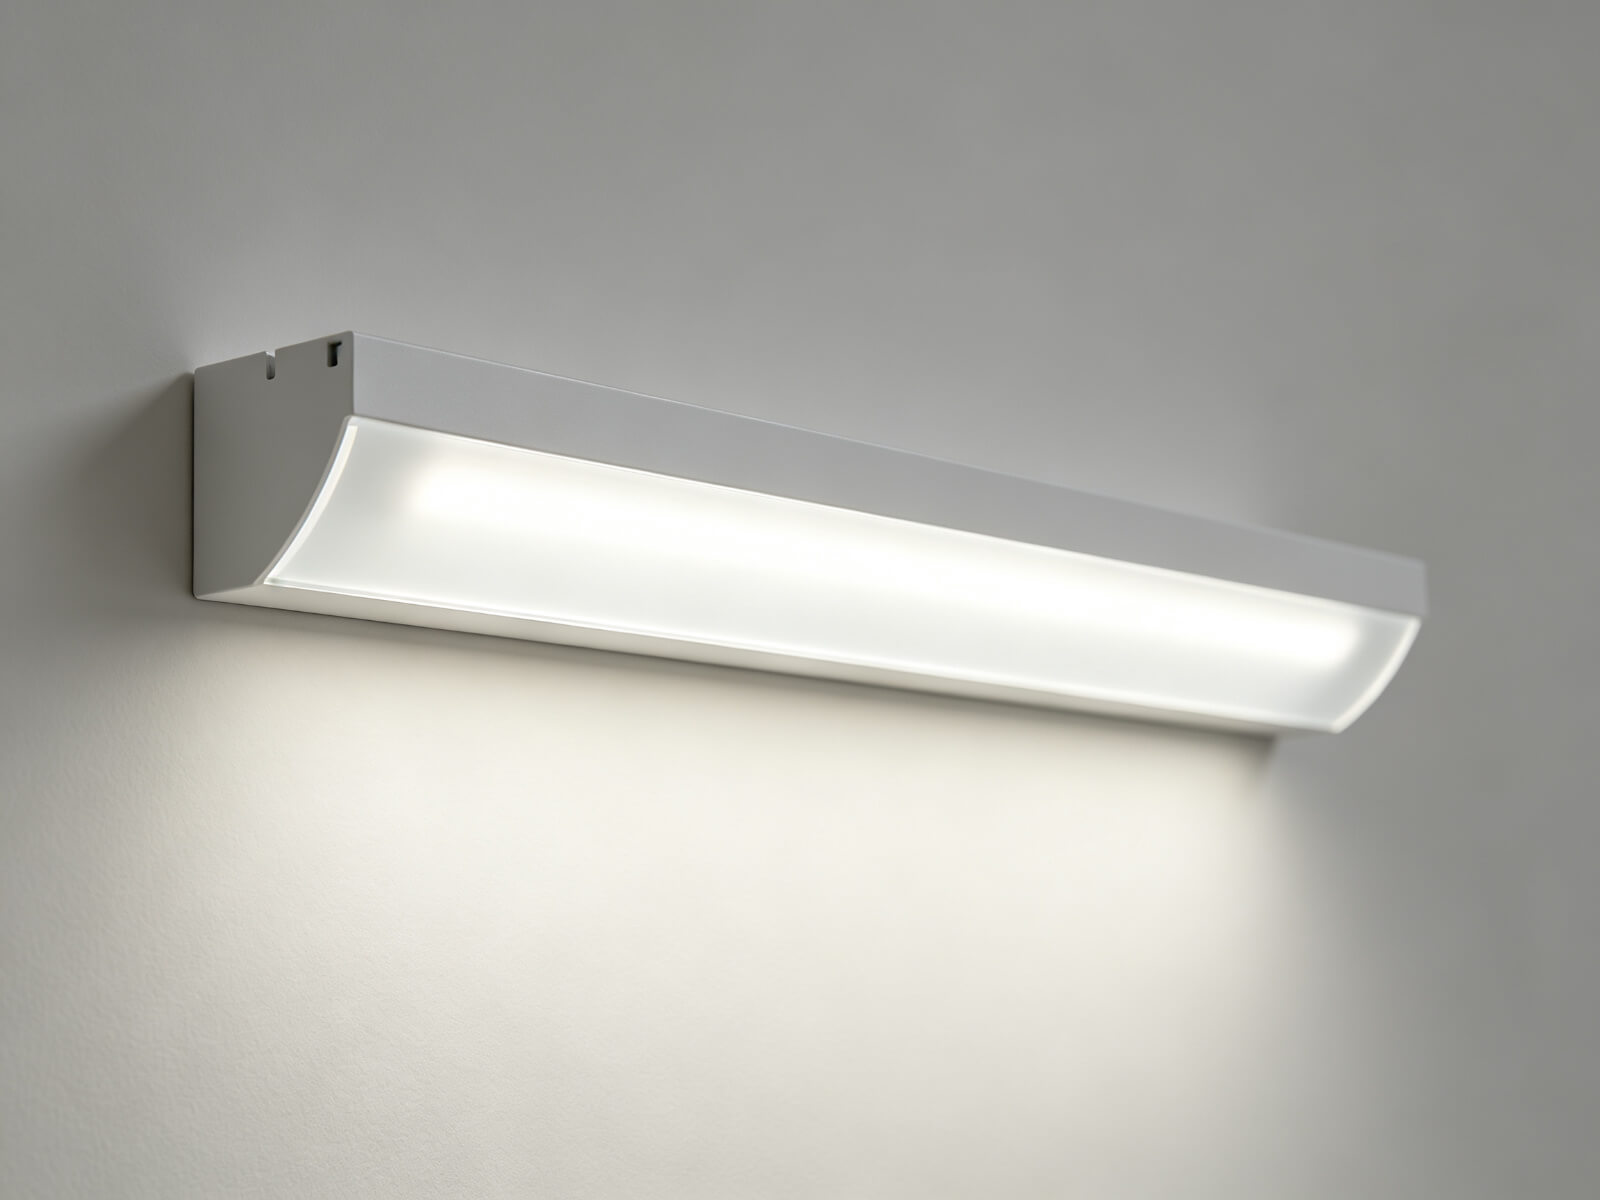
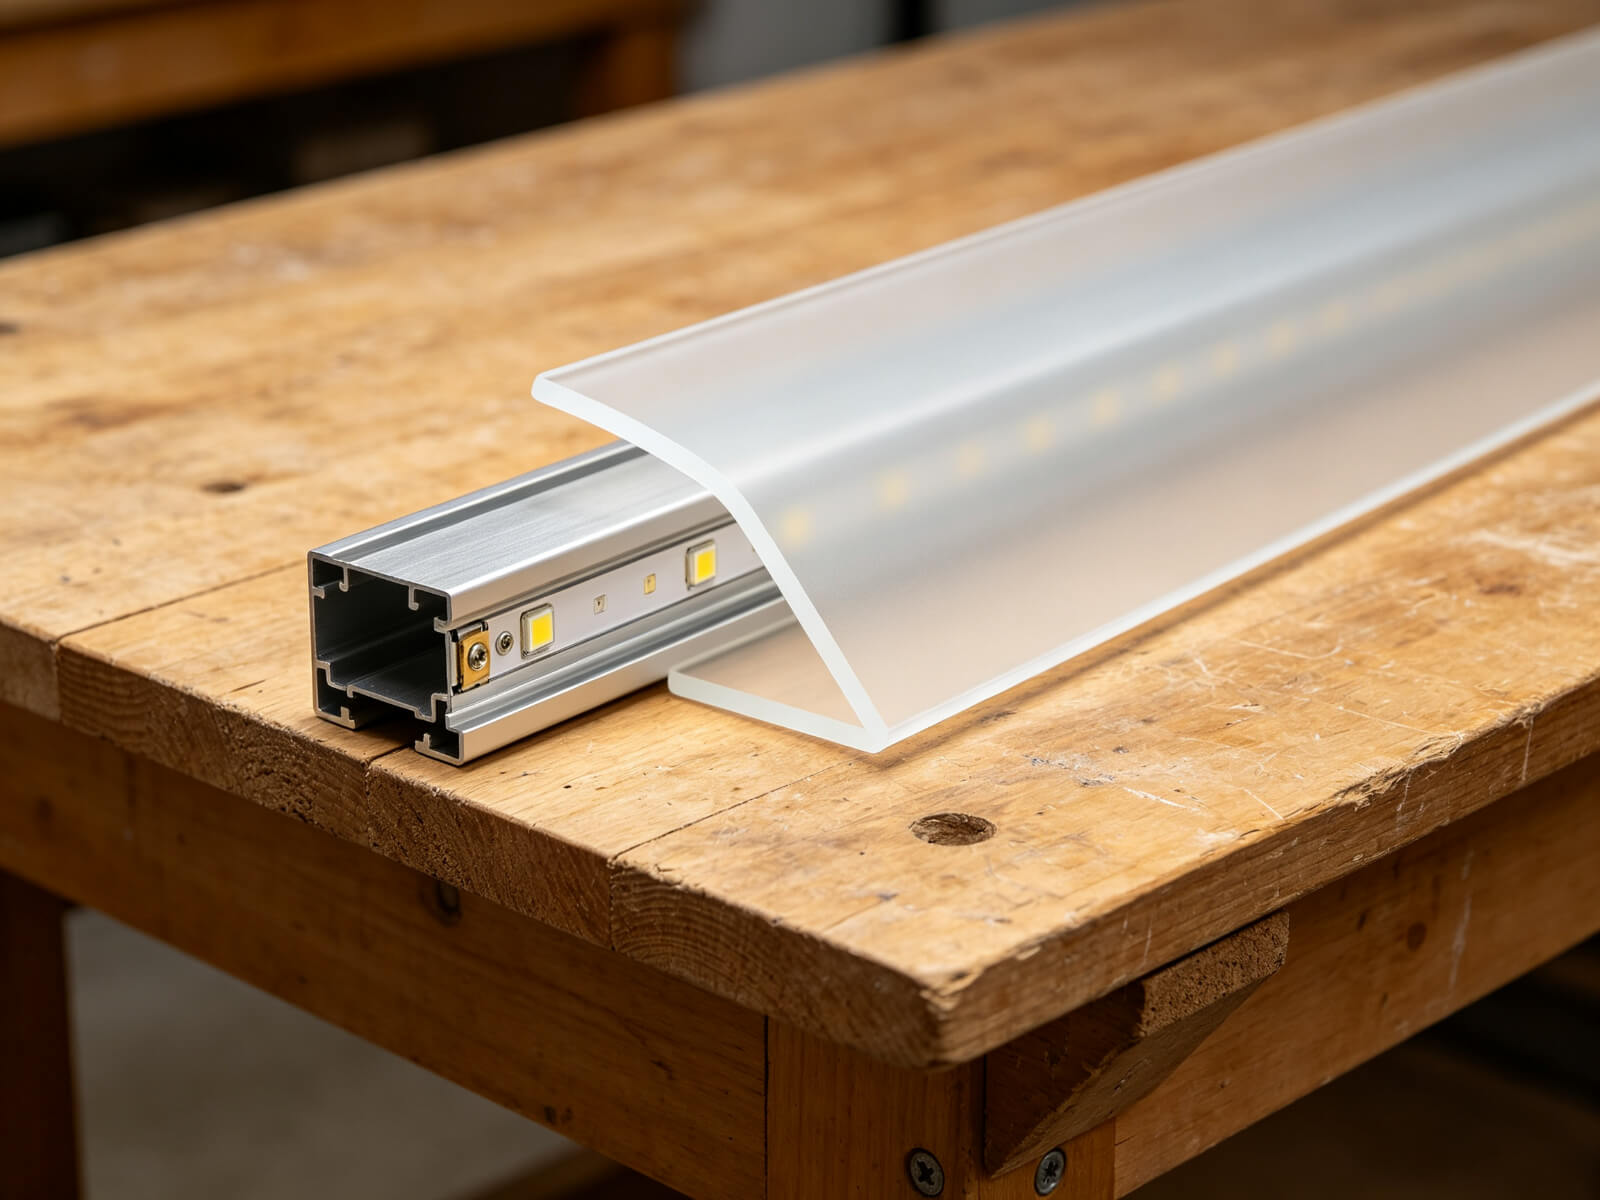
Un profilo in alluminio LED, chiamato anche canale o estrusione, è un sottile alloggiamento in alluminio in cui scorre la striscia, solitamente coperto da un diffusore. È lo standard per gli impianti di illuminazione professionale ed è importante per quattro ragioni:
1. Diffusione: niente più punti o abbagliamenti
La copertura del diffusore diffonde la luce in una linea liscia e continua. Nasconde i singoli LED, ammorbidisce i bordi ed elimina i punti caldi che appaiono ovunque una striscia nuda si pieghi o finisca. È il più grande miglioramento dell’aspetto di una camera da letto di notte.
2. Dissipazione del calore: maggiore durata della striscia
L'alluminio conduce bene il calore, quindi il profilo funge da dissipatore di calore che allontana il calore dai LED. Un funzionamento a temperature più basse significa una luminosità più stabile e una durata di vita più lunga, aspetto importante in luoghi chiusi come insenature o dietro le testiere dei letti.
3. Protezione: le strisce rimangono pulite e sicure
Il profilo protegge la strip da polvere, umidità e urti accidentali e copre l'elettronica sotto tensione. Ti offre anche una superficie di montaggio pulita, quindi non devi fare affidamento sull'adesivo per combattere un muro strutturato.
4. Linee pulite e cablaggio nascosto
Un profilo crea una linea nitida e dritta ovunque venga montato: a soffitto, a parete, sotto un mobile o incassato in una superficie. I tappi terminali e gli accessori nascondono il cablaggio e le connessioni, quindi il risultato sembra progettato piuttosto che improvvisato.
Quale profilo per quale spot
| Tipo di profilo | A cosa serve | Uso tipico della camera da letto |
|---|---|---|
| Canale da incasso/cartongesso | Installato a filo, intonacato | Fessure lineari invisibili nel soffitto o nella parete; illuminazione della baia |
| Profilo per montaggio superficiale | Montato sulla superficie, dritto e pulito | Cerchio testiera, sottoscrivania, linee parete |
| Profilo angolare | Si adatta agli angoli interni/esterni | Luce perimetrale nitida nelle giunzioni parete-soffitto |
| Profilo del battiscopa | Integrato con il battiscopa | Bagliore a livello del pavimento che ti guida di notte |
| Profilo sottopensile/ripiano | Profilo sottile per punti stretti | Illuminazione sotto scaffali, armadi e armadietti |
| Profilo magnetico | Rimozione della striscia senza attrezzi | Facile manutenzione dietro testate o nicchie |
| Profilo tondo/sospeso | Lampada decorativa in stile sospensione | Una lampada a sospensione lineare come lampada da comodino |
Un'altra caratteristica: il diffusore
I diffusori sono solitamente PC, PMMA (acrilico) o silicone. Smerigliato e opale donano la luminosità più morbida e uniforme: la scelta giusta per una camera da letto; trasparente lascia passare più luce ma lascia intravedere la striscia. Per un look da hotel, scegli il satinato. Non sei sicuro di quale? Nostro guida alla scelta di un diffusore LED lo scompone.
A KayTai, produciamo oltre 100 profili in alluminio LED, dai canali incassati in cartongesso ai profili magnetici, angolari, battiscopa e sottopensile, con lunghezze e finiture personalizzate disponibili per il tuo progetto. Ne parleremo più avanti alla fine.
Parte 5 · Installazione: come montare le strisce LED come un professionista
La buona notizia: quasi tutte le installazioni di strisce LED nelle camere da letto sono un lavoro fai-da-te. Ecco il flusso di lavoro effettivamente utilizzato dai professionisti.
Passaggio 1: pianificare prima
- Misura la corsa e decidi dove inizia e finisce la striscia.
- Scegli il luogo in cui si trova l'alimentazione: vicino a una presa o nascosto in un armadio.
- Scegli il tuo controllo: telecomando, interruttore a muro o app/voce.
- Decidi il metodo di montaggio: adesivo, clip o profilo in alluminio.
Passaggio 2: raccogli i materiali
Striscia, profilo in alluminio (se utilizzato), diffusore, cappucci terminali, alimentatore, controller, metro, forbici o cesoie, alcol isopropilico e clip o viti di montaggio.
Passaggio 3: preparare la superficie
Pulisci la superficie di montaggio con alcool isopropilico e lasciala asciugare completamente: polvere e grasso sono il motivo principale per cui l'adesivo non funziona. Se la superficie è strutturata (mattoni, intonaco grezzo, soffitto di popcorn), non fare affidamento solo sull'adesivo; utilizzare un profilo fissato con viti o clips.
Passaggio 4: tagliare la striscia solo lungo le linee contrassegnate
Ogni striscia presenta segni visibili di taglio del rame, solitamente contrassegnati dall'icona di una forbice. Taglia solo lì: tagliare in qualsiasi altro punto distrugge quella sezione in modo permanente. Taglia dopo l'ultimo segno di taglio che si adatta alla tua misurazione, mai a metà circuito.
Passaggio 5: montare il profilo (se in uso)
Avvitare o agganciare il profilo in posizione. I canali in cartongesso incassati vengono installati prima dell'intonacatura; i profili di superficie si montano con viti, clip o nastro adesivo resistente. Tagliare l'alluminio con una sega a denti fini e sbavare i bordi. Per una panoramica completa, vedere il nostro Guida passo passo all'installazione del profilo in alluminio LED.
Passaggio 6 — Inserisci la striscia e aggiungi il diffusore
Staccare la pellicola protettiva e premere la striscia nel canale, mantenendola diritta. Far scorrere o agganciare il diffusore sulla parte superiore, quindi montare i tappi terminali.
Passaggio 7: connettiti e testa
Collega la striscia al controller e all'alimentatore, rispettando la polarità (+ e -), quindi testa ogni sezione prima di finalizzare. Se una sezione è morta, controlla prima la connessione, non l'intera striscia.
Suggerimenti per angoli e cablaggio
- Per gli angoli stretti, utilizzare un connettore flessibile o senza saldatura anziché piegare bruscamente la striscia.
- Nascondi la coda: infila la striscia e i fili in eccesso all'interno del profilo o in una canalina per cavi.
- Mantieni l'alimentatore accessibile ma nascosto: la parte superiore di un armadio è il posto classico.
Parte 6 · Errori comuni da evitare
- Acquistare il bianco freddo (5000K+) per la camera da letto. Sopprime la melatonina e ha un aspetto clinico. Scegli 2700K–3000K.
- Saltando il diffusore. Le strisce nude mostrano punti, abbagliamento e luce irregolare: il motivo principale per cui le configurazioni LED sembrano economiche.
- Attaccare strisce su pareti strutturate o polverose. L'adesivo cede rapidamente. Utilizzare un profilo con viti o clip, o almeno pulire prima accuratamente la superficie.
- Sovraccarico dell'alimentatore. Abbina la potenza con circa il 20% di headroom; una tensione non corrispondente può danneggiare la striscia.
- Ignorando il calore. Racchiudere una striscia senza percorso termico ne riduce la durata. Un profilo funge anche da dissipatore di calore.
- Puntare la luce nei tuoi occhi. Punta a una luce indiretta e riflessa: monta le strisce in modo che la luce sia rivolta verso il muro, il soffitto o il pavimento, non verso di te.
- Dimenticando il posizionamento del potere fino alla fine. Decidi dove vanno il socket e il driver prima di attaccare qualsiasi cosa.
- Tagliare la striscia nel posto sbagliato. Tagliare sempre e solo in corrispondenza delle linee di rame contrassegnate.
- Acquistare solo in base alla luminosità. Il suono morbido, caldo e dimmerabile è luminoso e aspro in una camera da letto.
Parte 7 · Idee di design per umore (riferimento rapido)
| Umore | Miglior colore e striscia | Posizionamento | Luminosità |
|---|---|---|---|
| Accogliente e rilassato | Bianco caldo 2700–3000K | Testata + sottoletto | 10–30% |
| Romantico | Striscia attenuata per riscaldare | Linea a tettoia o parete | Molto basso |
| Lavoro mirato | Striscia attività neutra da 3500–4000K | Sotto il ripiano + dietro il monitor | Medio-alto |
| Gioco/divertimento | RGB o indirizzabile | Dietro la TV o la scrivania | Medio |
| Minimalista | Bianco caldo nei canali incassati | Linee uniche e pulite | Basso |
| Sveglia mattutina | Freddo-neutro programmato | Baia o finestra | Gradualmente in aumento |
Domande frequenti
1. Di che colore è la striscia LED più adatta per una camera da letto?
Bianco caldo, circa 2700K–3000K. Supporta il rilassamento e il sonno, mentre la luce bianca fredda sopprime la melatonina e ti mantiene sveglio.
2. Le strisce LED sono efficienti dal punto di vista energetico?
Sì, i LED in genere consumano il 70-80% in meno di energia rispetto alle lampadine a incandescenza, rendendoli tra le opzioni di illuminazione domestica più efficienti.
3. Quanto durano le strisce LED?
Una striscia di qualità dura circa 25.000-50.000 ore: un decennio o più per poche ore a notte e più a lungo con un profilo che la mantiene fresca.
4. Le strisce LED possono essere la fonte luminosa principale?
Sì, per l'illuminazione d'atmosfera e generale, se scegli una striscia ad alto rendimento e la monti per far riflettere la luce in modo uniforme (incavata o incassata). Per la lettura o la luce da lavoro, aggiungi una striscia o una lampada dedicata.
5. Ho davvero bisogno di un profilo in alluminio?
Non strettamente: una striscia si accenderà senza una. Ma se desideri un bagliore uniforme e privo di punti, un cablaggio nascosto e una finitura che sembri professionale piuttosto che temporanea, un profilo fa la differenza, soprattutto dove la striscia è visibile.
6. Posso tagliare le strisce LED su misura?
SÌ. Ogni striscia presenta delle linee di taglio in rame marcate; tagliare solo lì e ricongiungersi con connettori senza saldatura se è necessario svoltare un angolo.
7. Come nascondo i cavi?
Monta la striscia all'interno di un profilo (nasconde la coda), fai passare i cavi attraverso i canali per cavi e mantieni l'alimentatore lontano dalla vista, ad esempio sopra un armadio.
Conclusione
La tua camera da letto merita di meglio di una singola plafoniera accesa/spenta. Con le strisce LED, scelte per la giusta temperatura di colore, montate con cura e rifinite con un profilo in alluminio, puoi creare quel tipo di luce stratificata e rilassante che fa sembrare una stanza una suite d'albergo.
Inizia in piccolo: scegli una zona (dietro la testiera è la più gratificante), scegli una striscia calda da 2700K–3000K con un dimmer, finiscila in modo pulito con un profilo, quindi costruisci da lì.
E quando sei pronto per farlo sembrare professionale, KayTai è qui per aiutarti. Produciamo oltre 100 profili in alluminio LED: da incasso, di superficie, angolari, battiscopa, magnetici e altro ancora, con lunghezze e finiture personalizzate disponibili per il tuo progetto. Visita kaytai.com per esplorare la gamma o inviarci le tue misurazioni per iniziare.
Vuoi andare più a fondo? Leggere come scegliere il giusto profilo in alluminio LED, Imparare come scegliere la migliore striscia LEDo controlla il nostro elenco completo Blog sull'illuminazione a LED.

Bella guida per l'allestimento della camera da letto. Il posizionamento indiretto dell'insenatura evita i riflessi forti e ha un aspetto premium. L’avviso sulle temperature colore più calde prima di dormire è un dettaglio che applicherò alla mia stanza.
Bella guida per l'illuminazione della camera da letto. I suggerimenti per l'illuminazione indiretta delle nicchie e le configurazioni dimmerabili sono pratici. La sezione su come evitare la luce blu prima di dormire è un tocco premuroso che userò nella mia stanza.
Tante idee pratiche qui. Le idee per l'insenatura della testiera e per il sottoletto sono facili da realizzare e i suggerimenti sulla temperatura del colore mi hanno aiutato a scegliere un bianco caldo dimmerabile per il relax. Lo aggiungo ai segnalibri per il mio prossimo aggiornamento della camera da letto.