
LED aluminum profiles are increasingly popular in both residential and commercial lighting. They protect LED strips, improve heat dissipation, and deliver enhanced light output. In this guide, we’ll walk through each step — selection, preparation, installation, and testing — to help you achieve a professional-grade lighting solution. Learn how to install LED aluminum profiles with our step-by-step guide, from selecting the right profile to securing and wiring the LED strip lights. About KayTai: At KayTai, we specialize in providing high-quality LED aluminum profiles and related lighting solutions. Our mission is to deliver reliable, efficient, and aesthetically pleasing products that meet the diverse needs of our customers. With years of expertise and a commitment to innovation, we stand as a trusted partner in the LED lighting industry.
Jadual Kandungan
1. Required Materials and Tools
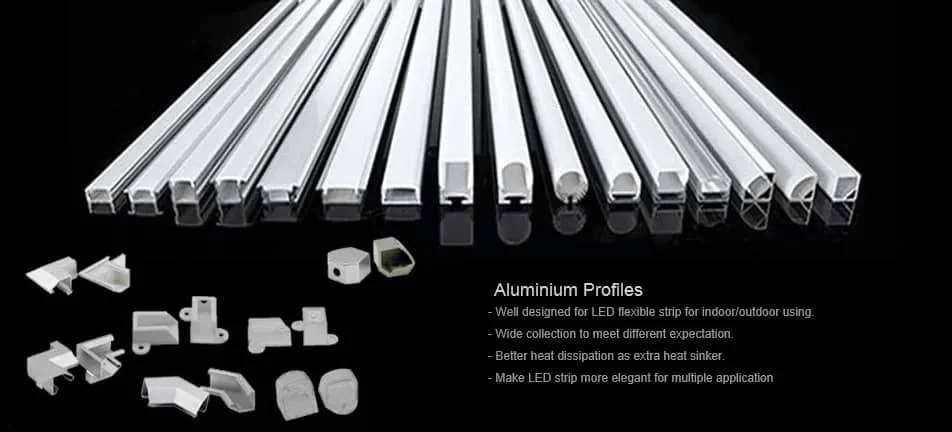
Before you begin, gather everything you need. Materials: LED aluminum profiles, compatible LED strip lights (12V or 24V), mounting clips or brackets, end caps and diffusers, and a power supply, connectors, and controller. Tools: measuring tape and marker, a fine-toothed saw or specialized aluminum cutter, sandpaper or a deburring tool, a screwdriver, and electrical tape or heat shrink tubing.
Materials
Profiles, LED strips, clips, end caps, diffusers, power supply.
Tools
Tape, saw, sandpaper, screwdriver, heat shrink tubing.
💡 Having all materials and tools ready ensures a smooth and efficient installation.
2. Preparing the LED Aluminum Profile
Start by cleaning the profile with a soft cloth to remove dust or debris. Measure the installation area carefully and mark the profile for cutting. Using a fine-toothed saw, cut the profile to the desired length. Smooth any rough edges with sandpaper or a deburring tool to ensure a clean fit.
Hand Saw
Affordable and easy to control, though slower.
Fine-Toothed Saw
Clean, precise cuts; requires steady hands.
Electric Cutter
Fast and efficient; higher initial cost.
💡 Properly preparing the profile ensures a professional fit and finish.
3. Installing the LED Strip into the Profile
Select the Right Strip
Choose an LED strip that matches the profile width and your voltage requirements. See our buying guide.
Peel and Place
Remove the backing from the adhesive side of the LED strip. Carefully align it within the profile’s channel and press down firmly along the entire length. For extra security, consider applying transparent silicone or mounting clips.
Add the Diffuser
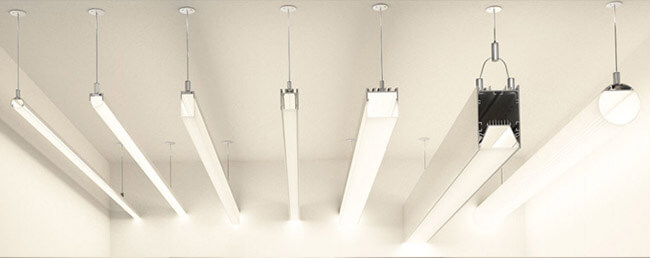
Attach the diffuser to the profile, snapping it into place. The diffuser softens the light output, protects the LEDs, and helps achieve a polished, professional appearance.
💡 Proper installation ensures consistent light output and long-lasting performance.
4. Securing the LED Aluminum Profile
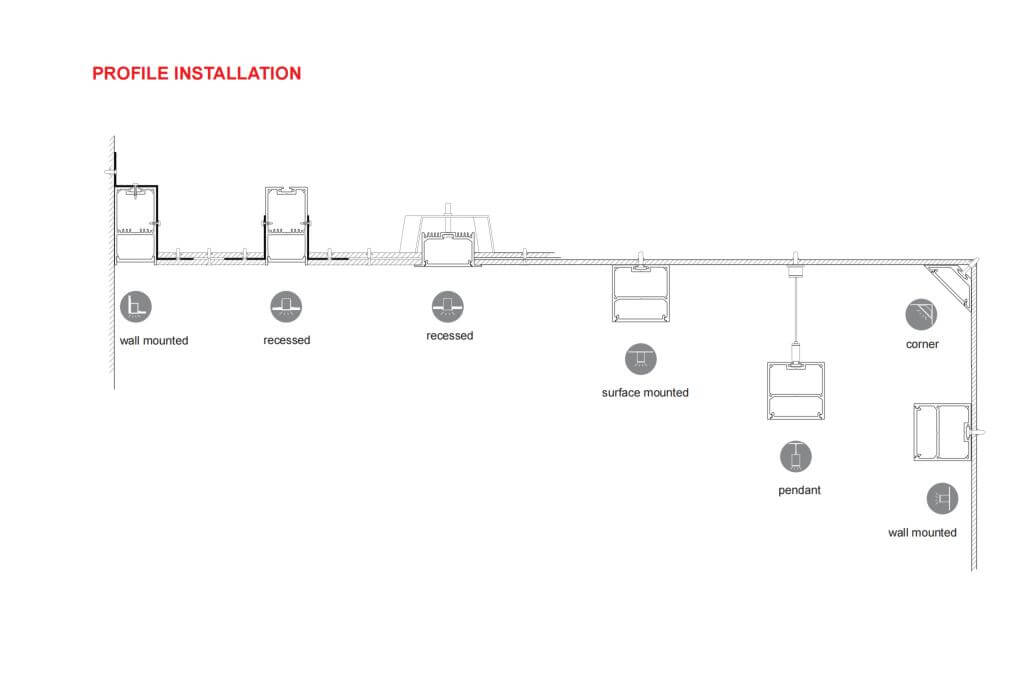
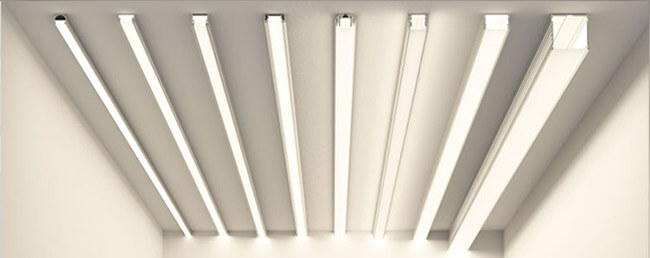
Choose a mounting method that suits your surface and installation conditions. Clips and brackets offer a secure hold and easy removal. Screws provide maximum stability for permanent installations. Adhesive is useful for smooth surfaces where drilling is not an option.
Clips and Brackets
Easy to install and remove.
Screws
Very stable and long-lasting.
Adhesive
Quick installation, no drilling.
💡 A stable installation method ensures the longevity of the profile and reduces maintenance.
5. Wiring and Testing the LED Strip
Connect the Power Supply
Attach the LED strip’s positive and negative leads to the corresponding terminals on the power supply. If using a controller, connect it before attaching the power supply. See our power supply guide.
Check Polarity
Double-check that the positive and negative wires are connected correctly. Improper connections can cause the strip to malfunction.
Test
Power on the strip to verify even light output. Adjust settings on the controller as needed. Testing at this stage helps identify any wiring issues before finalizing the installation.

💡 Testing ensures everything works perfectly before completing the installation.
Kesimpulan
By following this step-by-step guide, you can achieve a professional-looking LED lighting installation. Proper preparation, careful placement, and thorough testing ensure a polished final result that will last for years. If you’re looking for high-quality LED aluminum profiles, be sure to check out our selection at KayTai.
Get the Right LED Aluminum Profile
Browse our full range of profiles and get expert installation advice from KayTai.
Panduan LED yang berkaitan

The step-by-step format works well. Cutting and mounting tips are exactly what a first-time installer needs. The diffuser fitting advice finishes the job cleanly.
Clear step-by-step on using aluminum profiles. The cutting and mounting tips are exactly what a first-time installer needs. The diffuser fitting advice is a nice final touch.
I am a contractor in the United States and this step-by-step guide is the best I have used for aluminum profiles. The cutting and diffuser fitting instructions are clear, and the wiring tips saved me time on a kitchen cove job. Bookmarking for future projects.