
Lighting a sauna is not about fixtures — it is about heat, steam and relaxation. The same LED strip that looks perfect in a living room can fail in weeks inside a sauna, where the ceiling may reach 100 °C and the air is full of moisture.
This guide covers sauna room lighting from an engineering perspective: the temperature map of a working sauna, what “heat-rated” really means, steam-proof IP protection, indirect lighting design under benches and behind backrests, a step-by-step installation sequence, and the mistakes that kill sauna lighting installations. It is written for contractors, sauna builders, designers and owners planning a new cabin or renovation.
- Sauna vs Steam Room: Two Different Lighting Environments
- Temperature Zones: Map the Heat Before You Place a Strip
- Heat Ratings: What “Sauna-Rated” Actually Means
- Moisture and Steam: IP Ratings That Survive the Vapour
- Indirect Lighting Design: Benches, Backrests and Ceiling Coves
- Colour and Dimming: Creating the Relaxation Mood
- Strip, Neon Flex or COB: Which Product for Which Feature
- Instalação passo a passo
- Materials and Mechanical Fixing: Wood Movement Matters
- Common Sauna Lighting Mistakes
- Recommended KayTai Products for Sauna Projects
- Perguntas frequentes
1. Sauna vs Steam Room: Two Different Lighting Environments
People say “sauna” and “steam room” as if they were the same. They are not — and the lighting must be specified differently:
| Ambiente | Typical temperature | Humidity | Lighting requirement |
|---|---|---|---|
| Dry sauna (Finnish style) | 70–100 °C | Low, short steam bursts | Heat rating above all; IP65–IP67 adequate |
| Steam room | 40–60 °C | Near 100%, condensing vapour | Sealed IP67/IP68; condensation-proof wiring |
| Infrared cabin | 40–65 °C | Dry | Standard heat-rated strip is enough |
Before specifying, answer one question: will the product face dry heat, condensing steam, or both? The answer decides the temperature rating and the IP class. A product that survives a Finnish sauna ceiling may fail in a steam room, and vice versa.
2. Temperature Zones: Map the Heat Before You Place a Strip
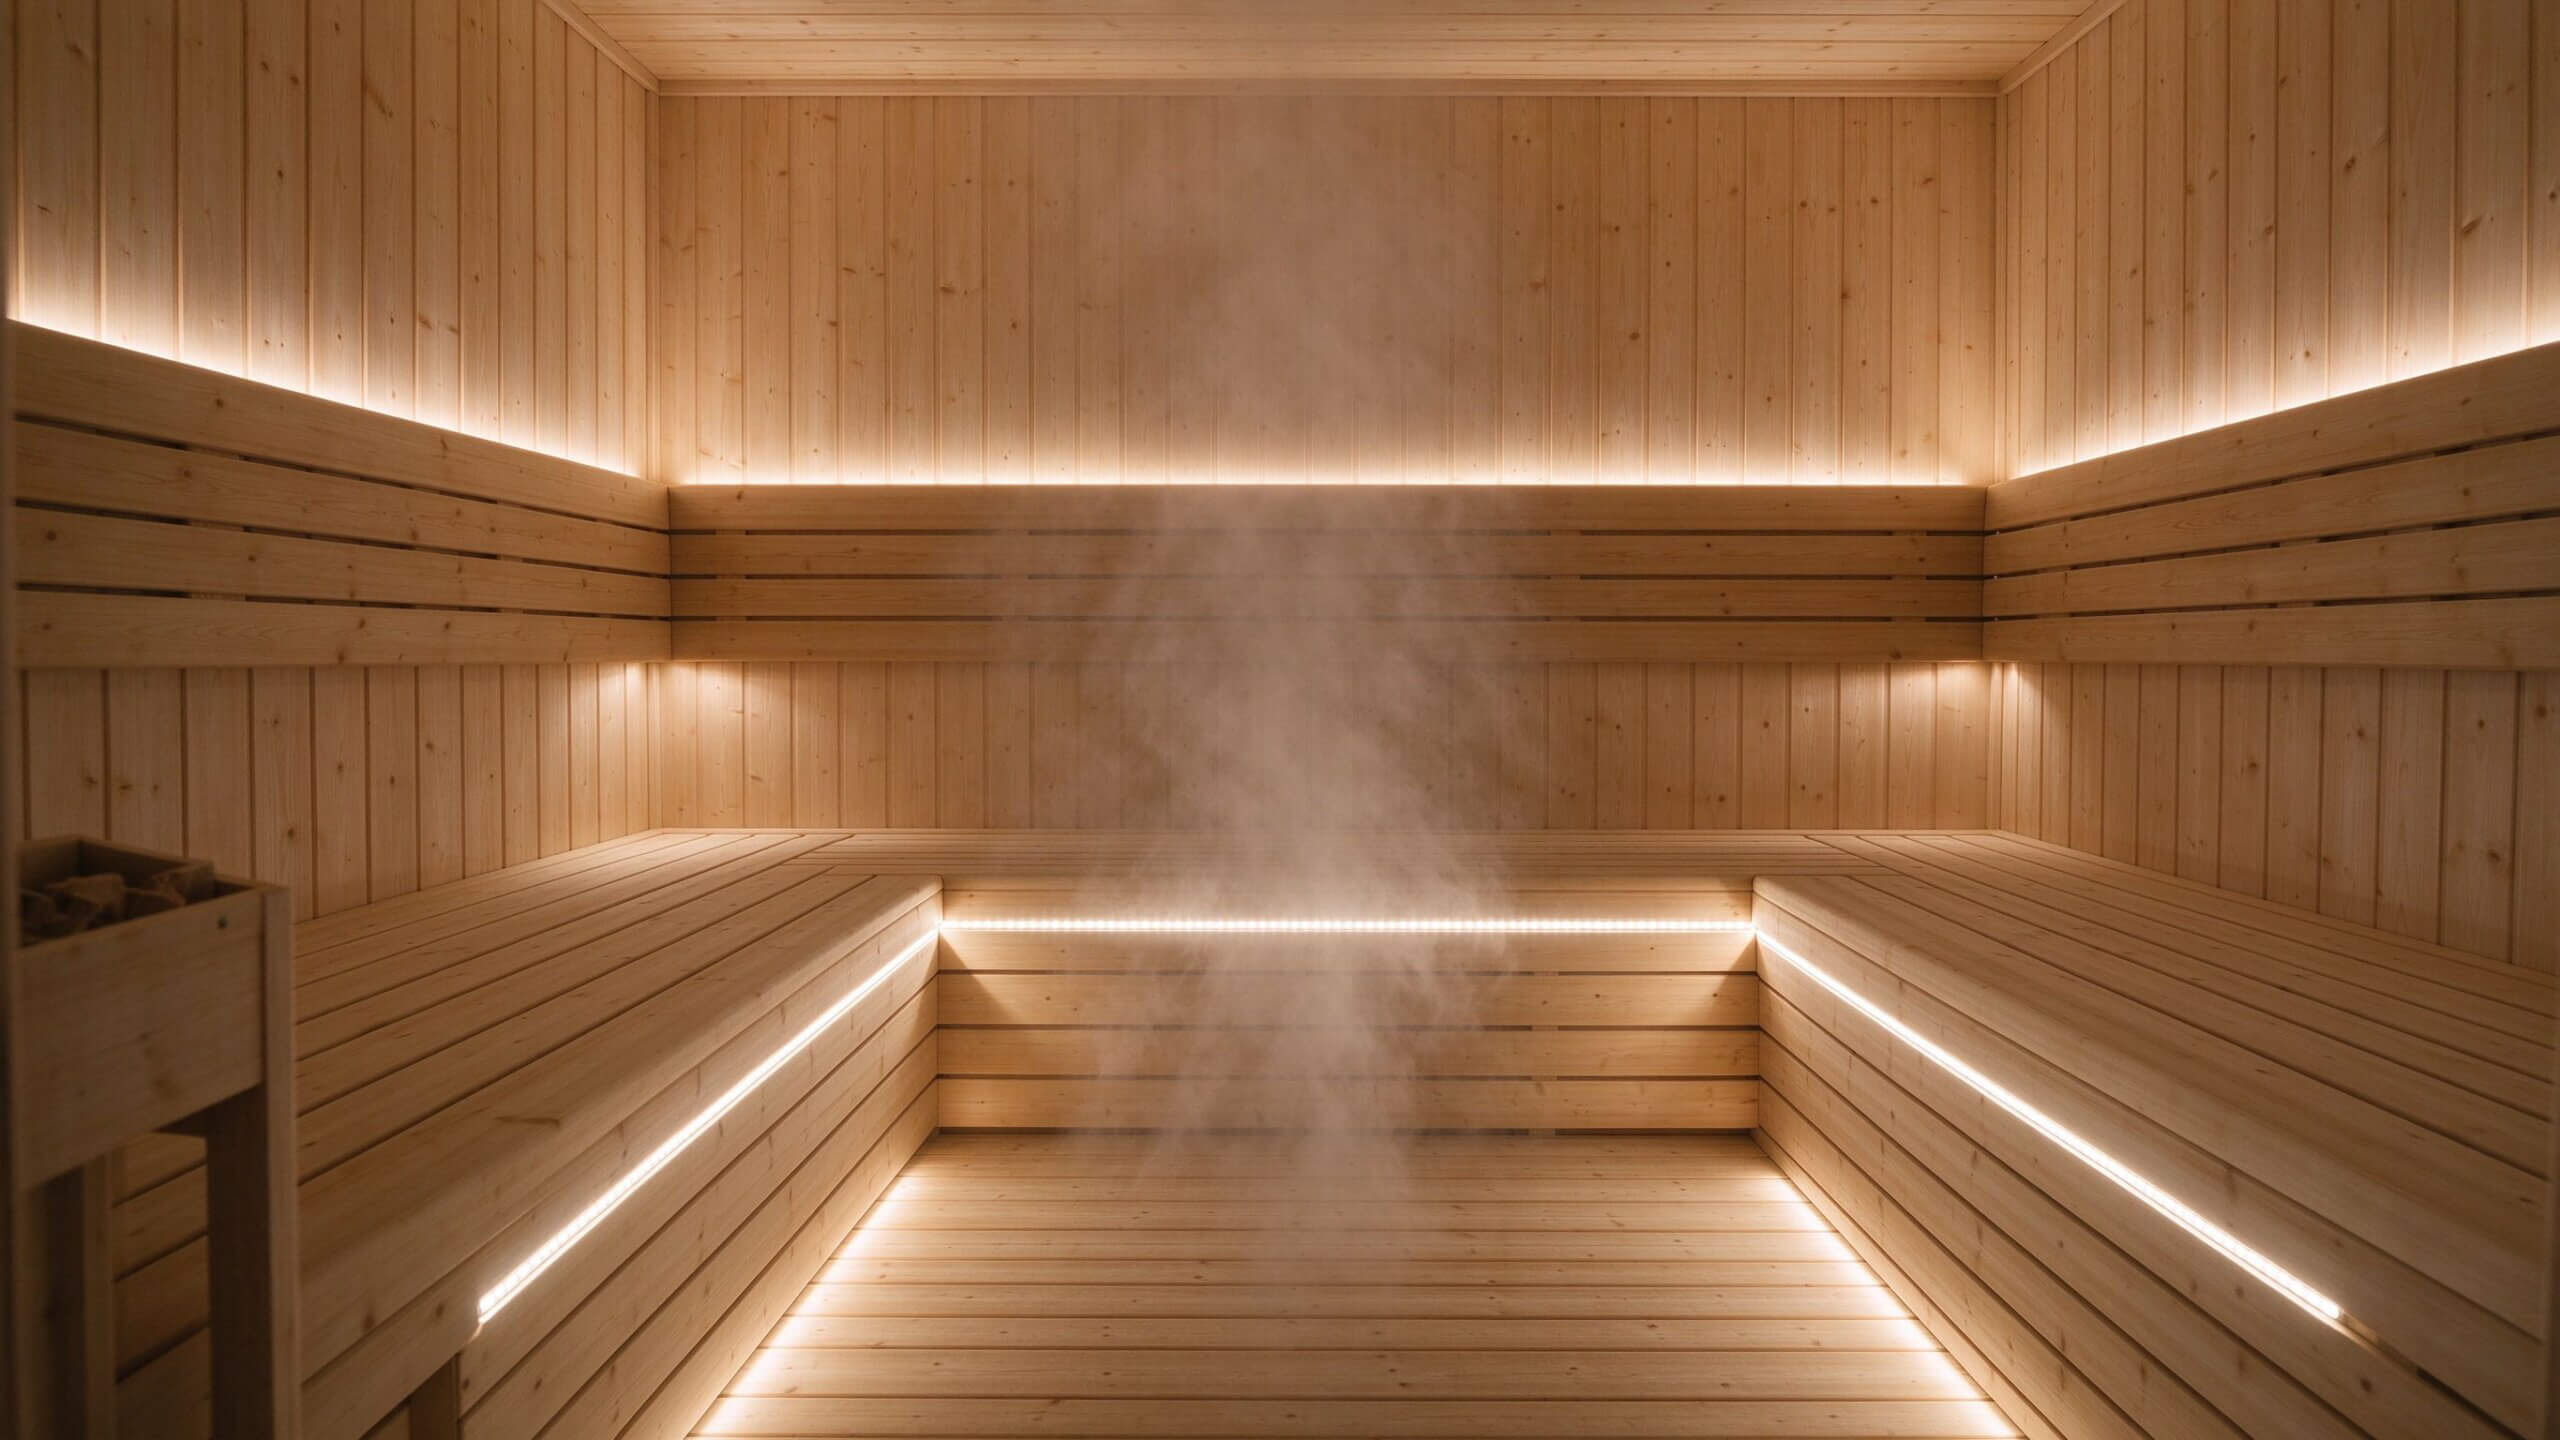
Inside a working sauna, the temperature is not uniform. It varies dramatically by height and position:
The safest lighting position is hidden under benches and behind backrests, where the heat is lower and the light becomes indirect. Measure or reliably estimate the actual temperature at each mounting point, and confirm the product’s operating limit in writing before you install.
3. Heat Ratings: What “Sauna-Rated” Actually Means
“Heat resistant” on a product page means nothing until it is quantified. For saunas you need real numbers:
- Ambient (air) temperature rating ≥ 85 °C for upper sauna zones; 100 °C+ for ceiling or heater-adjacent use. Dry saunas run 70–100 °C.
- Junction temperature handling 125 °C or higher — this is where the LED die sits, and it runs hotter than the air around it.
- Standard LED strips are rated 40–60 °C max. They will degrade, discolour and fail in a sauna — and can become a fire hazard if pushed beyond rating.
| Tipo de tira | Typical max ambient | Sauna use |
|---|---|---|
| Standard indoor strip | 40–60 °C | Never — living room only |
| Quality silicone strip | 60–80 °C | Lower bench / floor zones only |
| Purpose-built sauna strip | 85–120 °C | Upper benches and hot zones |
Read the datasheet, not the marketing. If a listing says “heat resistant” without a temperature threshold, treat it as a red flag. Look for CE, RoHS and similar marks as basic electrical-safety signals.
4. Moisture and Steam: IP Ratings That Survive the Vapour
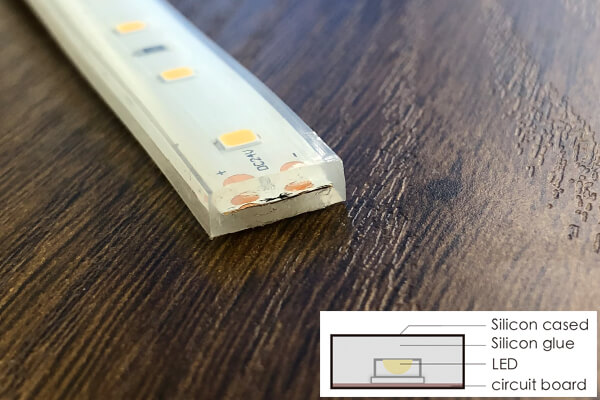
Heat is half the challenge; moisture is the other. Steam condenses on every surface, and water finds its way into unsealed ends:
| Avaliação | Proteção | Sauna use |
|---|---|---|
| IP65 | Splash-proof, dust-tight | Dry sauna zones away from direct steam |
| IP67 | Short-term immersion | Steam rooms, condensation-prone areas — sealed ends essential |
| IP68 | Continuous immersion | Wettest steam environments and any spray-cleaned zone |

Whichever class you choose, the weak points are the cut ends and cable entries. Use factory-sealed ends or quality end caps, and bring every connection outside the hot, humid cabin into a cool dry area. Our IP55/IP65/IP67 buying guide explains the classes in detail.
5. Indirect Lighting Design: Benches, Backrests and Ceiling Coves
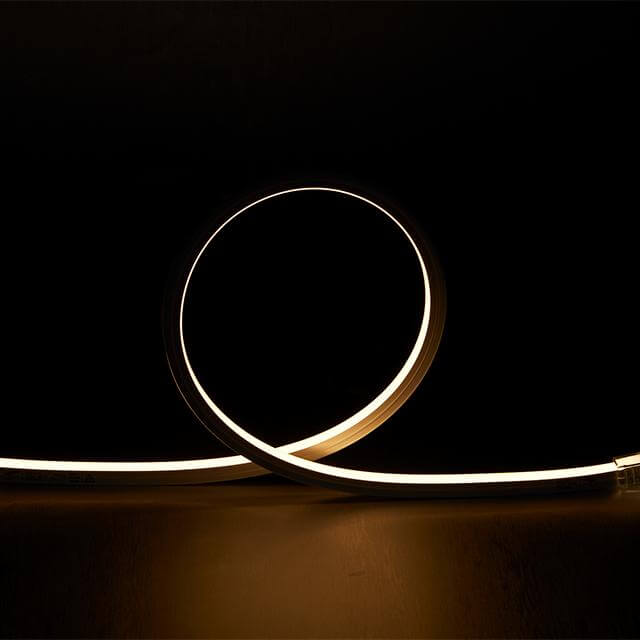
Direct light in a sauna is almost always wrong — it glares off wood, hits faces and ruins the calm. The best sauna lighting is hidden and indirect:
Wood diffuses and reflects light beautifully — use it. Test the effect on a sample board before committing: brightness, glare and shadow placement change completely once the strip is hidden behind timber.
6. Colour and Dimming: Creating the Relaxation Mood
Sauna lighting is mood lighting. The colour and dimming behaviour matter as much as the hardware:
- 2700–3000 K branco quente is the sauna standard — it feels like candlelight and flatters natural timber. Avoid cold white (5000 K+) which feels clinical.
- Dimming is essential. You want bright light for cleaning and a very low warm glow during a session. Use a compatible dimmer or controller.
- RGB and RGBW are options for spa-style cabins, but use them sparingly — a calm colour-therapy scene beats a disco. RGBW adds a dedicated white chip for true warm white when colour is off.
- Gradual fade beats instant on/off. Slow transitions match the sauna ritual.
For the technical background on colour temperature and rendering, see our CCT and CRI guide.
7. Strip, Neon Flex or COB: Which Product for Which Feature
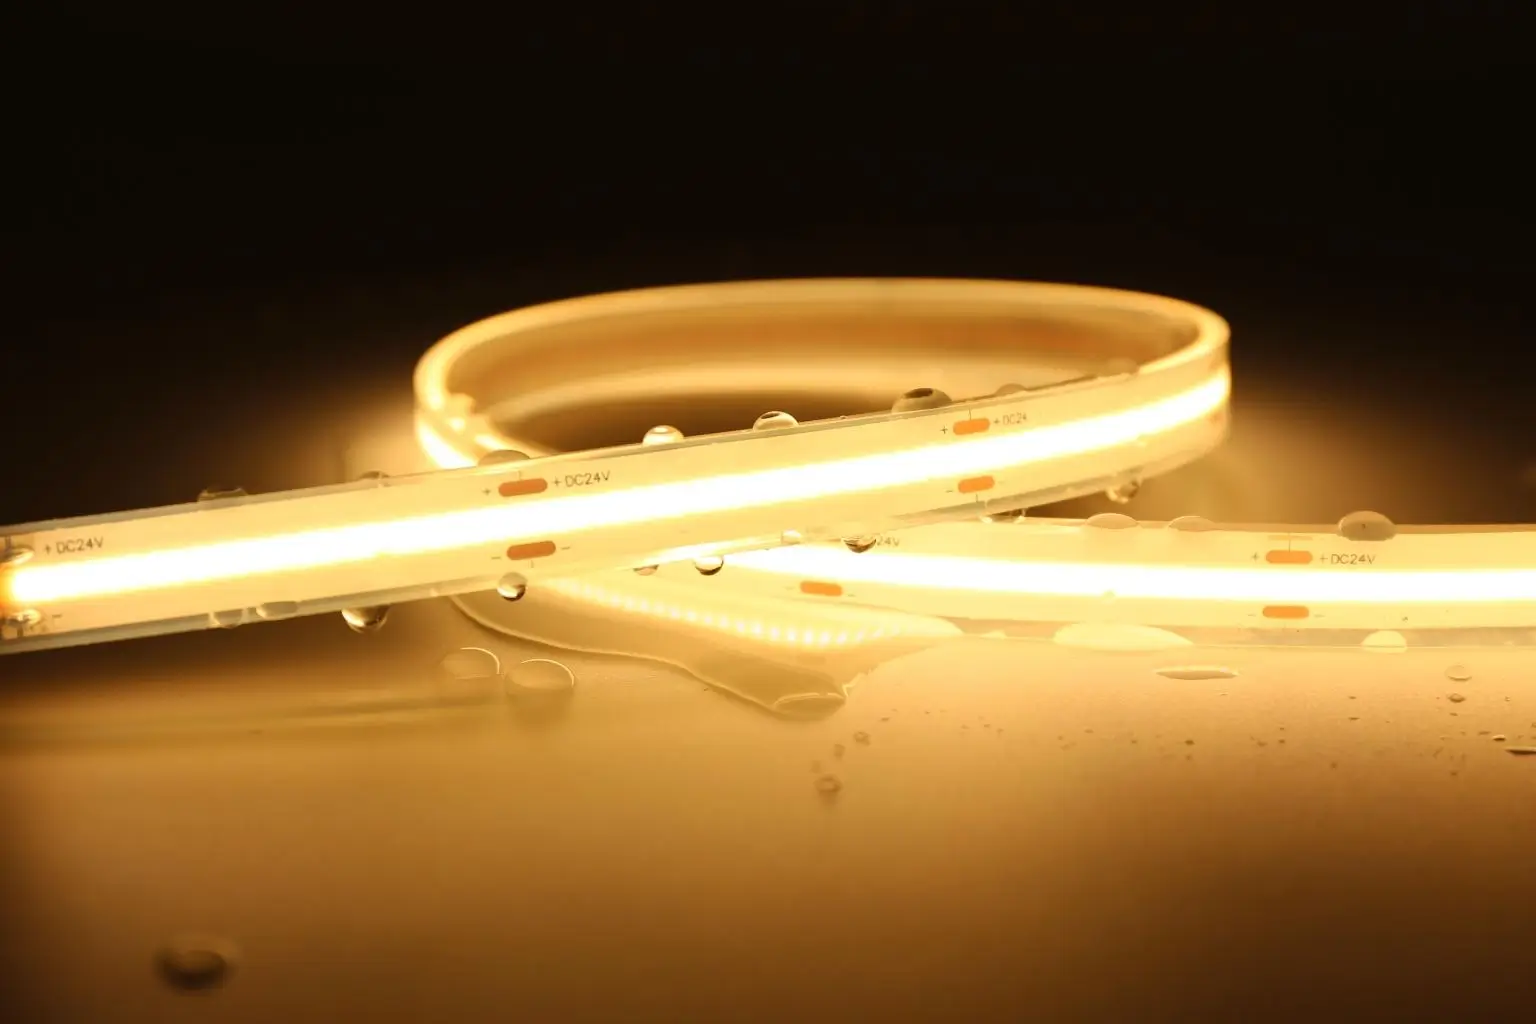
Three product families cover sauna lighting. They solve different problems:
Selection checklist:
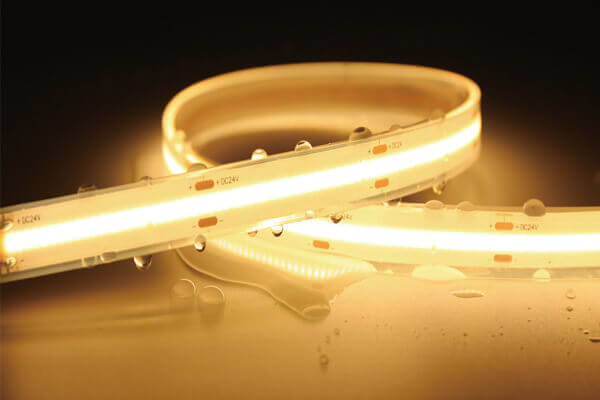
- Under-bench ambient light → COB strip for a smooth band, or standard silicone strip if cost matters.
- Steam room / high humidity → sealed IP67/IP68 strip with factory-sealed ends.
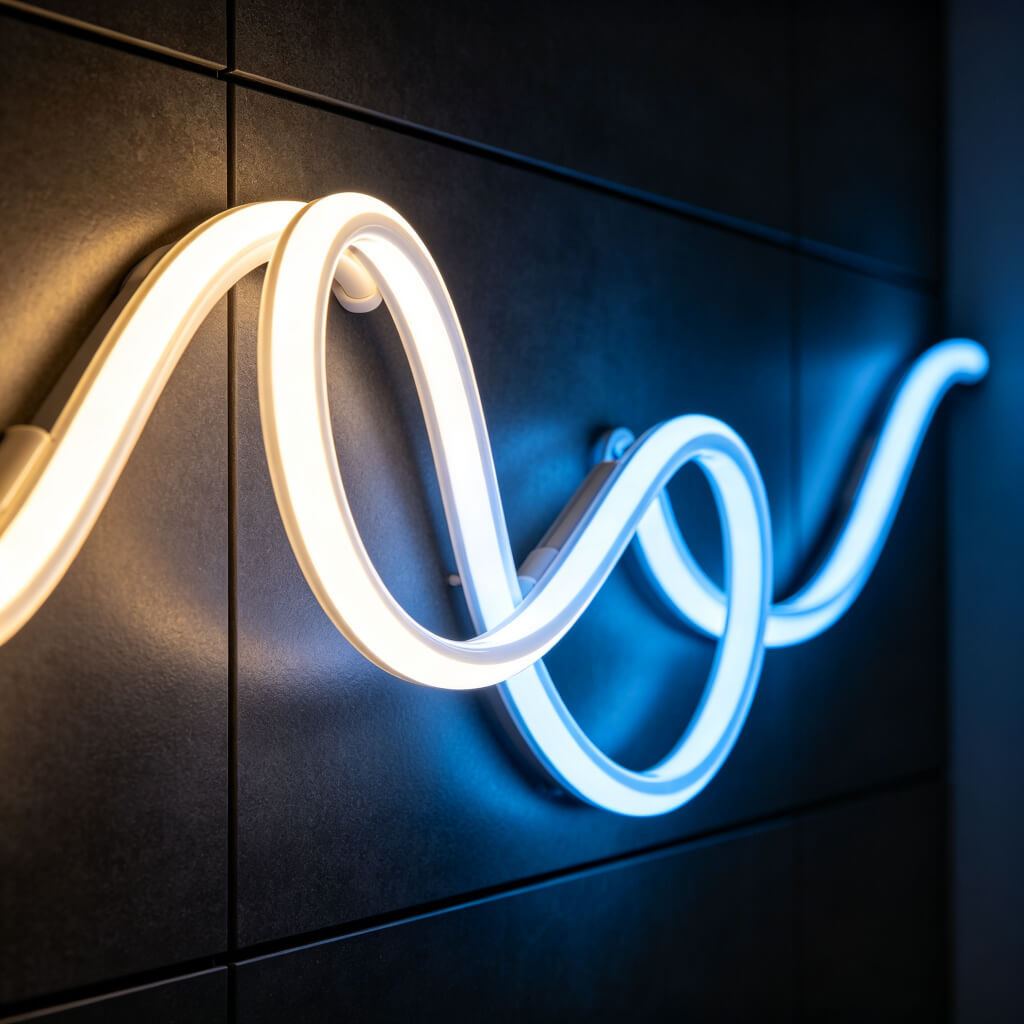
- Backrest halo and architectural lines → neon flex for the 360° glow.
- Step and floor marking → low-height strip or mini neon in a mechanical channel.
Deciding between COB and SMD? Our Comparação COB vs SMD covers brightness, dots and cost.
8. Step-by-Step Installation
Sauna lighting is installed before the cabin is finished, in this order:
Testing at operating temperature is the step everyone skips — and the one that catches most failures. A strip that is fine cold can flicker or dim when the cabin reaches 90 °C.
9. Materials and Mechanical Fixing: Wood Movement Matters
Timber is alive. Heating cycles make boards expand, contract and shift by millimetres — enough to stress a tightly bent strip or snap an adhesive bond:
- Use mechanical fixing — channels, clips or recesses — wherever the strip bridges two boards.
- Check the silicone jacket and cable for pinching at corners and around fixings.
- Allow slack at the ends of each run so movement does not pull on the sealed tails.
- Confirm gaps, lead direction, bend radius and access panels before ordering factory-made lengths.
- Re-tighten or re-seat after the first few heat cycles — this is normal maintenance, not a fault.
Aluminium channels also help dissipate heat and give the strip a clean, mechanical mount. See our LED aluminium profiles range for recessed and surface options.
10. Common Sauna Lighting Mistakes
11. Recommended KayTai Products for Sauna Projects
KayTai manufactures heat-safe, moisture-sealed LED strip and neon flex lines that suit sauna and steam cabins when specified by zone. For sauna projects, spec these:
Tell KayTai your sauna type, temperature at each mounting zone and the timber details — the team will confirm the operating limits and recommend the right strip, neon or channel. Contact the KayTai team for project specifications and samples.
Perguntas frequentes
Send KayTai your sauna type, zone temperatures and timber details — we will confirm operating limits and recommend the right heat-safe strip, neon flex or channel.
Contato KayTai