
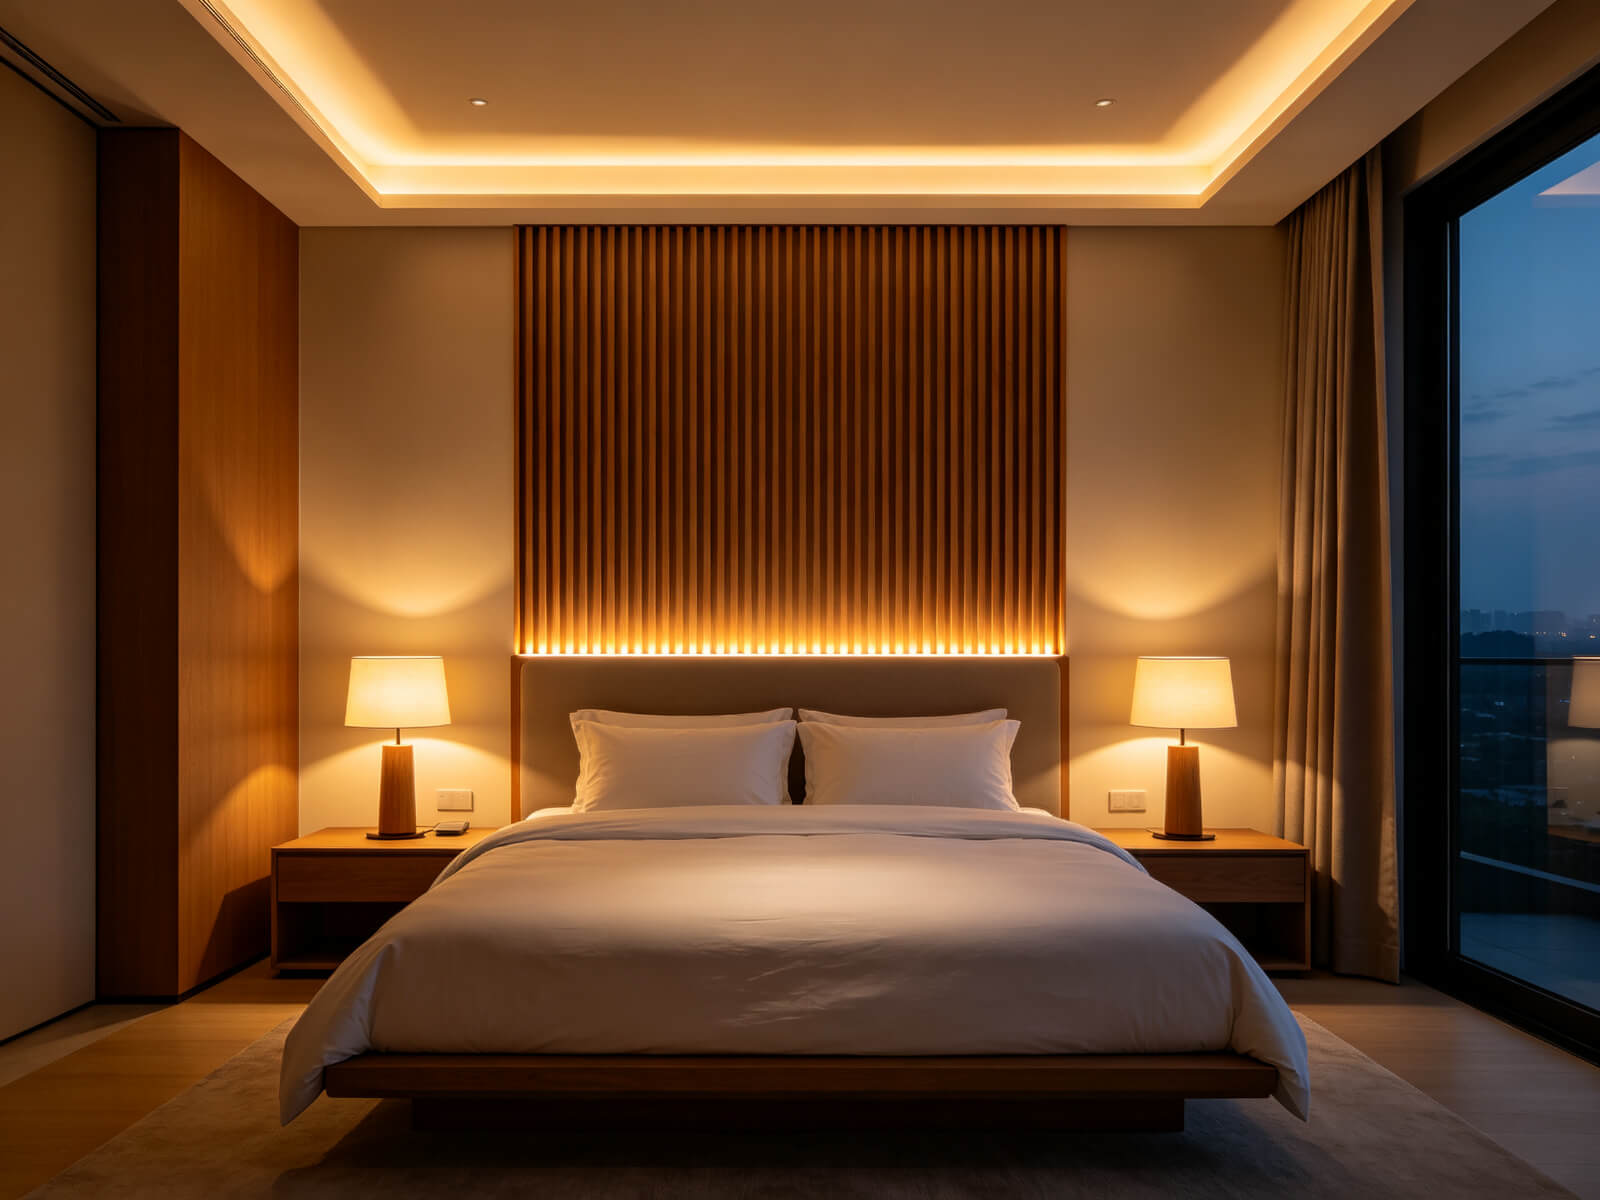
Your bedroom is the one room that belongs just to you — the last space you see before you fall asleep and the first one you open your eyes to in the morning. Yet for most of us, its lighting is stuck in two settings: a ceiling light that is either fully on or fully off.
LED strip lights change that. With a thin, flexible strip of light, you can add a soft ambient glow behind the headboard, a floating halo under the bed, gentle task light on a desk, and a warm wash across the ceiling — all dimmable, all switchable to match your mood. It’s one of the most affordable, reversible upgrades you can make to a bedroom.
But here is the part most guides skip: the difference between a “college dorm” glow and a “hotel suite” finish usually isn’t the LED strip itself. It’s how you mount it — and whether you use an LED aluminum profile to turn a bare strip into clean, diffused architectural light. That detail is what separates temporary from designed.
Here’s what this guide covers:
- Why LED strips belong in your bedroom (and how light affects your sleep)
- The five specs that matter when you choose a strip
- 30+ placement ideas, organized by zone
- How LED aluminum profiles deliver a professional finish — and how to install them
- Common mistakes to avoid, plus straight answers to the questions people ask most
Part 1 · Why LED strips deserve a place in your bedroom
1. Lighting is layered — and most bedrooms are missing layers
Interior designers rarely light a room with a single fixture. They think in three layers:
- Ambient light — the overall, background illumination that fills the room.
- Task light — focused light for reading, getting dressed, or working.
- Accent light — light that draws attention to a headboard, a piece of art, or a textured wall.
A ceiling light alone gives you only a flat ambient layer. LED strips fill in the rest — accent behind the headboard, task light under a shelf, soft ambient in a cove — giving the room depth instead of a single brightness, which is what makes a space feel calm.
2. Light controls your sleep — so use it on purpose
Your body runs on a circadian rhythm, a 24-hour clock strongly shaped by light. Blue-rich light — the kind found in daylight and cool-white bulbs — suppresses melatonin, the hormone that signals sleep time. Research shows blue-rich light in the hours before bed delays sleep onset, which is why sleep specialists recommend warm, dim, low light in the evening.
The practical takeaway for a bedroom: choose strips with a warm color temperature around 2700K–3000K, and keep brightness low at night. It isn’t just cozy — it works with your biology instead of against it. (We’ll explain color temperature properly in Part 2.)
3. It is cheap, efficient, and long-lasting
- Energy: LED strips use 70–80% less electricity than incandescent bulbs for the same light output.
- Lifespan: a quality strip can last roughly 25,000–50,000 hours — well over a decade at a few hours a night.
- Low heat: LEDs run cool, so they’re safe behind fabric headboards, under beds, and inside furniture.
- Reversible: peel-and-stick and clip systems let you change the setup anytime — no electrician needed for most jobs.
4. It is more than decoration
A well-planned setup does real work: a nightlight under the bed, a reading light without glare, a closet light that turns on with the door, and a soft wake-up glow. Light isn’t just how a bedroom looks — it’s how it works.
Part 2 · How to choose the right LED strip: the five specs that matter
Not all LED strips are equal. Before you buy, check these five things — they matter more than the brand.
1. Color temperature — the single most important spec for a bedroom
Color temperature, measured in Kelvin (K), decides whether light looks warm (yellowish) or cool (bluish).
| Color temperature | Look & feel | Best use in a bedroom |
|---|---|---|
| 2700K–3000K (warm white) | Cozy, sunset-like, relaxing | The gold standard — headboard, under-bed, cove, ambient glow |
| 3500K–4000K (neutral white) | Balanced and clean | Daytime reading nook or vanity; dim or switch off 2 hours before bed |
| 5000K–6500K (cool white) | Crisp, clinical, energizing | Avoid in the bedroom — suppresses melatonin and looks harsh at night |
2. CRI (Color Rendering Index)
CRI measures how accurately light reveals true color, with sunlight at 100. For a bedroom, look for CRI 90 or higher; below 80, colors look washed out — fine for a garage, not a sanctuary.
3. SMD vs. COB — dots or a continuous line
This is where cheap setups betray themselves.
- SMD strips (2835, 5050, etc.) show visible dots — distracting in a dark bedroom, acceptable only when fully hidden behind a diffuser.
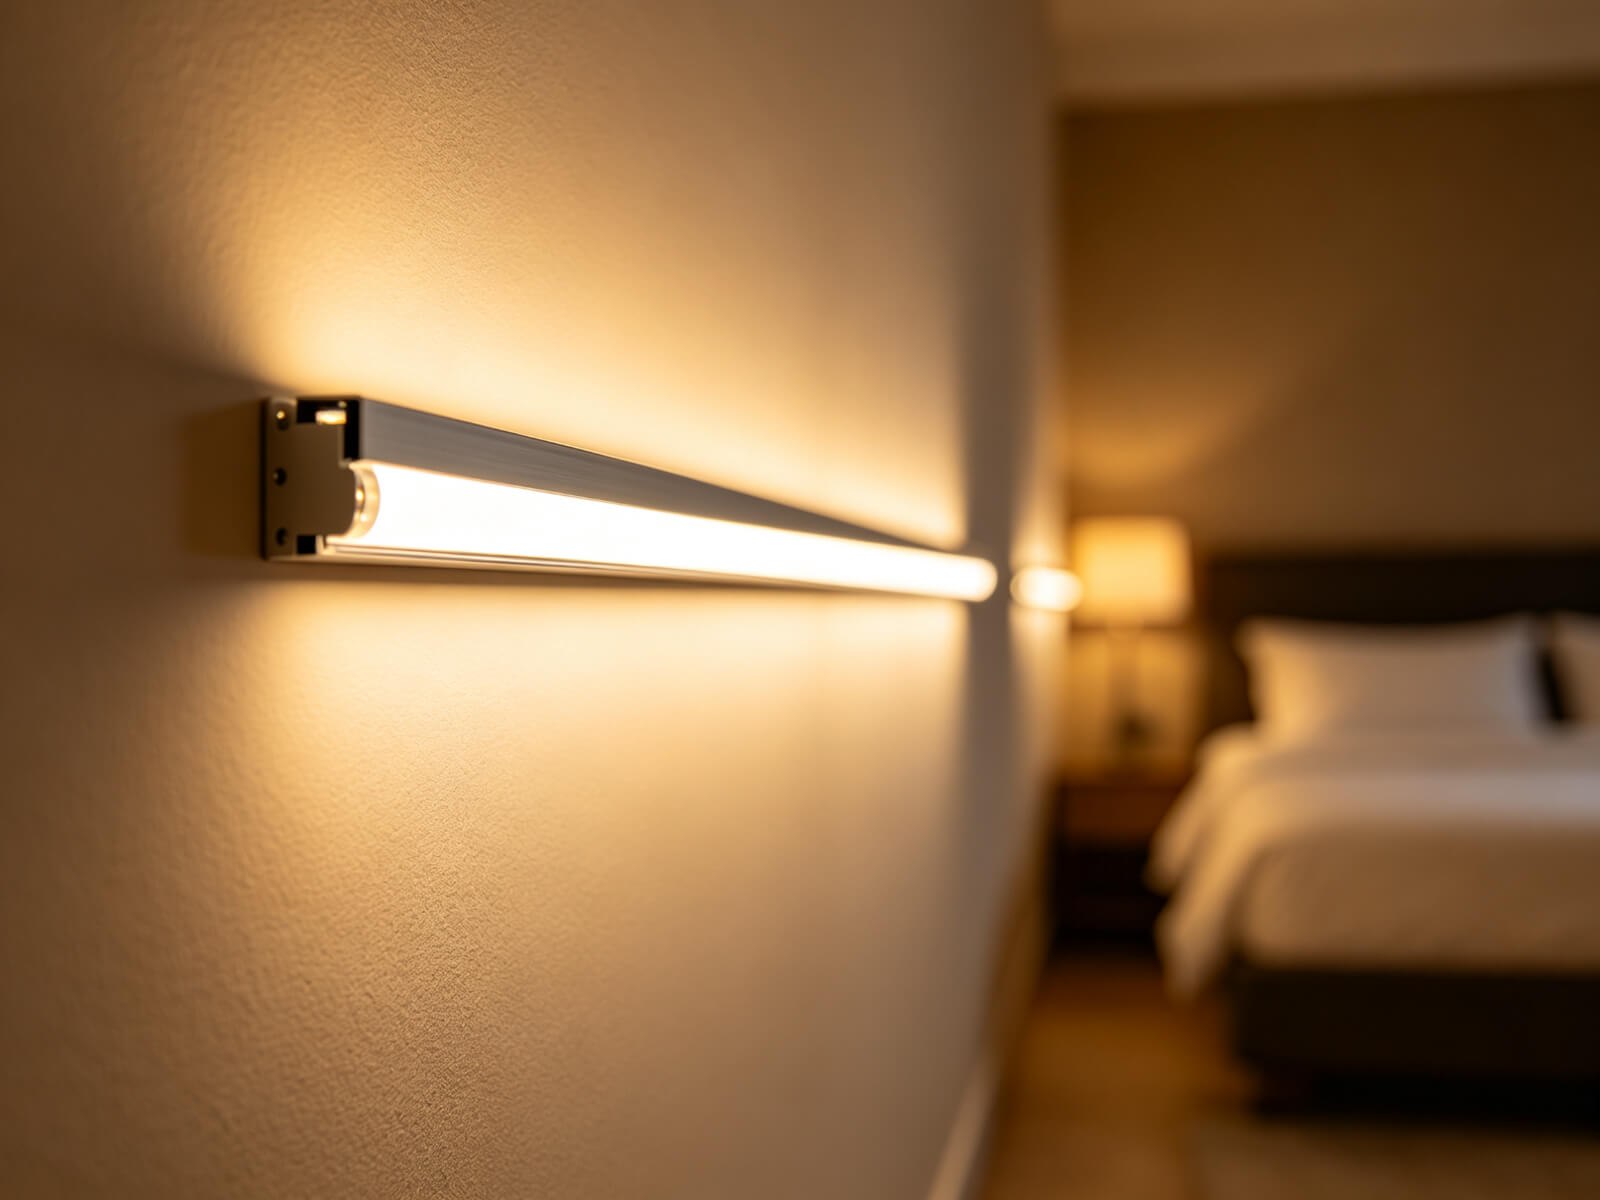
- COB strips pack hundreds of tiny LEDs under a continuous phosphor layer for one smooth, dot-free line — the right choice whenever the strip or its reflection is visible.
Rule of thumb: if you can see the strip or its reflection, choose COB or add a diffuser. We’ll come back to diffusers in Part 4.
4. Dimmability and smart control
Dimmability is almost essential — bright to get ready in the morning, a barely-there 10% glow at night. A smart controller goes further with scheduled “sunset” dimming and app or voice control.
5. Brightness, length and voltage
- Measure the exact run length first, then buy a little extra for corners and routing.
- Match the power supply to the strip’s wattage with about 20% headroom — a 40W strip needs a 48W+ supply.
- Check the voltage (12V, 24V, or 5V USB). Everything — strip, controller, supply — must match.
- Don’t buy brightness alone. For ambient bedroom glow, smooth and warm beats bright and harsh.
Part 3 · 30+ placement ideas, organized by zone
Instead of a random list, here are the ideas grouped by where they go — so you can mix and match a complete scheme instead of picking one spot and stopping.
Behind and under the bed
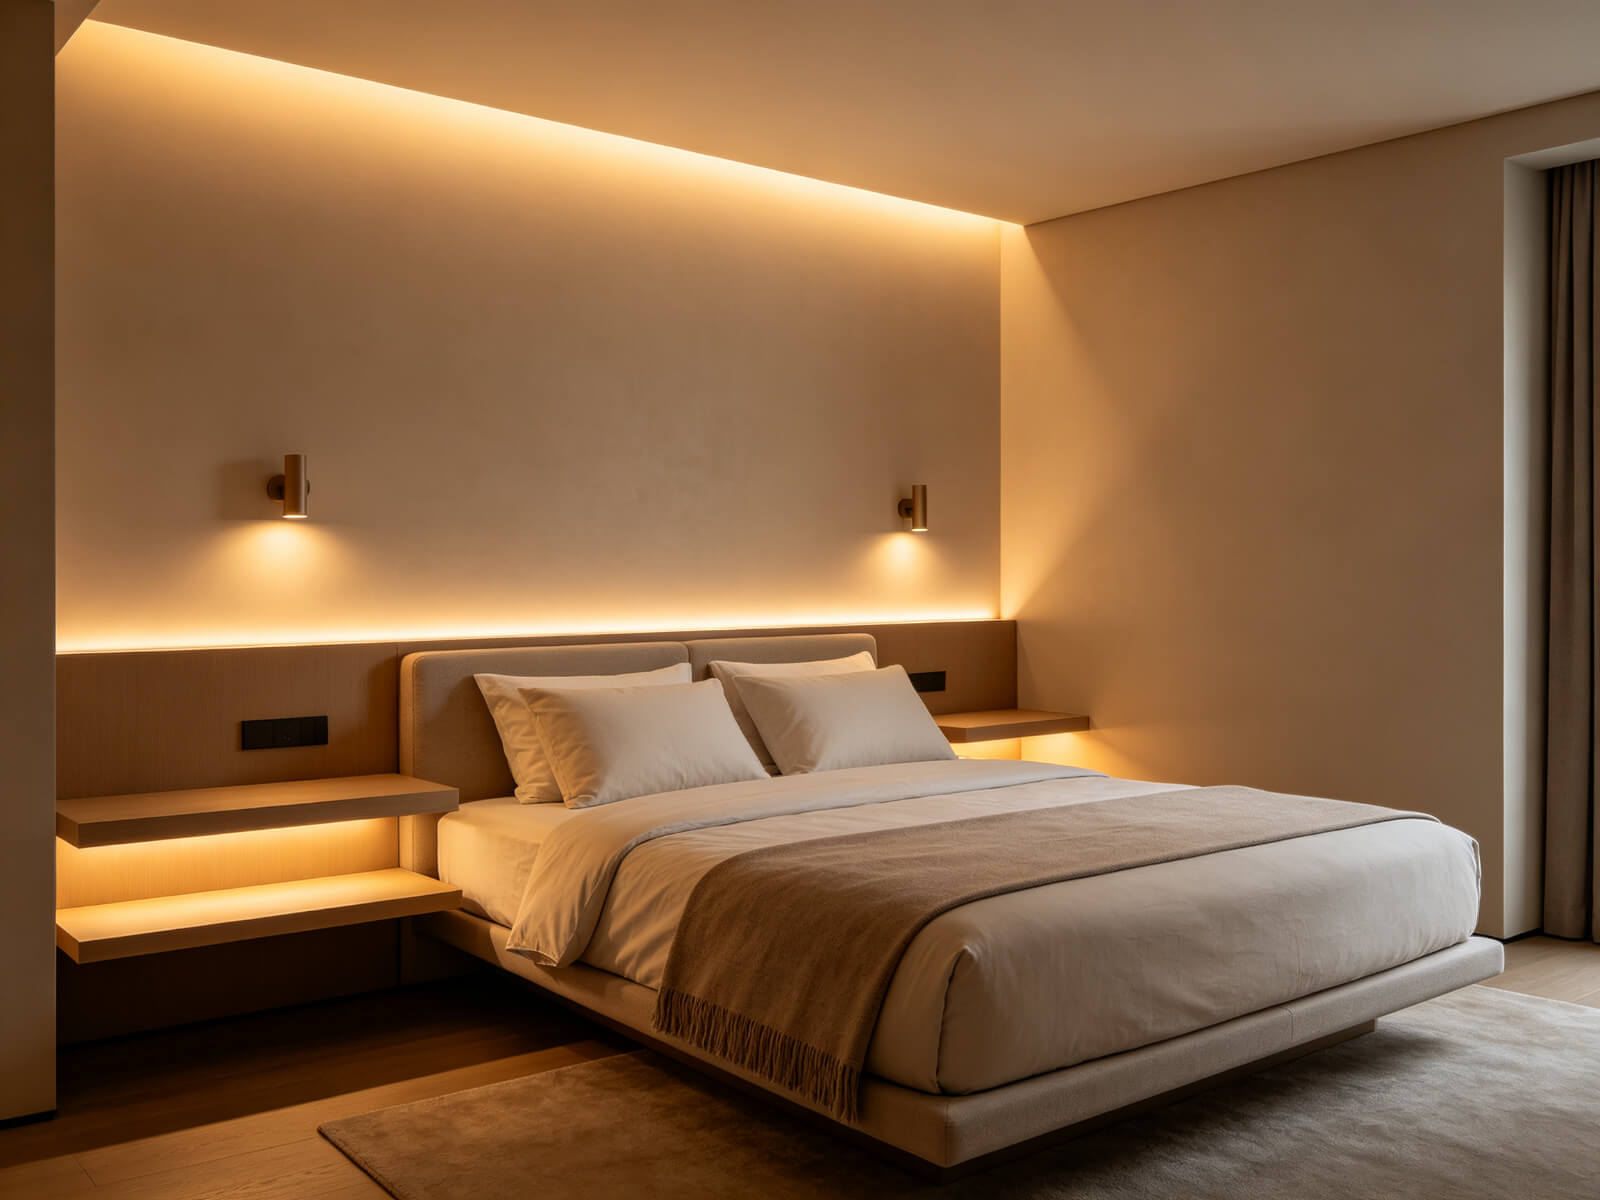
- Backlit headboard. The classic: a warm strip along the top edge of the headboard, or behind it, for a soft halo that doubles as reading light. Position it 2–4 inches from the edge and use a diffuser if the wall is glossy.
- Floating bed. Run a strip under the bed frame facing the floor — the bed looks like it’s floating, and the glow doubles as a nightlight.
- Canopy bed. Wrap a dim-to-warm strip around the canopy frame for a romantic, cocoon-like glow.
- Platform bed base. Edge-light the base for a clean, modern line at floor level.
Ceiling and walls
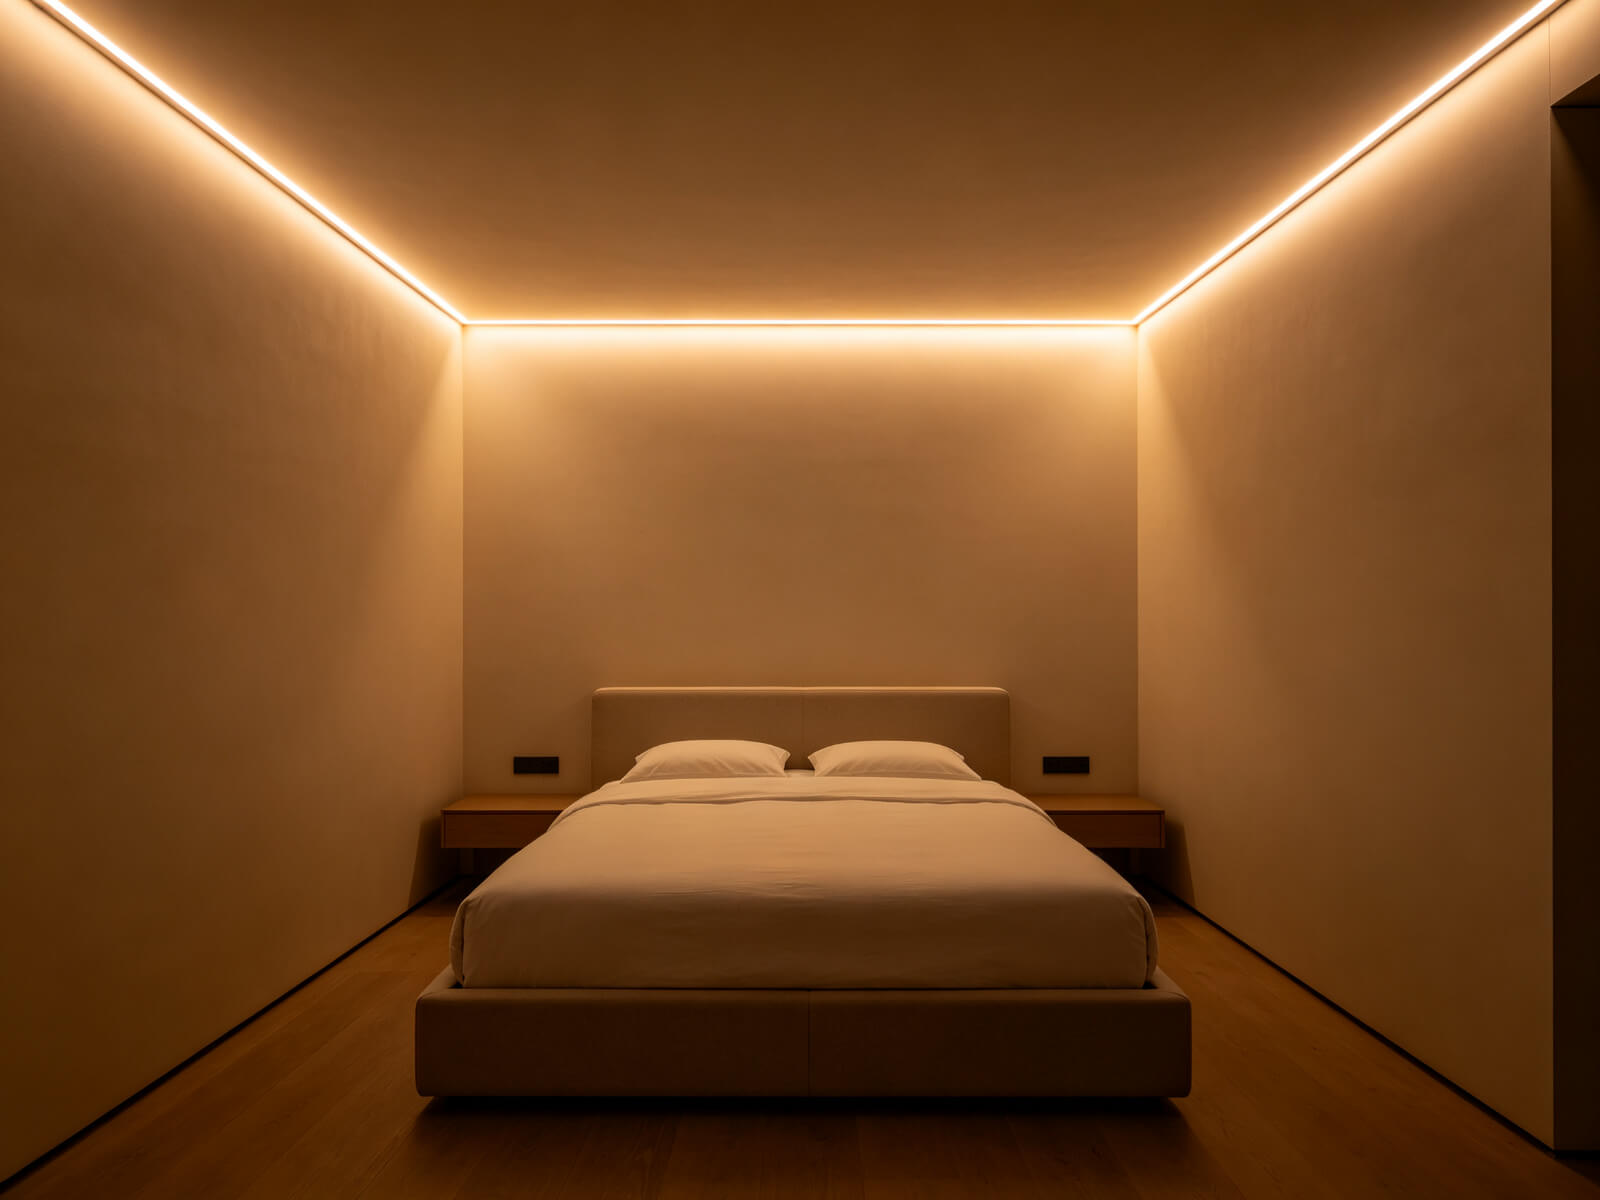
- Perimeter cove. A strip in a ceiling recess, or a profile just below the ceiling line, bounces light off the ceiling for a soft, glare-free wash.
- Recessed linear slots. Recess a slim profile flush into the ceiling or wall and plaster over the edges — the “invisible light” of high-end interiors.
- Accent wall wash. Mount a strip behind a textured panel or along the border of a feature wall to graze the texture.
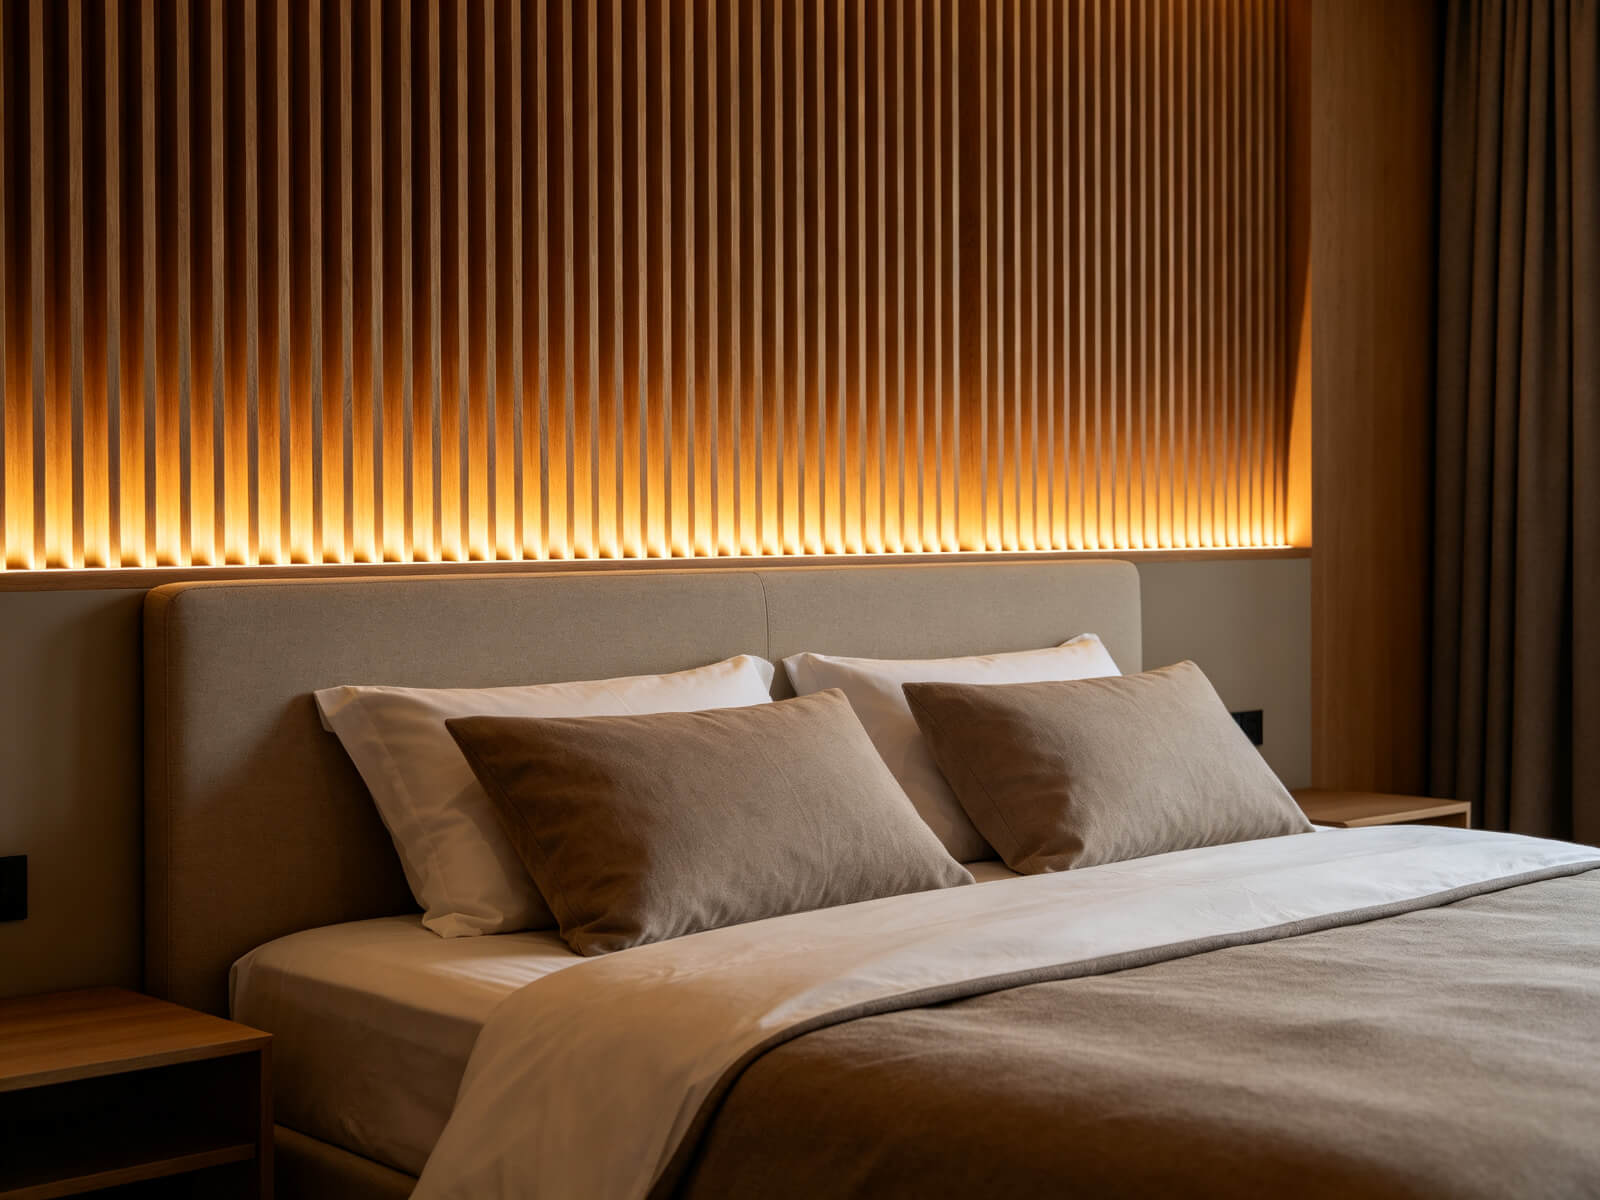
- Backlit wall panel. Hide a strip behind the top edge of slatted or upholstered panels for a gentle upward glow.
- Starry ceiling. Addressable strips on a dark ceiling create a subtle twinkle. Keep it dim.
- Headboard wall line. A single clean horizontal line at pillow height gives a gallery-like look with no headboard at all.
Closet and storage
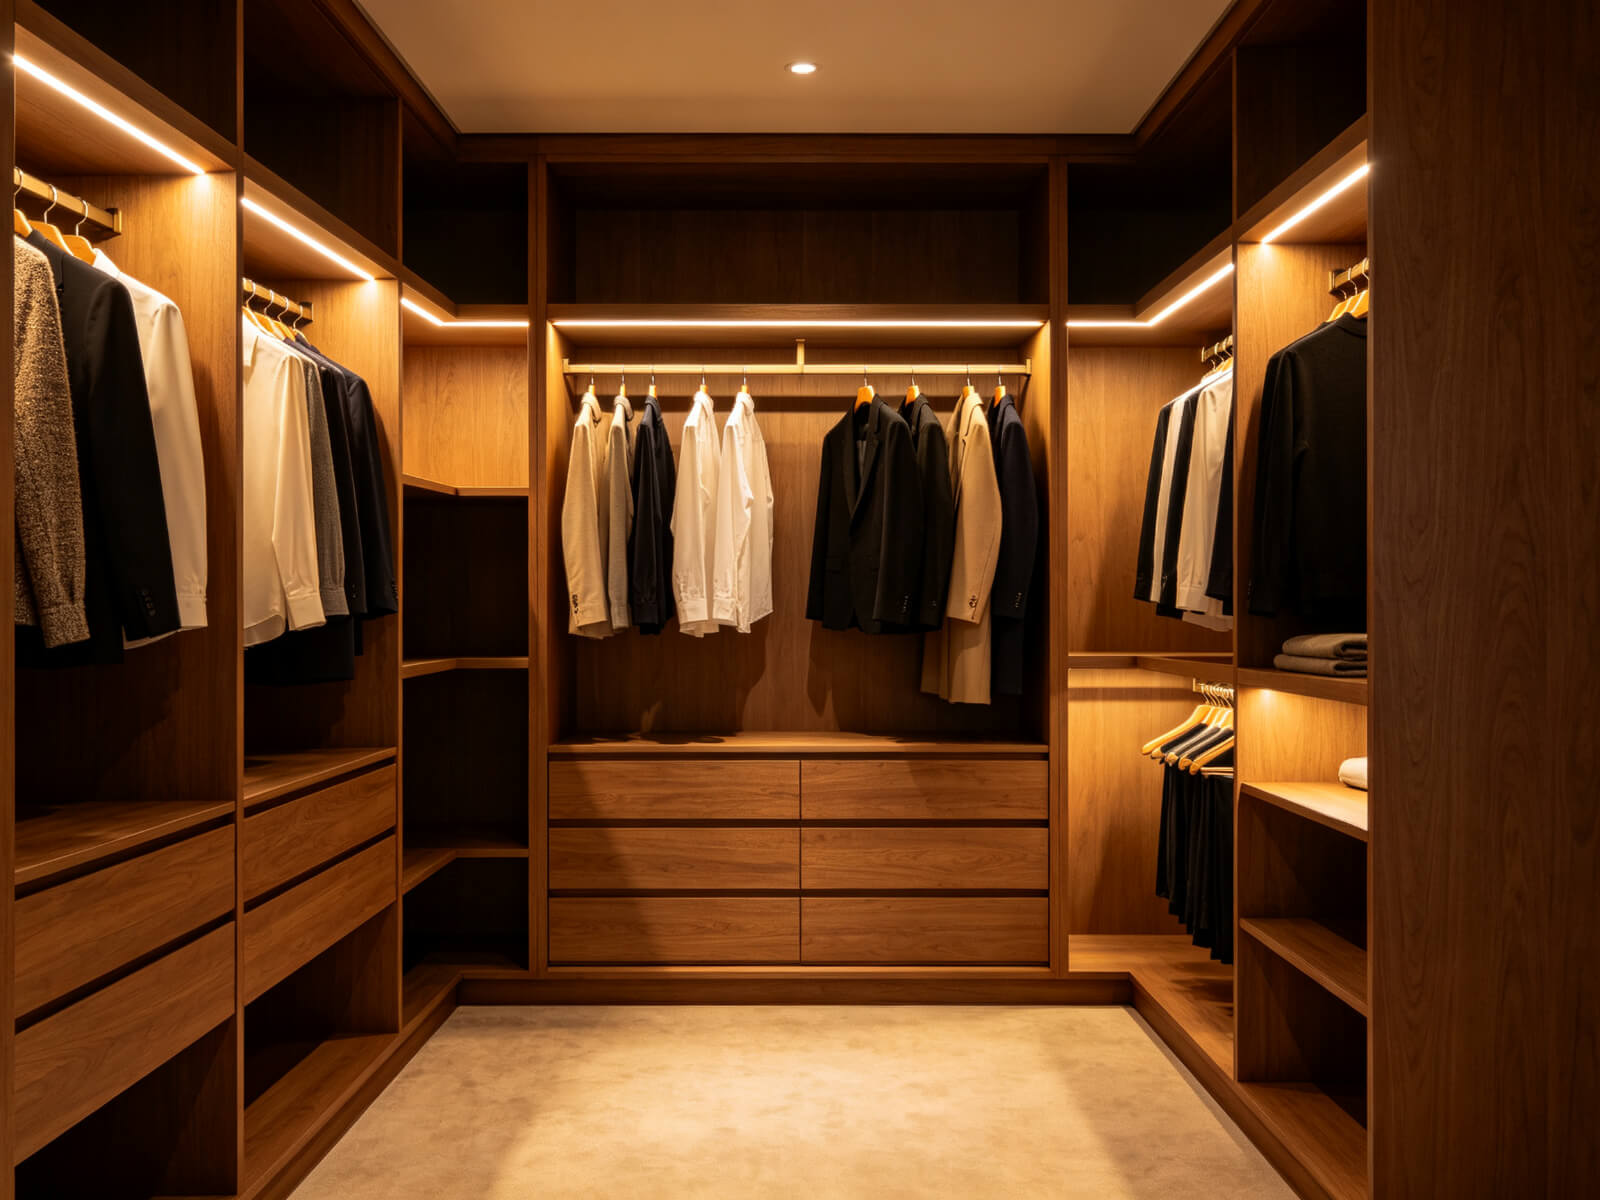
- Closet / wardrobe. Run a strip along the hanging rail or under each shelf so every item is visible; add a motion sensor.
- Under-shelf lighting. Light open shelving from below to showcase decor, books, and folded clothes.
- Drawer lighting. Tiny strips inside drawers make it easy to find socks and accessories.
- Skirting / baseboard lighting. A strip along the baseboard gives a subtle floor-level glow that guides you at night.
- Wardrobe rail lighting. Edge-light a hanging rail for a boutique, retail-style touch.
Desk and work corner
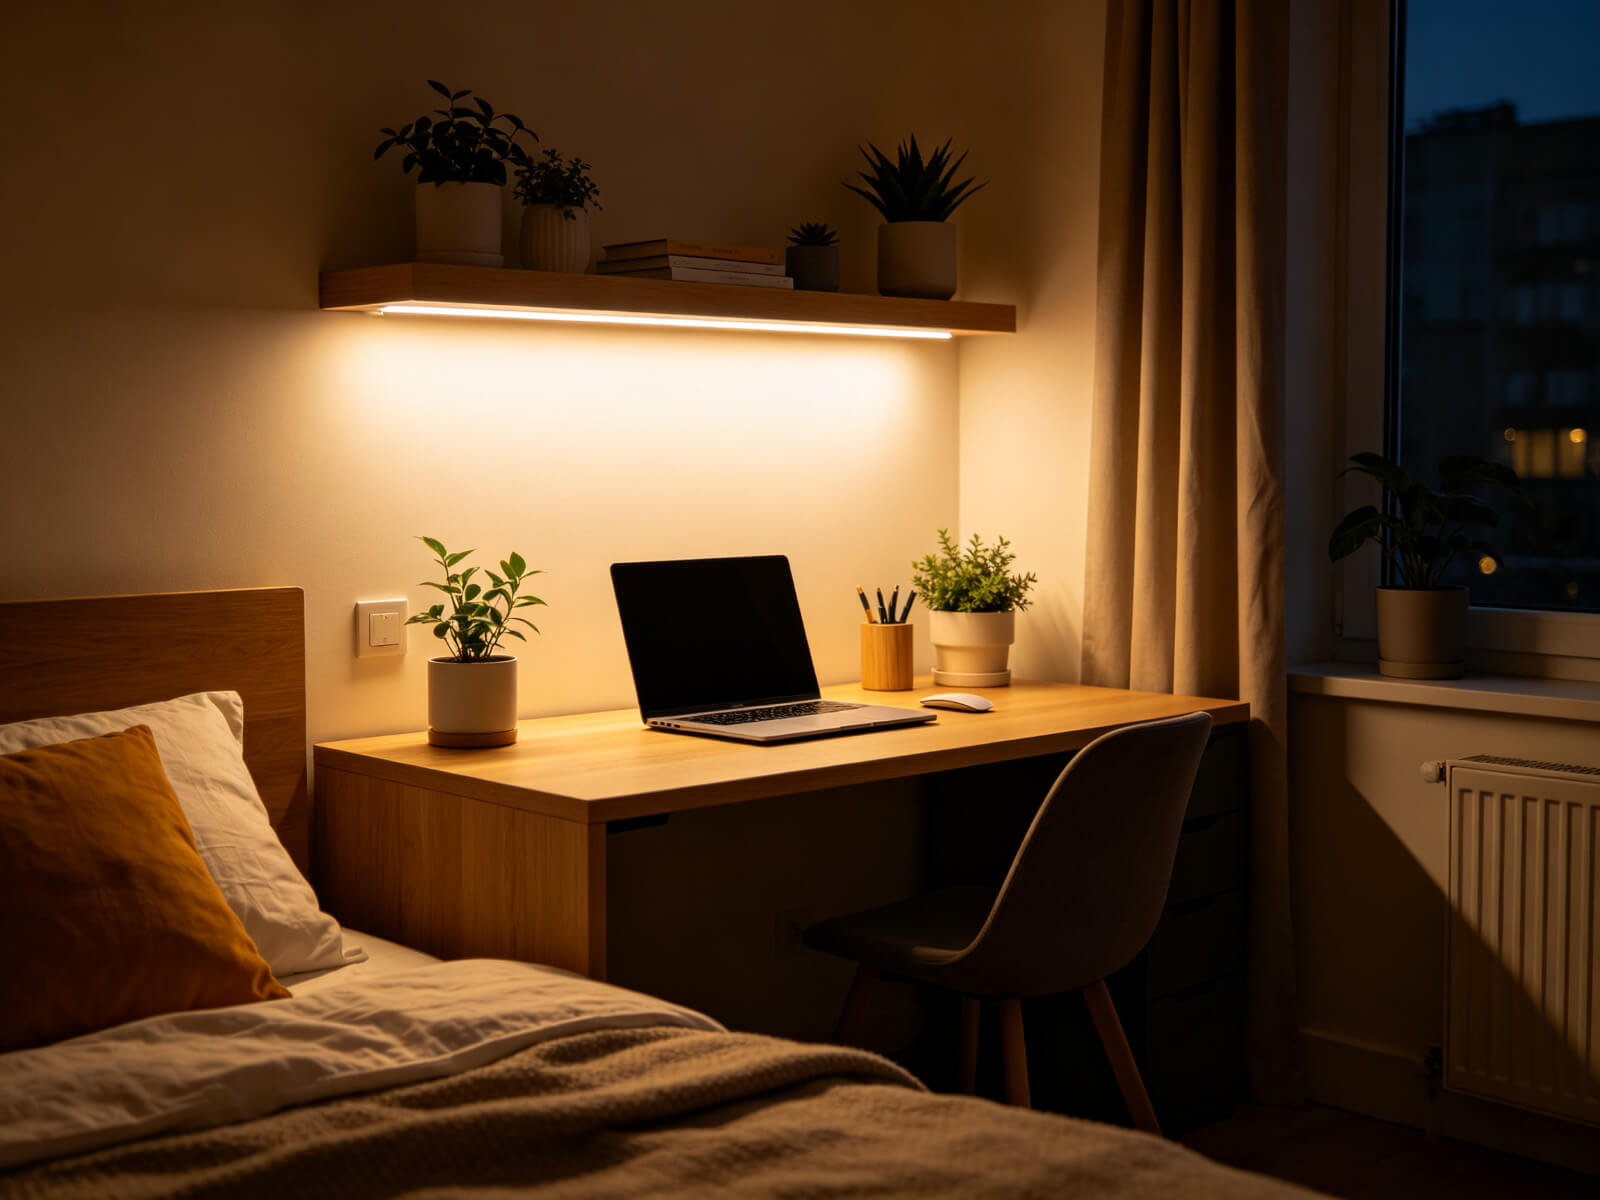
- Under-desk strip. Soft light under the desk reduces eye strain and makes the corner feel intentional.
- Behind the monitor. Bias lighting behind the screen reduces contrast and eye fatigue for late-night work or gaming.
- Shelf above the desk. Run a strip under a shelf to light the desktop without glare.
Windows, mirrors and decor
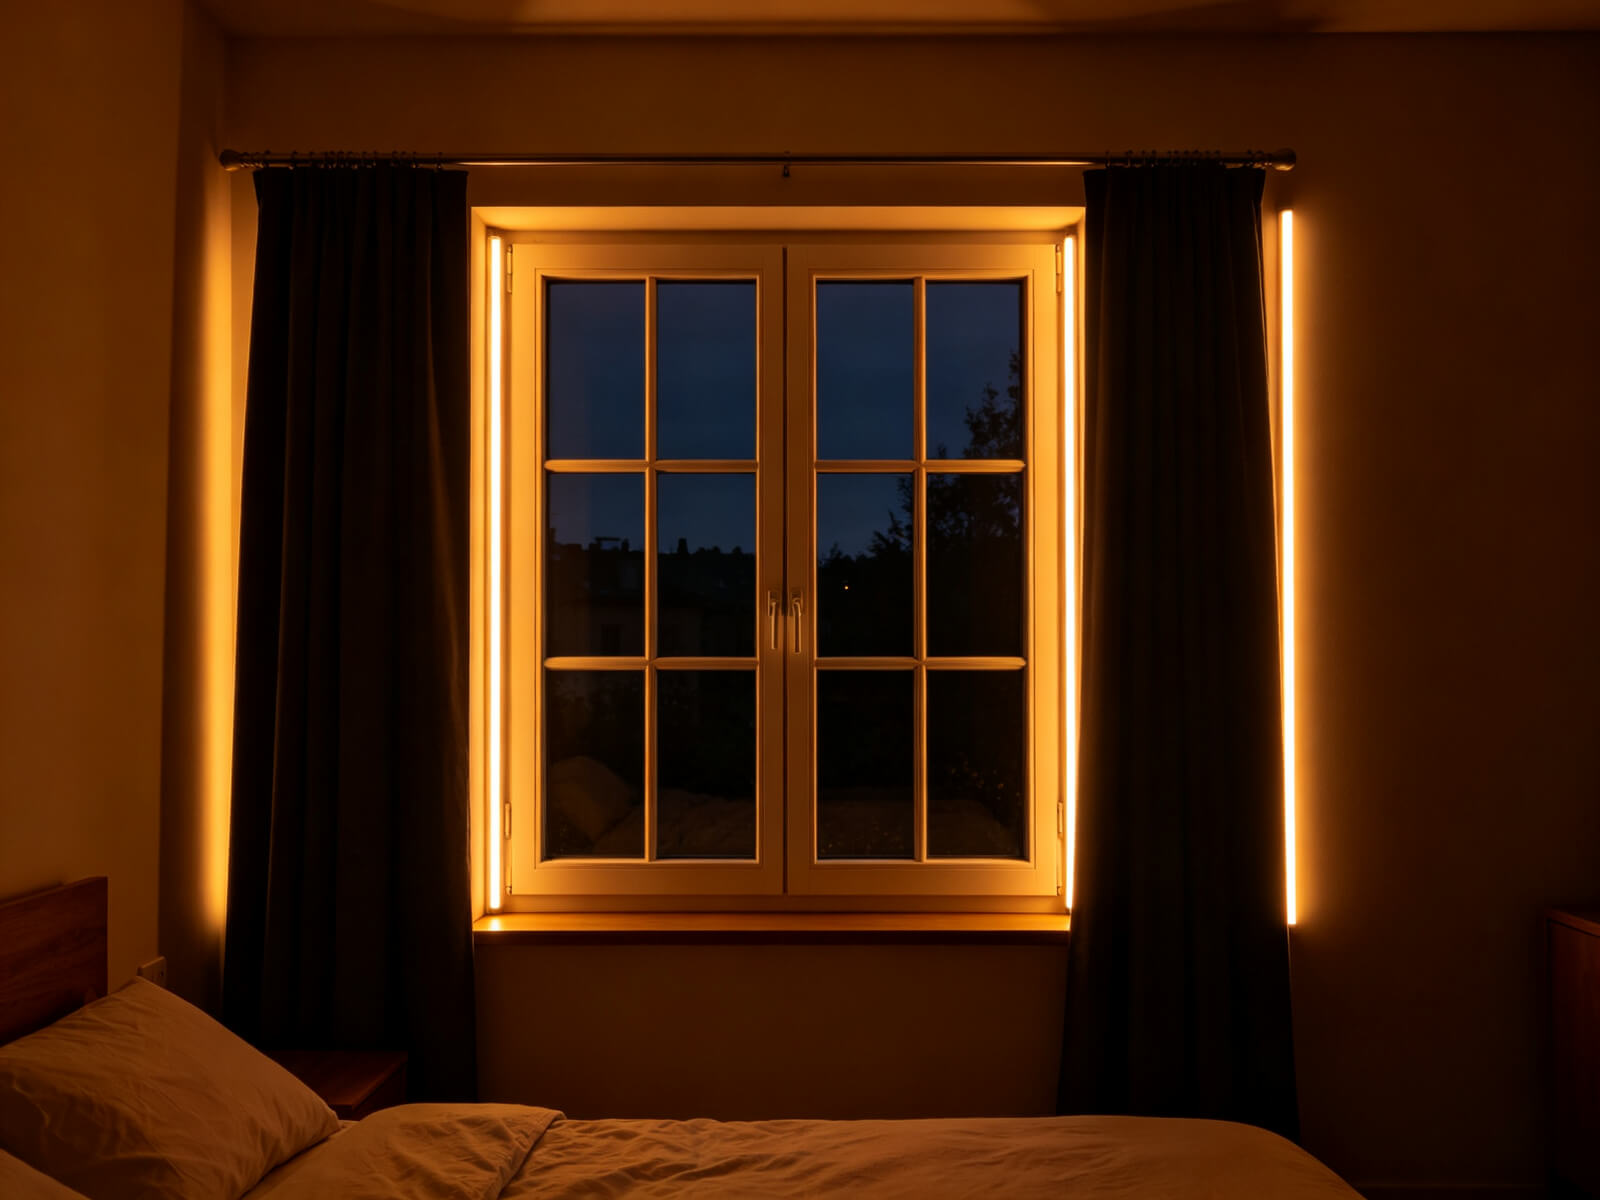
- Behind curtains. A strip behind sheer curtains gives the window a warm, backlit glow at night.
- Window frame outline. Frame the window with a strip for a bright, modern “frame” effect.
- Vanity mirror. Warm-white strips around the mirror give even, flattering light — roughly 3000K–4000K with CRI 90+.
- Wall art backlight. Put a strip behind a large canvas or frame for a gallery look.
- Shelf edge lighting. Run a strip along the front edge of floating shelves so displayed items pop.
- TV backlight. A strip behind the TV softens contrast and reduces eye strain in a media corner.
Creative and statement ideas
- Draped light curtain. Hang addressable strips in vertical runs behind the bed for a soft curtain of light.
- Geometric patterns. Diamonds, hexagons, zigzags, or a simple grid make a striking feature wall.
- Stair / loft bed steps. Edge-light each step for safety and style in a loft bed setup.
- Modern “line” headboard. A single horizontal strip at the head of the bed acts as a sleek headboard substitute.
- Backlit panel / light box. Build a simple backlit panel as a headboard feature.
- Tapestry backlight. Hide a strip behind a large textile to add depth without glare.
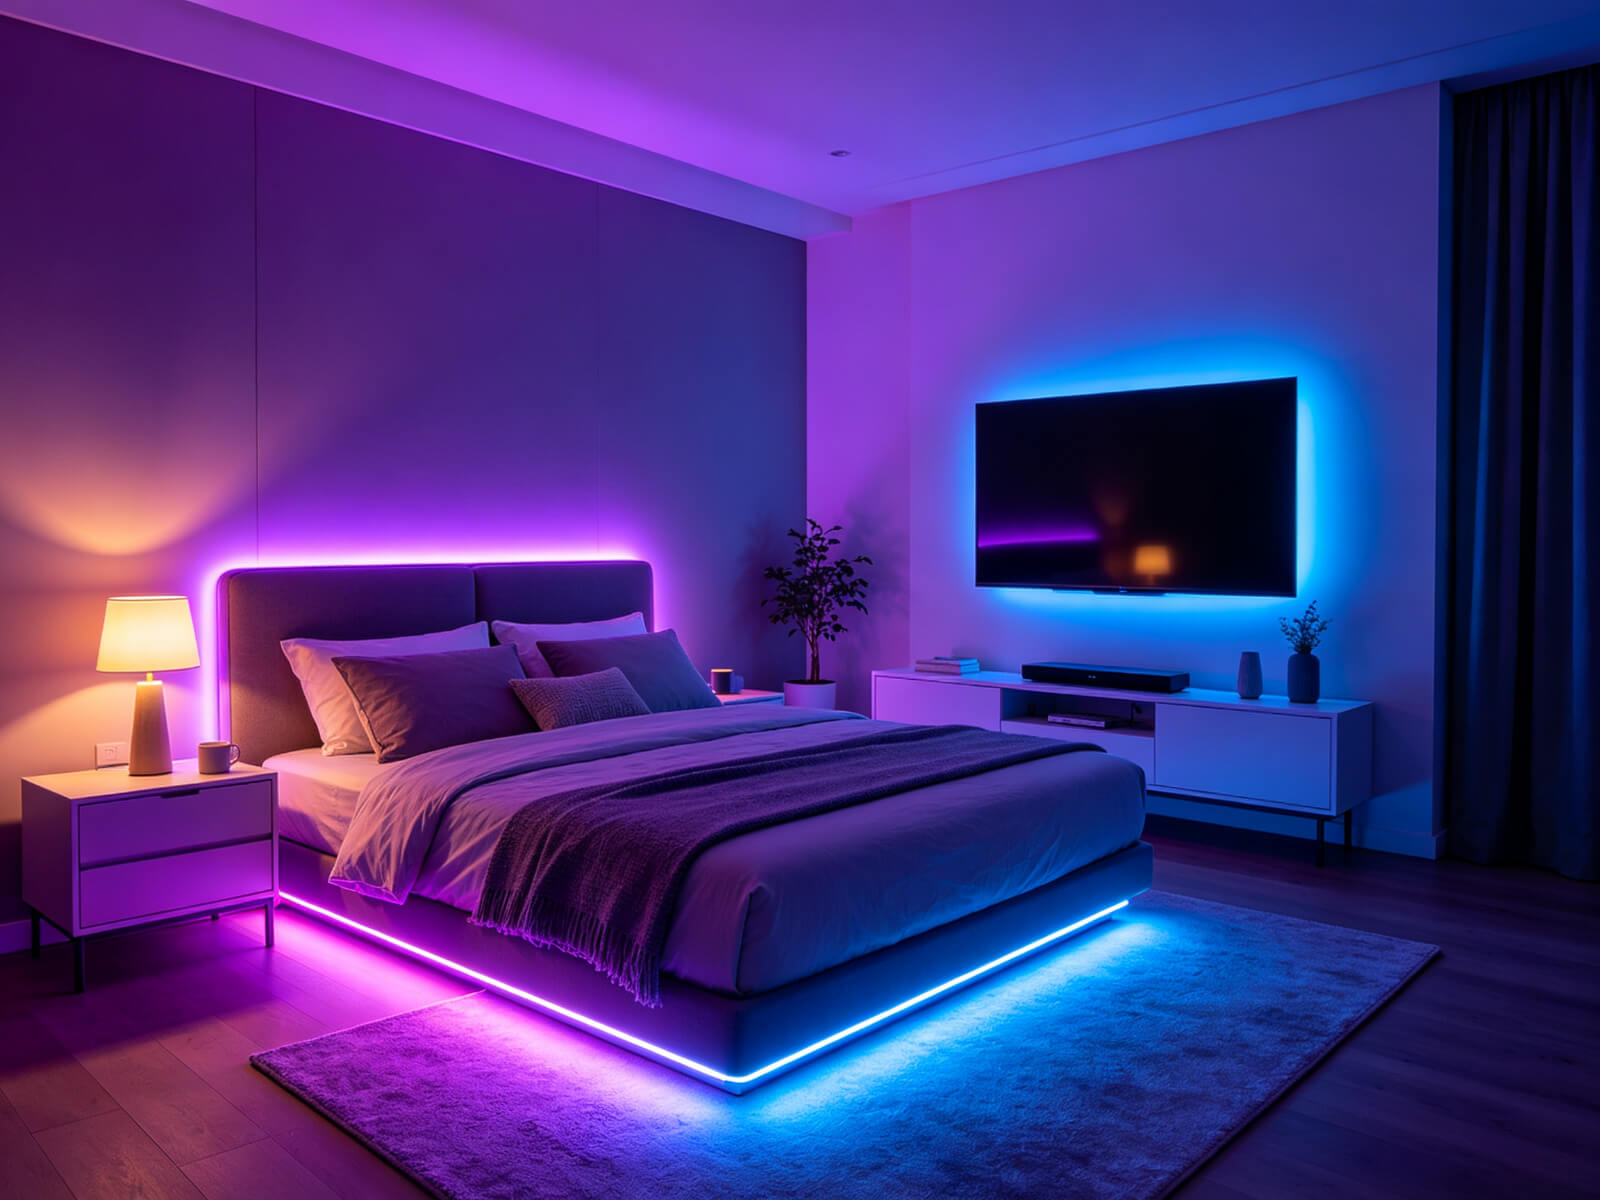
That’s thirty ideas — and honestly, most people find the best results come from combining two or three zones. The most popular combo is cove lighting + backlit headboard + under-bed glow.
Part 4 · The secret to a professional finish: LED aluminum profiles
Here’s the honest part that most “ideas” articles skip. Take the same LED strip and install it two ways, and you’ll get two completely different rooms.
- Bare strip stuck to the wall: visible dots, uneven light, peeling adhesive on textured walls, dust on the sticky surface, dangling wires — the unmistakable “temporary” look.
- Strip inside an LED aluminum profile: one clean, continuous, evenly diffused line of light; hidden wiring; a protected strip; and a look that reads as intentional design.
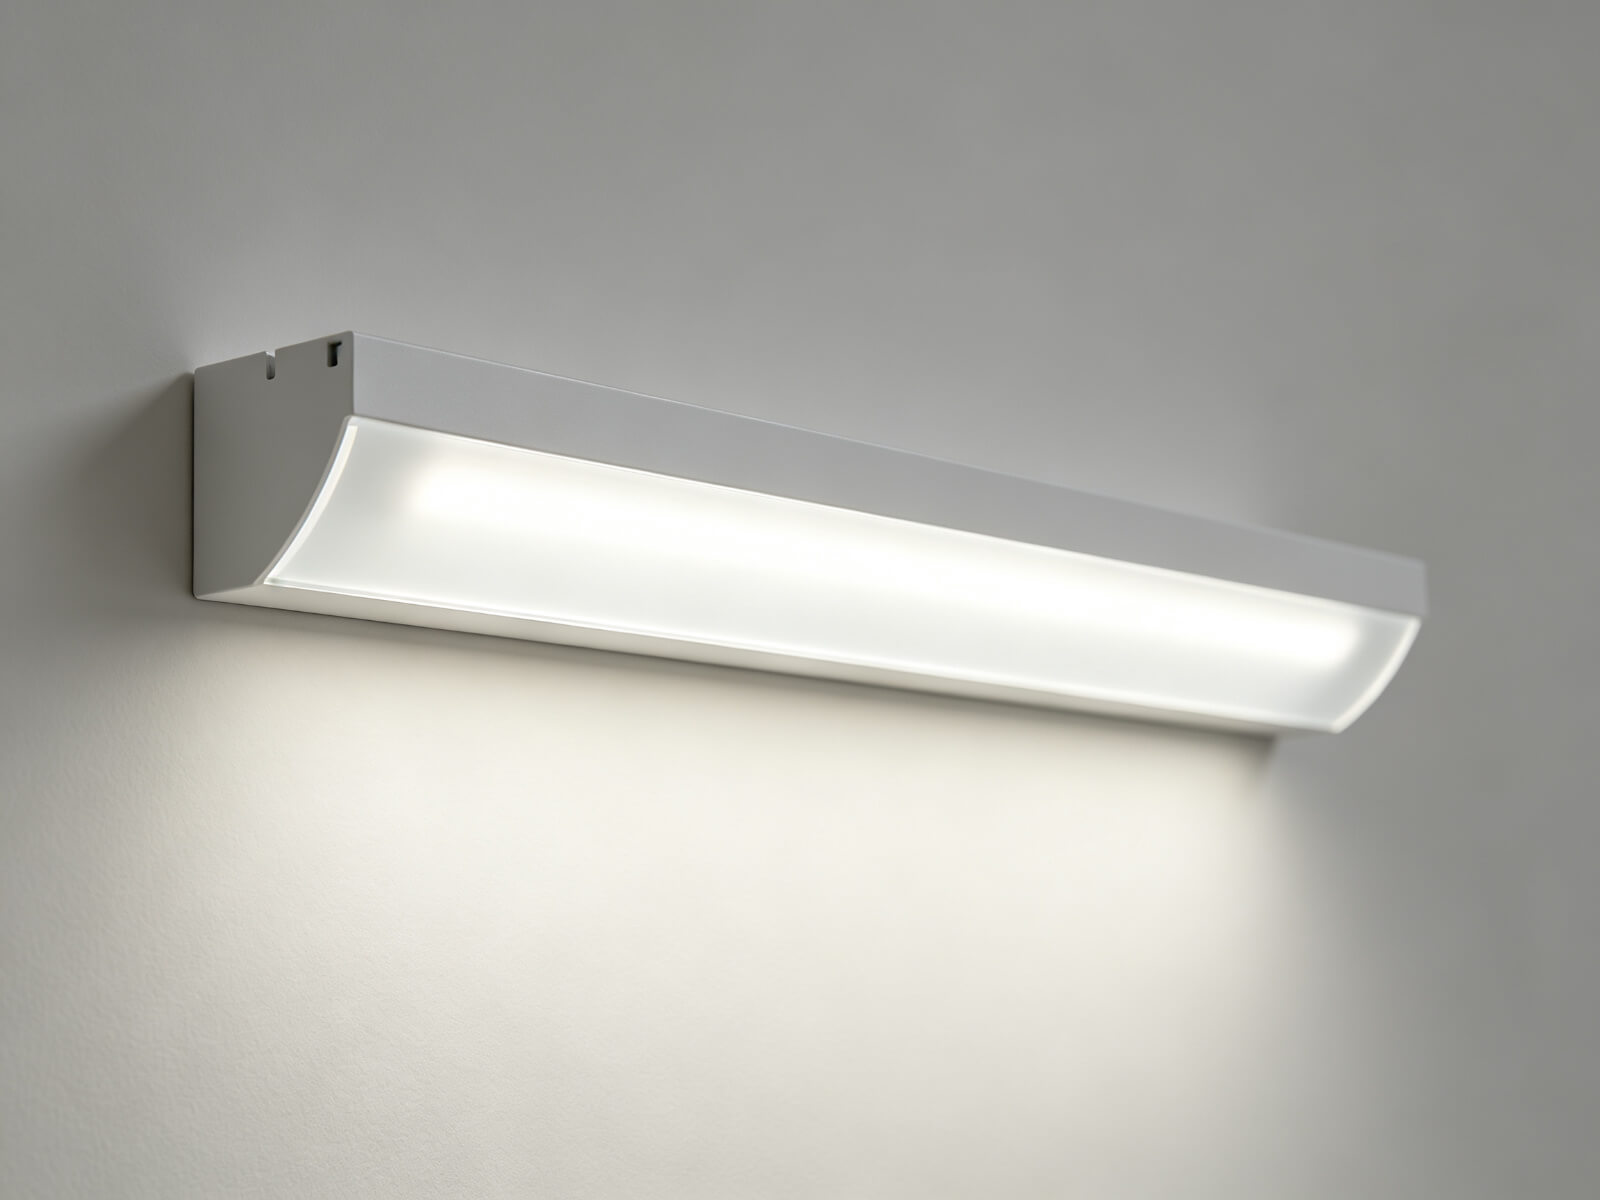
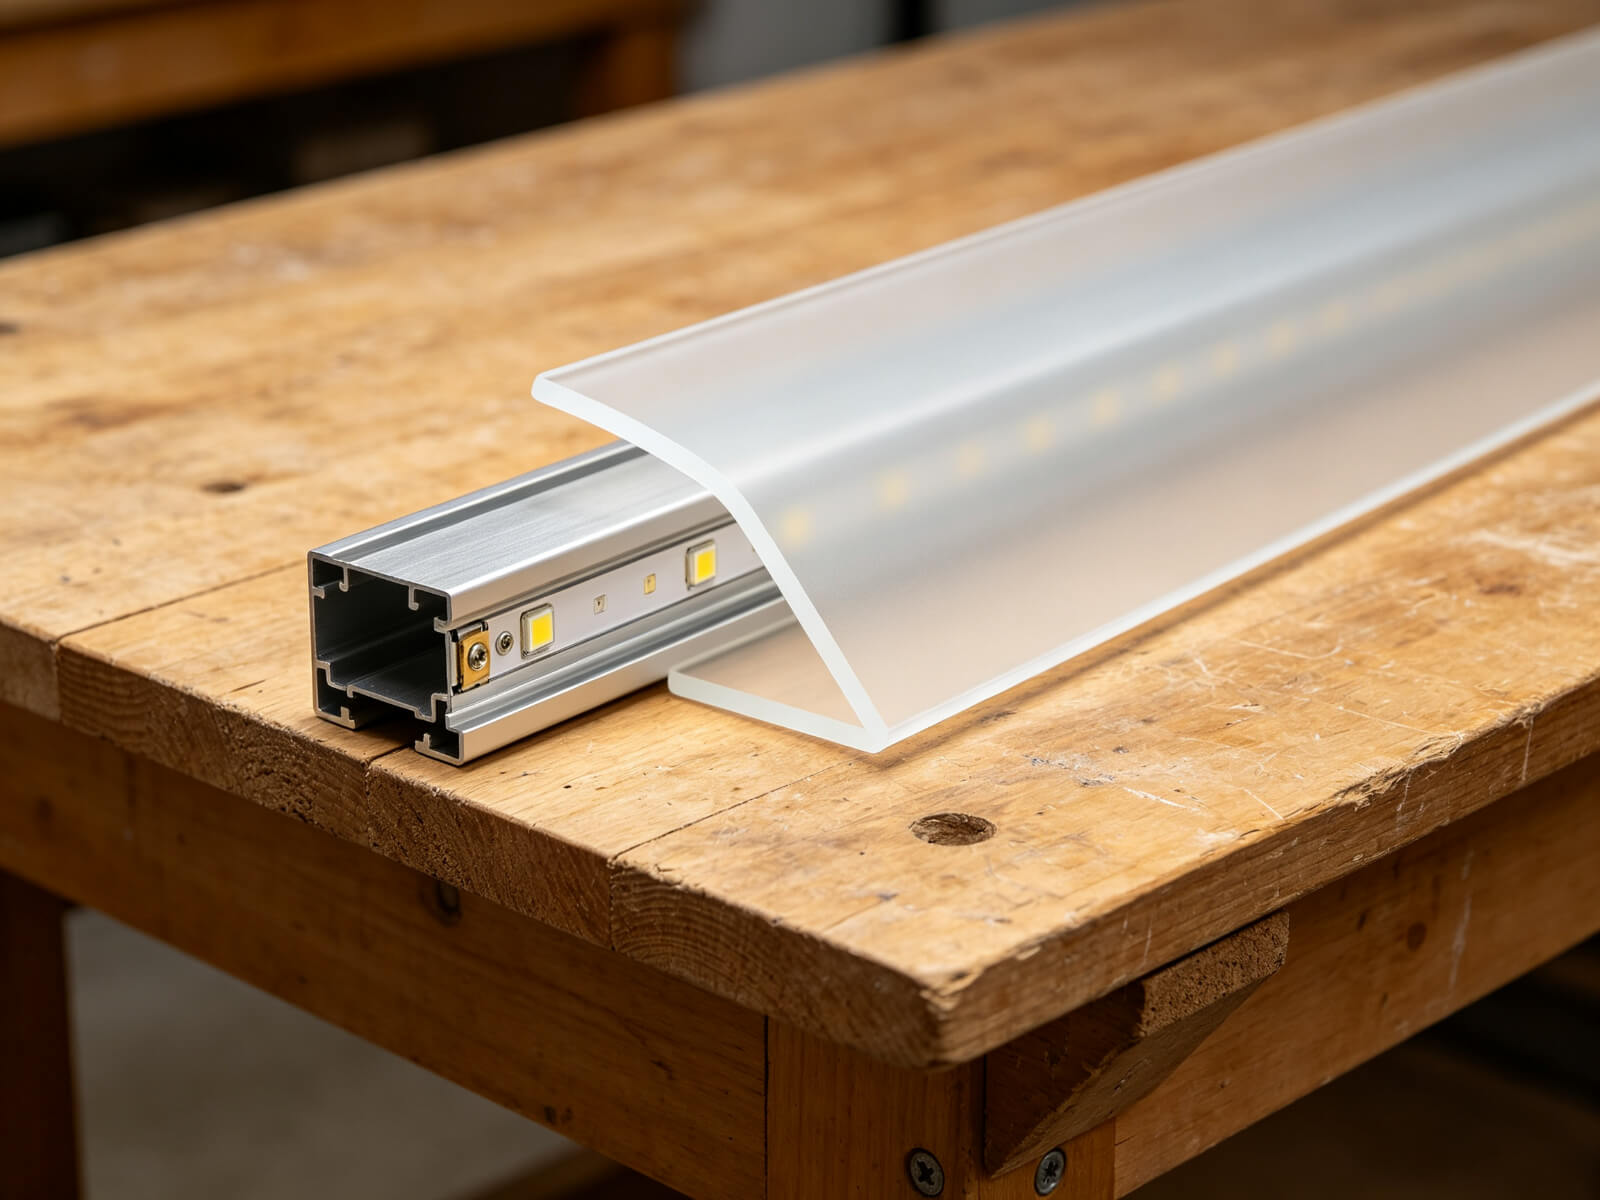
An LED aluminum profile — also called a channel or extrusion — is a slim aluminum housing that the strip slides into, usually covered by a diffuser. It is the standard for professional lighting installations, and it matters for four reasons:
1. Diffusion — no more dots or glare
The diffuser cover spreads the light into one smooth, continuous line. It hides the individual LEDs, softens the edges, and eliminates the harsh hotspot that appears wherever a bare strip bends or ends. It’s the single biggest upgrade to how a bedroom looks at night.
2. Heat dissipation — a longer life for the strip
Aluminum conducts heat well, so the profile acts as a heat sink that draws heat away from the LEDs. Cooler running means more stable brightness and a longer lifespan — important in enclosed spots like coves or behind headboards.
3. Protection — strips stay clean and safe
The profile shields the strip from dust, moisture, and accidental knocks, and covers the live electronics. It also gives you a clean mounting surface, so you’re not relying on adhesive to fight a textured wall.
4. Clean lines and hidden wiring
A profile creates a crisp, straight line wherever you mount it — ceiling, wall, under a cabinet, or recessed into a surface. End caps and accessories hide the wiring and connections, so the result looks designed rather than improvised.
Which profile for which spot
| Profile type | What it’s for | Typical bedroom use |
|---|---|---|
| Recessed / drywall channel | Installed flush, plastered over | Invisible linear slots in ceiling or wall; cove lighting |
| Surface-mount profile | Mounted on the surface, straight and clean | Headboard halo, under-desk, wall lines |
| Corner profile | Fits into inside/outside corners | Crisp perimeter light at wall–ceiling junctions |
| Skirting profile | Integrated with the baseboard | Floor-level glow that guides you at night |
| Under-cabinet / shelf profile | Slim profile for tight spots | Lighting under shelves, wardrobes, and cabinets |
| Magnetic profile | Tool-free removal of the strip | Easy maintenance behind headboards or coves |
| Round / hanging profile | Decorative pendant-style light | A linear pendant as a statement bedside light |
One more spec: the diffuser
Diffusers are usually PC, PMMA (acrylic), or silicone. Frosted and opal give the softest, most even glow — the right choice for a bedroom; clear lets more light through but reveals the strip. For a hotel-quality look, go frosted. Not sure which one? Our guide to choosing an LED diffuser breaks it down.
At KayTai, we manufacture 100+ LED aluminum profiles — from recessed drywall channels to magnetic, corner, skirting, and under-cabinet profiles — with custom lengths and finishes available for your project. More on that at the end.
Part 5 · Installation: how to mount LED strips like a professional
The good news: almost every bedroom LED strip installation is a DIY job. Here’s the workflow that professionals actually use.
Step 1 — Plan first
- Measure the run and decide where the strip starts and ends.
- Pick the power location — near a socket or hidden in a wardrobe.
- Choose your control: remote, wall switch, or app/voice.
- Decide the mounting method: adhesive, clips, or an aluminum profile.
Step 2 — Gather your materials
Strip, aluminum profile (if using), diffuser, end caps, power supply, controller, measuring tape, scissors or snips, isopropyl alcohol, and mounting clips or screws.
Step 3 — Prepare the surface
Clean the mounting surface with isopropyl alcohol and let it dry completely — dust and grease are the number-one reason adhesive fails. If the surface is textured (brick, rough plaster, popcorn ceiling), don’t rely on adhesive alone; use a profile fixed with screws or clips.
Step 4 — Cut the strip only at the marked lines
Every strip has visible copper cut marks, usually marked with a scissor icon. Cut only there — cutting anywhere else destroys that section permanently. Cut after the last cut mark that fits your measurement, never mid-circuit.
Step 5 — Mount the profile (if using)
Screw or clip the profile in place. Recessed drywall channels are installed before plastering; surface profiles mount with screws, clips, or strong tape. Cut the aluminum with a fine-toothed saw and deburr the edges. For a full walk-through, see our step-by-step LED aluminum profile installation guide.
Step 6 — Insert the strip and add the diffuser
Peel the backing and press the strip into the channel, keeping it straight. Slide or clip the diffuser on top, then fit the end caps.
Step 7 — Connect and test
Connect the strip to the controller and power supply, matching polarity (+ and −), then test every section before finalizing. If one section is dead, check the connection first — not the whole strip.
Corner and wiring tips
- For tight corners, use a flexible or solderless connector rather than bending the strip sharply.
- Hide the tail: tuck excess strip and wires inside the profile or a cable channel.
- Keep the power supply accessible but out of sight — the top of a wardrobe is the classic spot.
Part 6 · Common mistakes to avoid
- Buying cool white (5000K+) for the bedroom. It suppresses melatonin and looks clinical. Choose 2700K–3000K.
- Skipping the diffuser. Bare strips show dots, glare, and uneven light — the number-one reason LED setups look cheap.
- Sticking strips to textured or dusty walls. Adhesive fails fast. Use a profile with screws or clips, or at least clean the surface thoroughly first.
- Overloading the power supply. Match wattage with about 20% headroom; a mismatched voltage can damage the strip.
- Ignoring heat. Enclosing a strip with no heat path shortens its life. A profile doubles as a heat sink.
- Pointing light into your eyes. Aim for indirect, bounced light — mount strips so the light faces the wall, ceiling, or floor, not you.
- Forgetting power placement until the end. Decide where the socket and driver go before you stick anything down.
- Cutting the strip in the wrong place. Only ever cut at the marked copper lines.
- Buying by brightness alone. Smooth, warm, and dimmable beats bright and harsh in a bedroom.
Part 7 · Design ideas by mood (quick reference)
| Mood | Best color & strip | Placement | Brightness |
|---|---|---|---|
| Cozy & relaxed | Warm white 2700–3000K | Headboard + under-bed | 10–30% |
| Romantic | Dim-to-warm strip | Canopy or wall line | Very low |
| Focused work | Neutral 3500–4000K task strip | Under shelf + behind monitor | Medium-high |
| Gaming / fun | RGB or addressable | Behind TV or desk | Medium |
| Minimalist | Warm white in recessed channels | Single clean lines | Low |
| Morning wake-up | Programmed cool-neutral | Cove or window | Gradually increasing |
FAQ
1. What color LED strip is best for a bedroom?
Warm white, around 2700K–3000K. It supports relaxation and sleep, while cool white light suppresses melatonin and keeps you awake.
2. Are LED strips energy-efficient?
Yes — LEDs typically use 70–80% less energy than incandescent bulbs, making them among the most efficient home lighting options.
3. How long do LED strips last?
A quality strip lasts roughly 25,000–50,000 hours — a decade or more at a few hours a night, and longer in a profile that keeps it cool.
4. Can LED strips be the main light source?
Yes, for ambiance and general lighting — if you choose a high-output strip and mount it to bounce light evenly (cove or recessed). For reading or task light, add a dedicated strip or lamp.
5. Do I really need an aluminum profile?
Not strictly — a strip will light up without one. But if you want an even, dot-free glow, hidden wiring, and a finish that looks professional rather than temporary, a profile is the difference-maker, especially where the strip is visible.
6. Can I cut LED strips to size?
Yes. Every strip has marked copper cut lines; cut only there, and rejoin with solderless connectors if you need to turn a corner.
7. How do I hide the wires?
Mount the strip inside a profile (it hides the tail), route wires through cable channels, and keep the power supply out of sight — for example, on top of a wardrobe.
Conclusion
Your bedroom deserves better than a single on/off ceiling light. With LED strips — chosen for the right color temperature, mounted with care, and finished with an aluminum profile — you can build the kind of layered, calming light that makes a room feel like a hotel suite.
Start small: pick one zone (behind the headboard is the most rewarding), choose a warm 2700K–3000K strip with a dimmer, finish it cleanly with a profile, then build out from there.
And when you’re ready to make it look professional, KayTai is here to help. We manufacture 100+ LED aluminum profiles — recessed, surface, corner, skirting, magnetic, and more — with custom lengths and finishes available for your project. Visit kaytai.com to explore the range, or send us your measurements to get started.
Want to go deeper? Read how to choose the right LED aluminum profile, learn how to pick the best LED strip light, or check our full LED lighting blog.

Nice guide for bedroom setups. The indirect cove placement avoids harsh glare and looks premium. The note on warmer colour temperatures before sleep is a detail I will apply to my own room.
Nice guide for bedroom lighting. The suggestions for indirect cove lighting and dimmable setups are practical. The section on avoiding blue light before sleep is a thoughtful touch I will use in my own room.
Lots of practical ideas here. The headboard cove and under-bed accent ideas are easy to execute, and the colour temperature suggestions helped me pick a dimmable warm white for relaxation. Bookmarking this for my next bedroom refresh.