
Struggling with dark countertops every time you prep food? Even good overhead lighting casts your own shadow across the work surface. Under-cabinet LED lighting fixes this by putting the light source exactly where you need it — directly under the cabinet, pointing at the countertop.
This guide covers the options, brightness, colour temperature and installation of LED under-cabinet lighting, so you can choose a system that is bright, even and easy to install.
Table of Contents
- 1. What Is Under-Cabinet Lighting & Why You Need It
- 2. Under-Cabinet Lighting Options Compared
- 3. Why LED Strip + Profile Is the Best Solution
- 4. Hardwired vs Plug-In vs Battery
- 5. How Bright: Lumens & Even Coverage
- 6. Colour Temperature & CRI
- 7. How to Install: 6-Step Guide
- 8. Common Mistakes to Avoid
- 9. Frequently Asked Questions
What Is Under-Cabinet Lighting & Why Your Kitchen Needs It
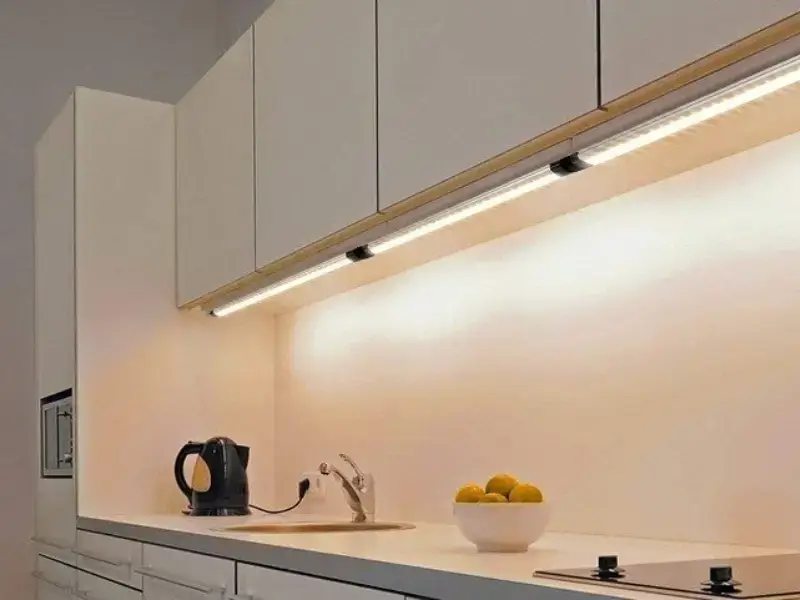
Under-cabinet lighting is any fixture mounted beneath wall cabinets to illuminate the countertop, workspace or display surface below. It is not a decorative extra — it is the difference between working in your own shadow and seeing exactly what you are doing.


Under-Cabinet Lighting Options Compared
Puck lights, linear bars and LED tape distribute light very differently. Here is how they compare for coverage, glare and install complexity:
| Option | Coverage | Glare / look | Install | Best for |
|---|---|---|---|---|
| Puck lights | Focused pools, visible hotspots between pucks | Can glare at close range | Screw or stick on | Accent displays, small areas |
| LED bar fixtures | Fairly even, fixed lengths | Low glare with diffuser | Screw or clip | Straight runs of fixed length |
| LED strip + profile | Perfectly even, seamless to any length | No visible points with diffuser | Cut to length, slide in channel | Full countertop runs, custom lengths |
For most kitchens, the winner is clear: LED strip inside an aluminum profile. It gives seamless, even light across the whole run, hides the strip completely, and can be cut to any cabinet width. Learn the basics in the LED strip light guide.
Why LED Strip + Profile Is the Best Under-Cabinet Solution
An under-cabinet LED system built from a strip and an aluminum profile solves the four problems that cheap tape fails at: hotspots, dust, heat and a messy finish.
Seamless Even Light
A frosted PC diffuser blends every LED into one continuous strip of light — no dots, no dark bands.
Dust & Grease Proof
The closed channel protects the strip from kitchen dust, steam and splashes — wipe clean with a cloth.
Heat Management
The aluminum body conducts heat away from the LEDs, which extends lifetime and prevents colour drift.
Clean, Built-In Finish
The profile hides the strip, wires and cut edges — the result looks like a purpose-built fixture, not a DIY hack.
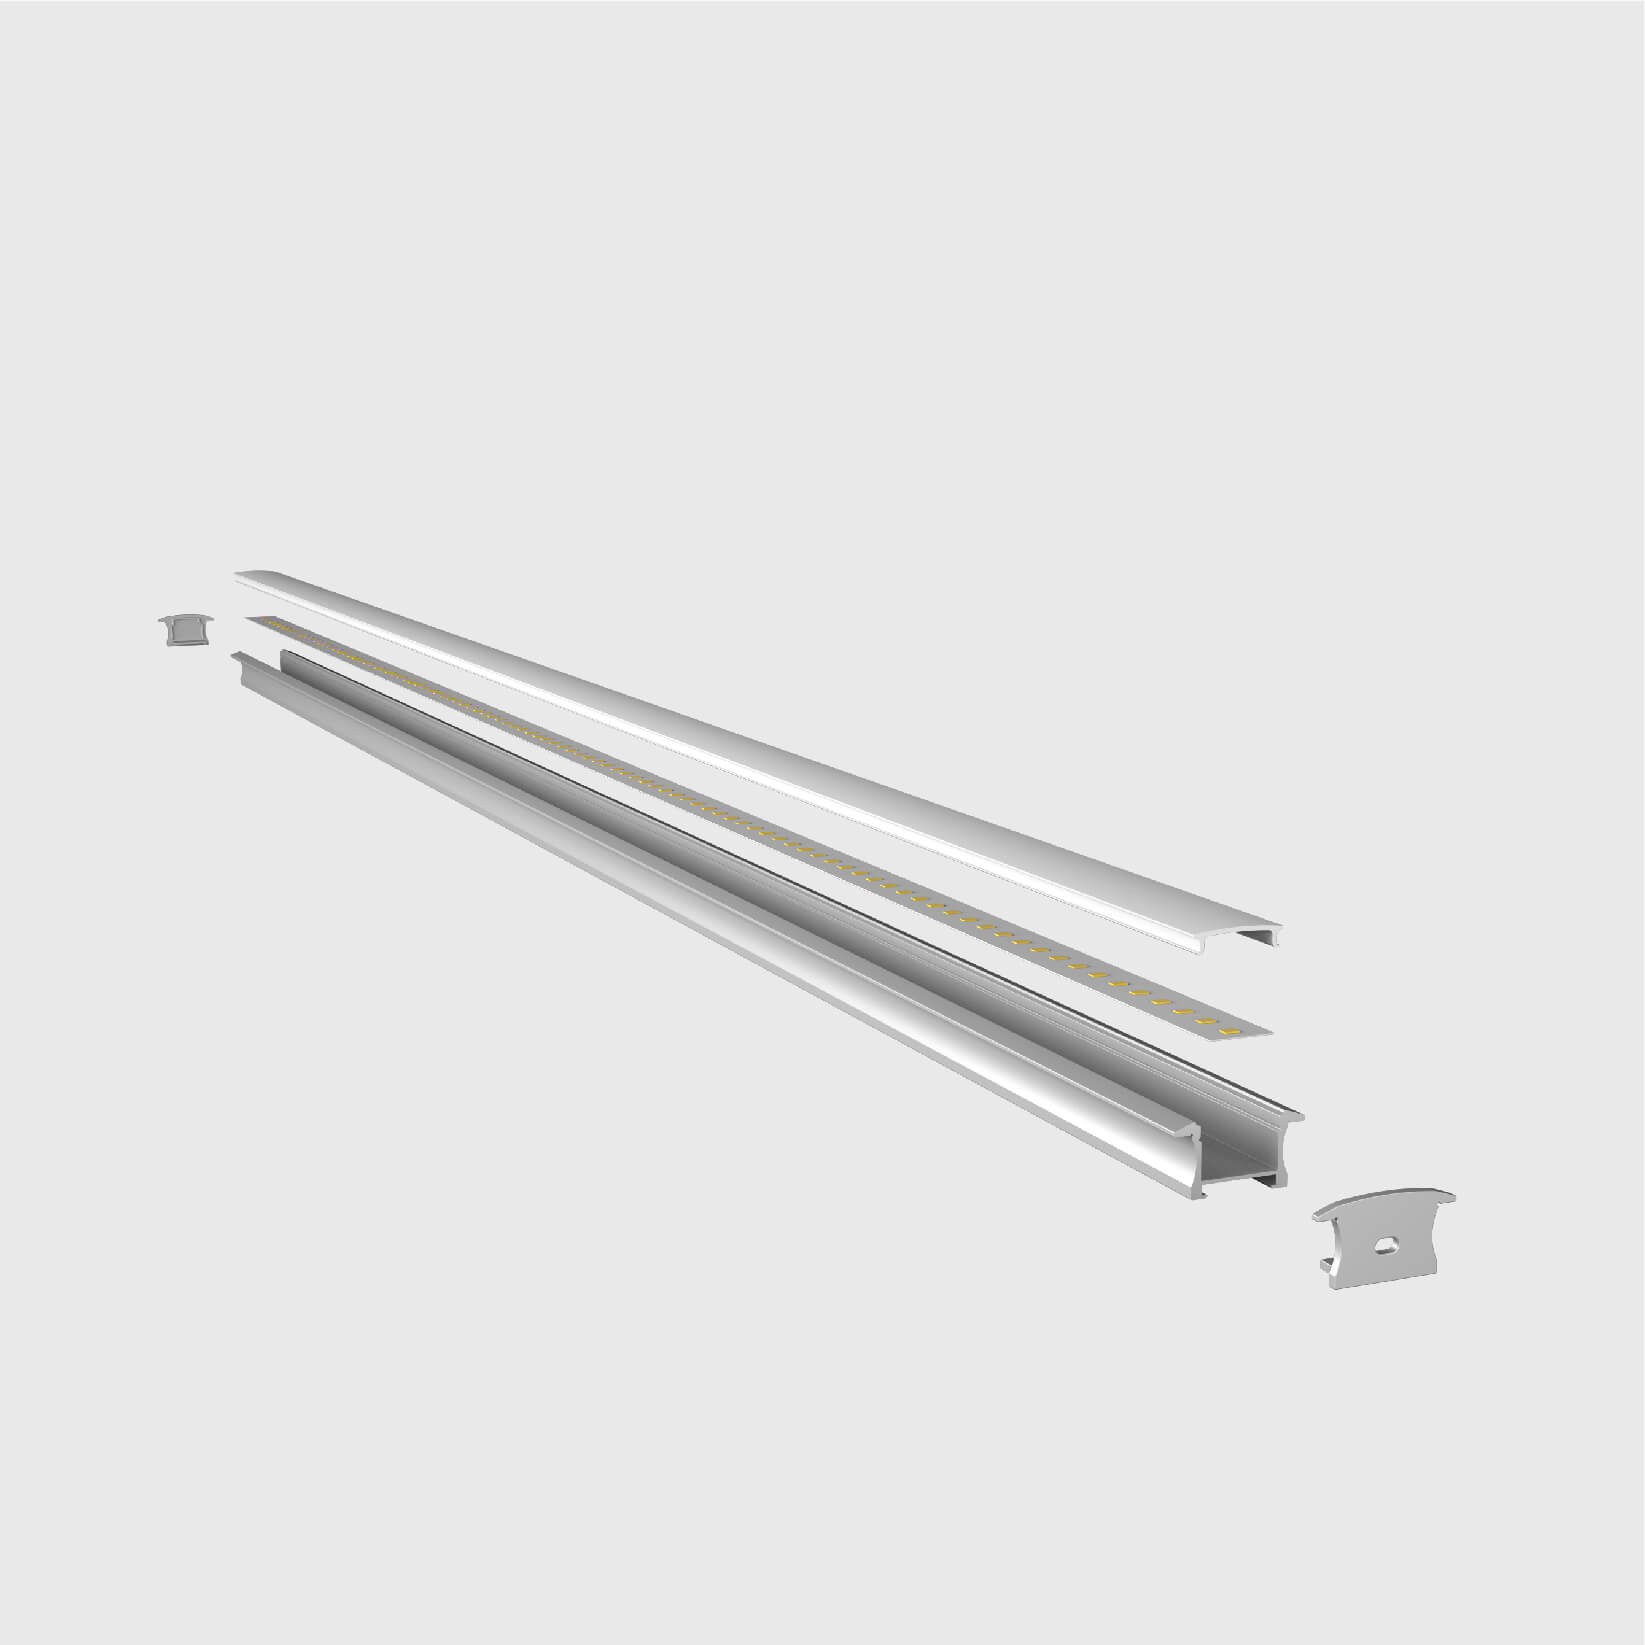
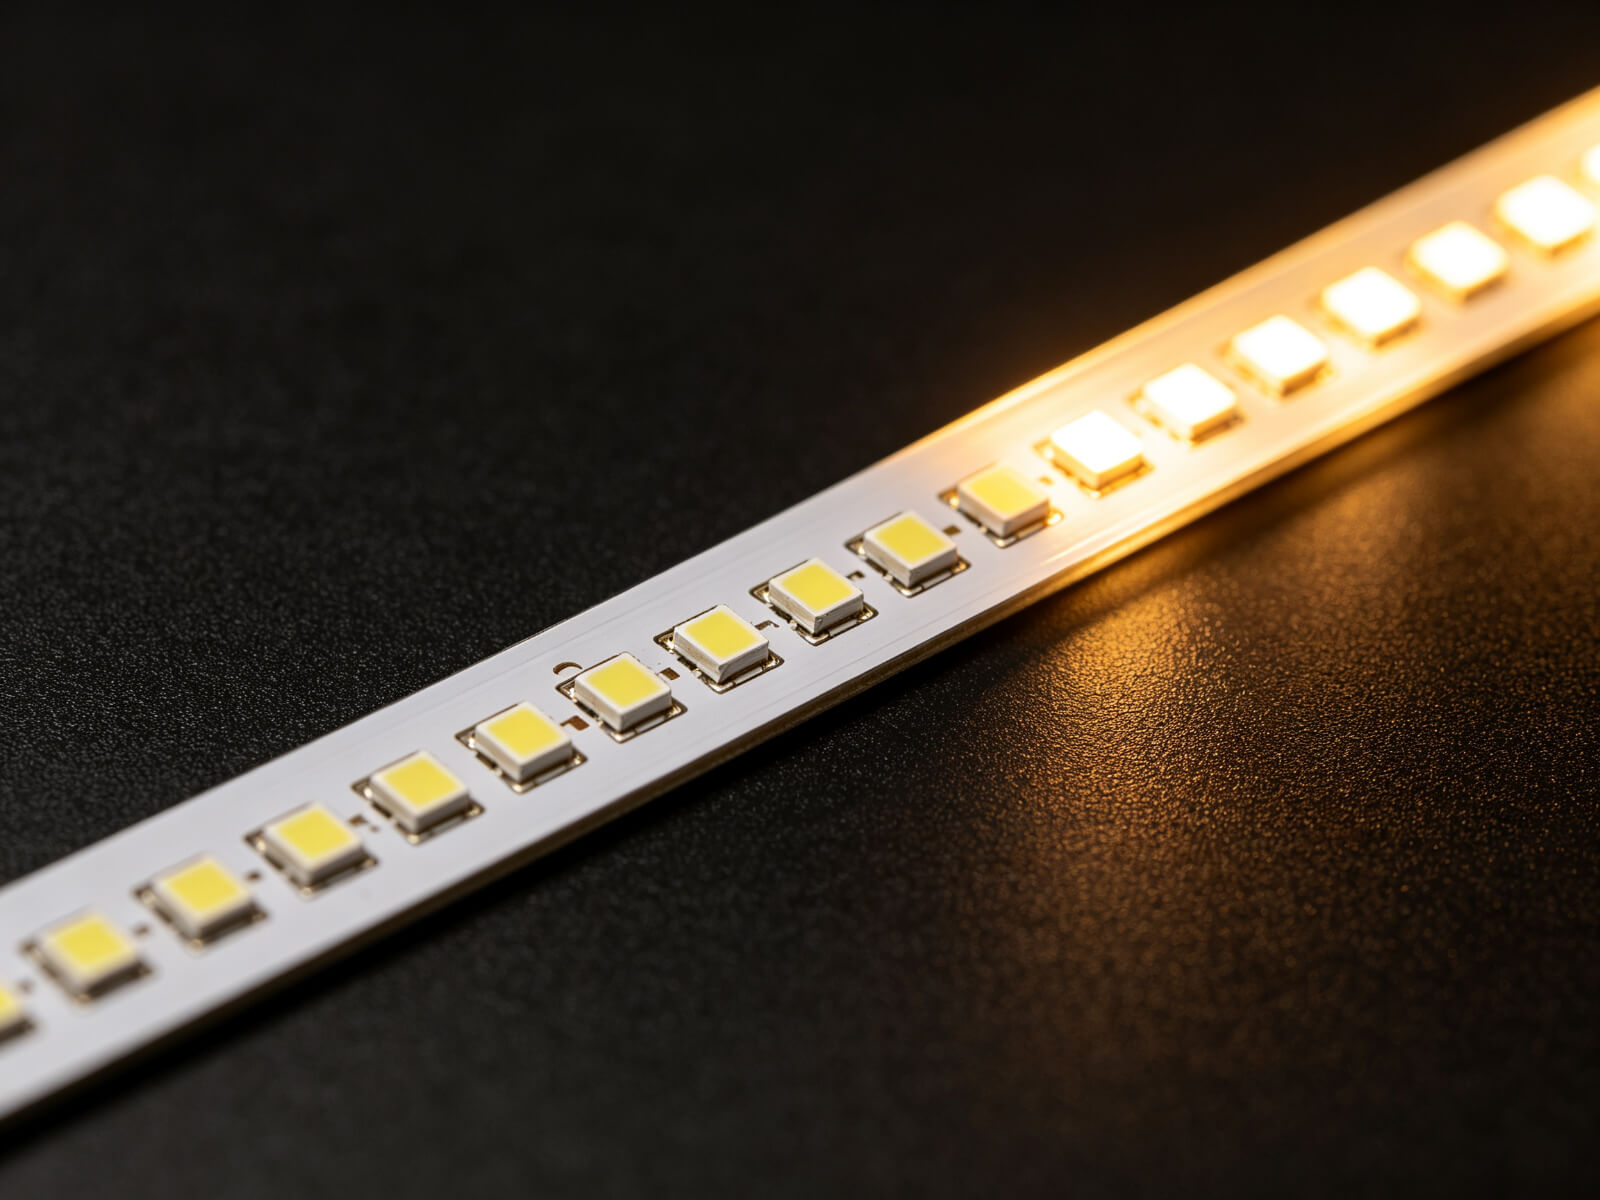

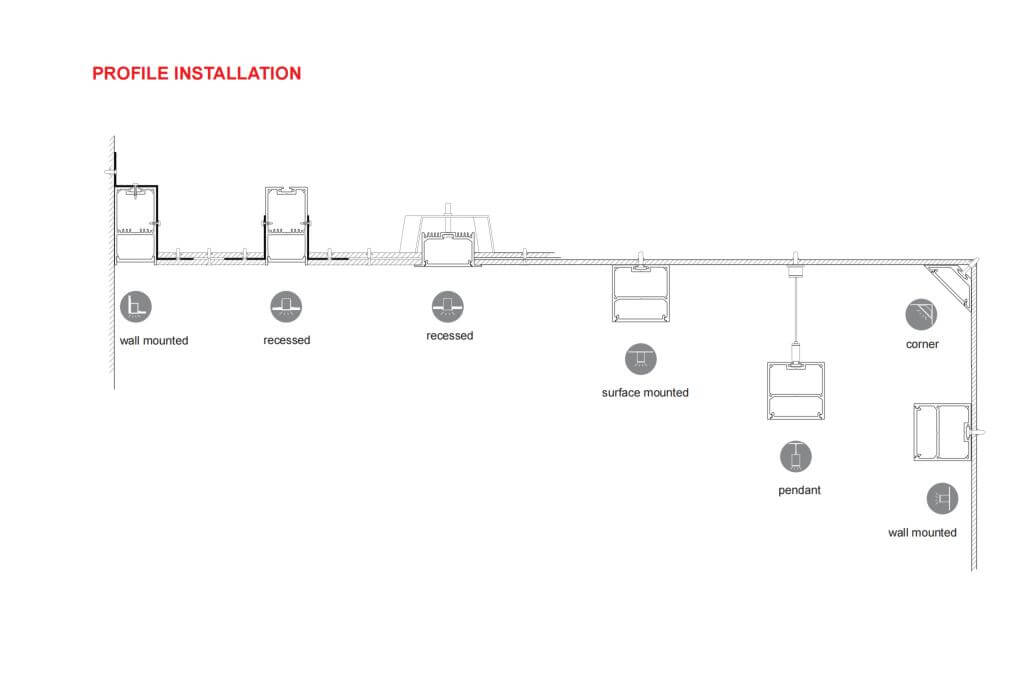
All components — profiles, diffusers, end caps, feeds and power supplies — come from one factory, so lengths and accessories always match. Browse the LED Aluminum Profiles range to see the mounting styles.
Hardwired vs Plug-In vs Battery: How to Power It
The power source affects the finished look, install effort and how easy it is to change the layout later.
| Power source | Look | Install | Flexibility | Best for |
|---|---|---|---|---|
| Hardwired | Cleanest, no visible cords | Electrician required | Fixed once installed | New builds & major remodels |
| Plug-in | Small driver hides above cabinet | Simple DIY | Easy to extend later | Retrofit kitchens, rental homes |
| Battery | No wiring at all | Stick or screw only | Relocate any time | Small closets, temporary spots |
For a full kitchen run, a plug-in system with a 12V or 24V LED driver is the practical sweet spot: DIY-friendly, safe low voltage, and easy to add dimming later. The driver simply hides on top of the cabinet.
How Bright: Lumens & Even Coverage
Brightness is measured in lumens. For task lighting on a countertop, most people pick a strip with 300–500 lm/m; if you only want atmosphere, 150–250 lm/m is plenty.
| Application | Recommended output | Why |
|---|---|---|
| Task lighting (cooking, chopping) | 350–500 lm/m | Enough light to work without eye strain, even over dark countertops |
| General / accent | 150–250 lm/m | Soft glow for evening ambience and display |
| Under shelves / display | 100–200 lm/m | Highlights items without overpowering the room |
Evenness matters more than peak brightness. Two pucks look uneven; a continuous strip behind a diffuser lights the whole countertop with one smooth band, so there are no dark corners and no bright spots. Coverage pattern is exactly why a linear system wins over pucks.
Colour Temperature & CRI: Pick the Right Light
Colour temperature, measured in Kelvin (K), decides whether the light feels warm or cool. Match it to your cabinet finish and how you use the space:
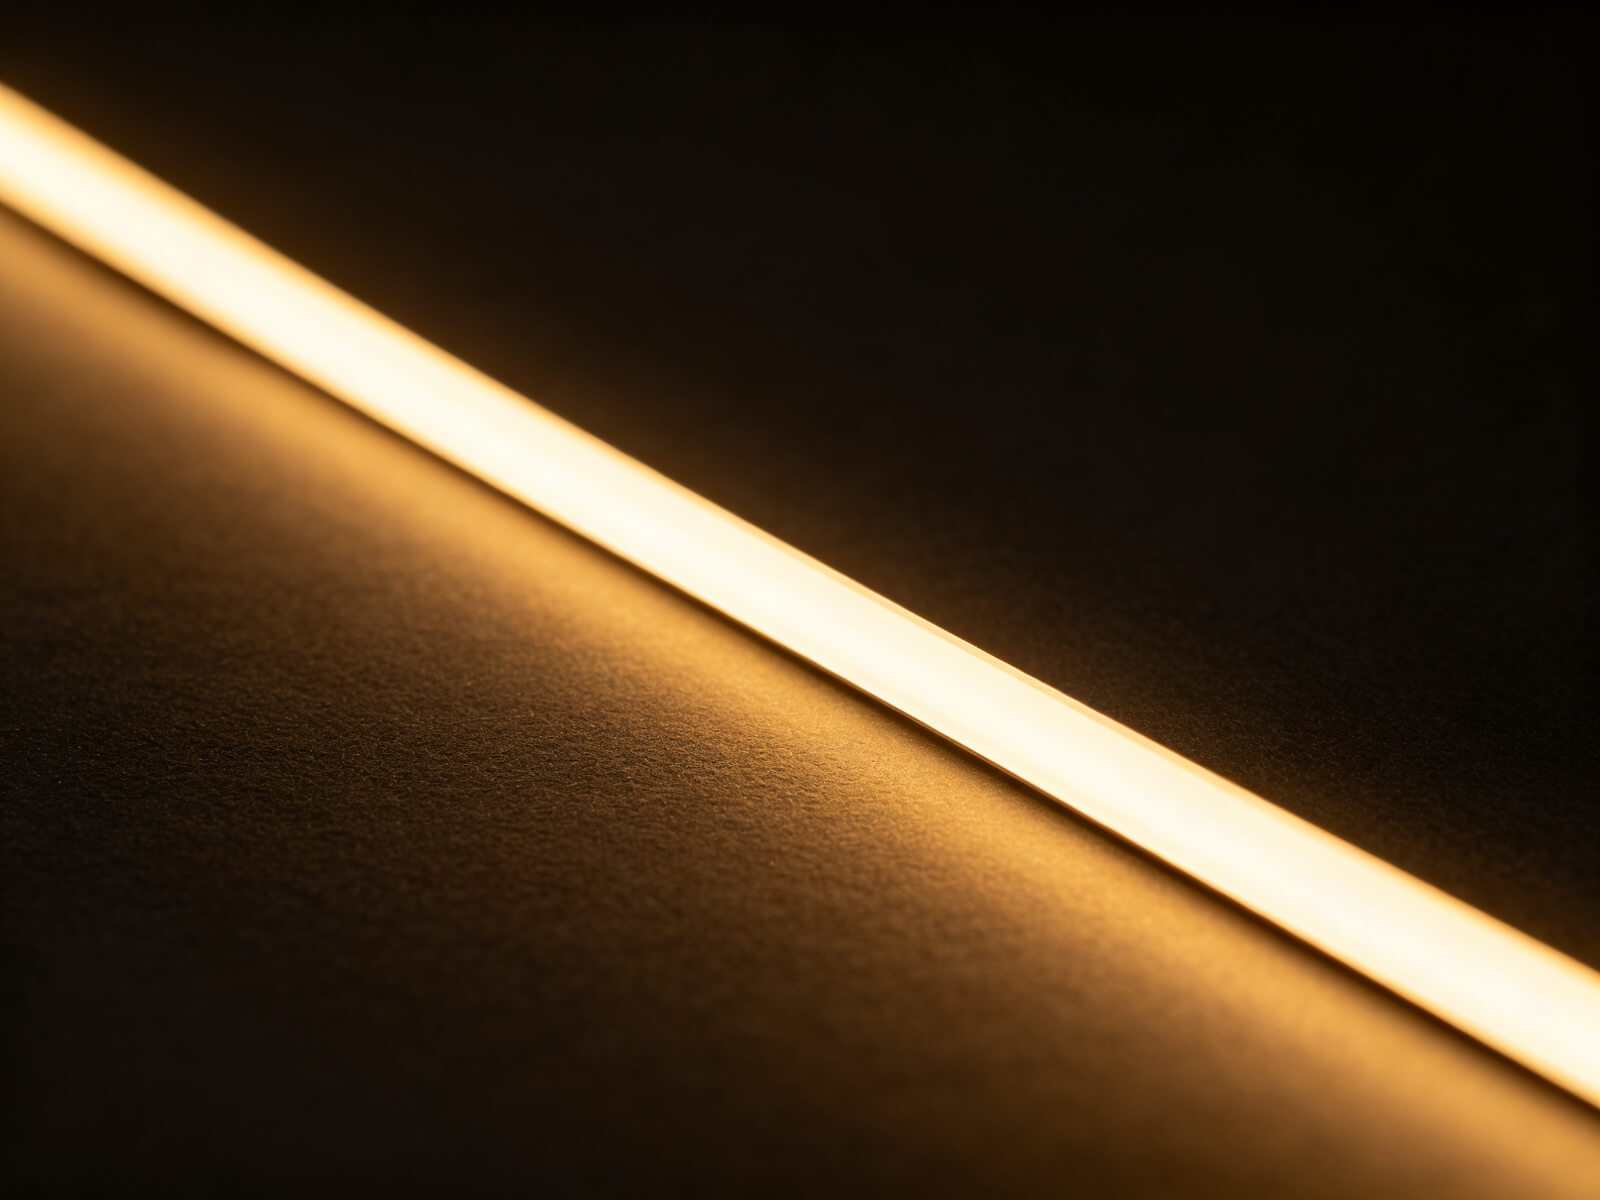

Also check CRI: aim for CRI 90+ so food, spices and finishes show true colour instead of a dull grey cast. A 3000K, CRI90+ strip covers 90% of kitchens.
Not sure which tone suits your home? The LED lighting guides explain colour temperature and CRI in plain language.
How to Install: 6-Step Guide
An LED strip + profile system installs in about an hour with basic tools. Here is the sequence:
Measure & Cut
Measure the cabinet run, cut the profile and strip to length at the marked cutting points.
Fix the Profile
Mount the channel under the cabinet with screws or strong double-sided tape, aligned to a straight line.
Slide in the Strip
Peel the strip, press it into the channel, and feed the cable through the end cap opening.
Add the Diffuser
Snap the PC cover in place to diffuse the light and protect the strip from dust and grease.
Connect the Power
Wire the strip to the LED driver (12V/24V), hide the driver on top of the cabinet, and plug in.
Test & Finish
Switch on, check for even light, then install end caps. Add a dimmer now if you want night-time ambience.

Common Mistakes to Avoid
Most under-cabinet lighting problems come from planning mistakes, not bad fixtures. Avoid these seven:
- Going too dim — 100 lm/m feels nice at night but fails as task light; buy for the task, dim for ambience.
- Bare tape without a diffuser — exposed LEDs create dots and glare at eye level; always use a profile with a PC cover.
- Wrong colour temperature — cool light on warm wood looks clinical; match the tone to the finish.
- Undersized power supply — overloaded drivers flicker and overheat; size at 120–130% of the strip load.
- Ignoring heat — strip stuck directly under cabinets without a channel overheats and dims early.
- Stopping short of the edge — a run that ends before the counter edge leaves a dark patch where you work.
- Skipping dimming — a dimmer turns one fixture into both task light and mood light; it is cheap to add now, hard later.
Under-Cabinet Lighting FAQs
▶What is the best type of under-cabinet lighting?
For most kitchens, an LED strip inside an aluminum profile with a frosted diffuser is the best choice. It delivers seamless, even light across the full countertop, hides the LEDs completely and can be cut to any length.
▶Are puck lights good for kitchens?
Puck lights work for small areas and accent displays, but they create bright spots and dark gaps on a long countertop. For task lighting across the whole work surface, a continuous LED strip is much better.
▶What colour temperature is best for under-cabinet lighting?
3000K warm white is the most popular and suits most kitchens. Choose 2700K for a cosier look with wood cabinets, or 4000K for modern white kitchens and utility areas.
▶Can I replace halogen puck lights with LED?
Yes. LED replacements cut energy use by roughly 80%, produce far less heat and last tens of thousands of hours. Check the existing transformer and voltage before wiring LED in, or replace the driver with a 12V/24V LED power supply.
▶How many lumens do under-cabinet lights need?
For task lighting, look for 350–500 lm/m. For accent or ambience, 150–250 lm/m is enough. Evenness across the run matters more than a high peak value.
▶Are hardwired under-cabinet lights better than plug-in systems?
Hardwired looks cleanest and suits new builds and remodels, but requires an electrician. Plug-in low-voltage (12V/24V) systems are DIY-friendly, easy to extend and perfect for most retrofits.
Ready to Light Up Your Kitchen?
Tell us your cabinet run length and preferred brightness — our factory team will recommend the strip, profile and power supply, with free samples available.
Contact KayTai
Perfect timing for my kitchen renovation. The color temperature guidance for work surfaces is exactly what I needed — 4000K for task areas finally makes sense. The voltage drop explanation was also very clear. Thanks.
Very practical guide. The puck vs strip comparison helped me decide which solution fits each cabinet. I appreciated the notes on driver placement too — that detail is easy to get wrong in a kitchen remodel.
The depth and diffuser guidance helped me pick the right profile for shallow cabinets — my first choice would have been too deep for the drawer clearance. The section on avoiding hotspot bands near the hinge side was a practical detail I had not considered.