The Ultimate Guide to Cutting LED Strip Lights: How Can You Do It Safely?

Opening Paragraph
Cutting LED strip lights is a common task for DIY enthusiasts and homeowners looking to customize their lighting. Whether you want to fit lights under cabinets, along shelves, or create beautiful designs around your home, knowing how to cut LED strips safely and effectively is essential. In this guide, we’ll walk you through the steps to cut LED strip lights and answer some frequently asked questions to help you achieve the perfect lighting setup.
Why Should You Cut LED Strip Lights?
- Perfect Fit: Most pre-made LED strips come in standard lengths that may not suit your specific space. Cutting them allows you to create a perfect fit for wherever you want to install them.
- Creative Designs: Custom lengths give you more flexibility in designing unique lighting configurations, enhancing the aesthetic of your space. For inspiration, explore our collection of LED Strip Lighting Ideas.
- Cost-Effective: By cutting LED strips to size, you can minimize waste and save on materials.
Tools You Will Need
Before you start, make sure you have the following tools:
- Sharp Scissors or a Box Cutter: For clean cuts.
- Ruler or Measuring Tape: To measure the desired length accurately.
- Marker: To clearly mark where you intend to cut.
- Wire Stripper: If you plan to solder the connections.
- Electrical Tape or Heat Shrink Tubing: For insulating any exposed wires.
Step-by-Step Guide to Cutting LED Strip Lights
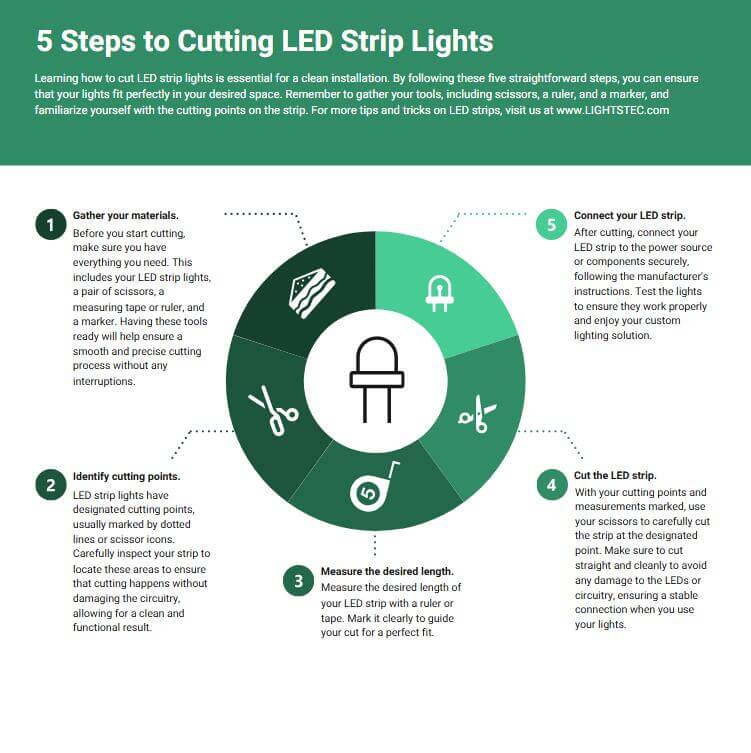
1. Identify the Cut Lines
Look for Markings: Most LED strips come with clear cut lines, typically indicated by a scissors icon or a dashed line. These are the safest places to cut without damaging the circuit.
2. Measure and Mark
Measure Twice, Cut Once: Use a ruler to measure the necessary length for your installation. Mark the cut line clearly with a marker.
3. Disconnect Power
Safety First: Always unplug the LED strip from the power source before cutting to prevent any electrical shock or damage.
4. Make the Cut
Cut Carefully: With your tool aligned on the marked line, make a clean, straight cut. Avoid cutting too aggressively to prevent fraying the strip.
Connecting the Segments
After cutting, you may want to connect the LED segments to power them:
Option 1: Soldering
For a Permanent Connection: Solder the copper pads on the cut ends. This method requires some skill but provides a strong and reliable connection.
Option 2: Using Quick Connectors
For Simplicity: Use clip-on connectors that fit over the cut pads. They’re easy to use and allow for flexibility in your setup. Check out our range of LED Connectors for various options.
3. Insulating Connections
If you soldered the strips:
Ensure Safety: Use electrical tape or heat shrink tubing to cover any exposed connections to prevent short circuits.
Common Questions About Cutting LED Strip Lights
Q1: Can I cut any LED strip light?
Answer: Only cut LED strips that have designated cut lines. Cutting anywhere else could damage the strip and render it unusable.
Q2: How do I know where to cut?
Answer: Look for the cut lines marked on the strip, usually located between copper pads.
Q3: What if I cut too short?
Answer: If you cut too short, you may need to buy a new strip. Always double-check your measurements before cutting.
Q4: Can I reconnect cut pieces later?
Answer: Yes, as long as the cut strips are properly insulated and connected using solder or connectors.
Conclusion
Cutting LED strip lights is a straightforward process that can greatly enhance your lighting design. By following these simple steps, you can customize your LED strips to fit perfectly in any space. Remember to prioritize safety by disconnecting power and cutting carefully. With the right tools and knowledge, you can create stunning, personalized lighting solutions for your home.
Ready to start your lighting project? Gather your tools, follow our guide, and explore the wide range of LED Strip Lights available at Lightstec. Enjoy the beautiful ambiance that LED strip lights can bring to your space!