
A well-designed lighting layout transforms spaces by blending functionality, aesthetics, and energy efficiency. Whether you’re planning an office, retail store, or home, this guide breaks down the process to help you create a lighting plan that meets industry standards and elevates user experience.

Table of Contents
1. What Is a Lighting Layout?
A lighting layout is a strategic blueprint that maps out the placement, type, and specifications of fixtures in a space. It ensures functional illumination for tasks (e.g., reading, cooking), energy efficiency through optimized fixture selection and spacing, aesthetic appeal with accent lighting to highlight decor or architecture, and compliance with safety and building codes (e.g., IES, IECC). Without a proper layout, spaces risk uneven lighting, glare, or wasted energy.
2. Step 1: Assess the Space
Start by gathering critical details: measure dimensions — note room size, ceiling height, and reflective surfaces (e.g., white walls amplify light; dark floors absorb it); identify the purpose — a hospital requires bright, shadow-free light, while a restaurant needs warm, dimmable ambient lighting; map natural light — use windows or skylights to reduce daytime energy use. Pro tip: create a rough sketch of the room, marking doors, windows, and focal points (e.g., artwork, workstations).
3. Step 2: Define Lighting Goals
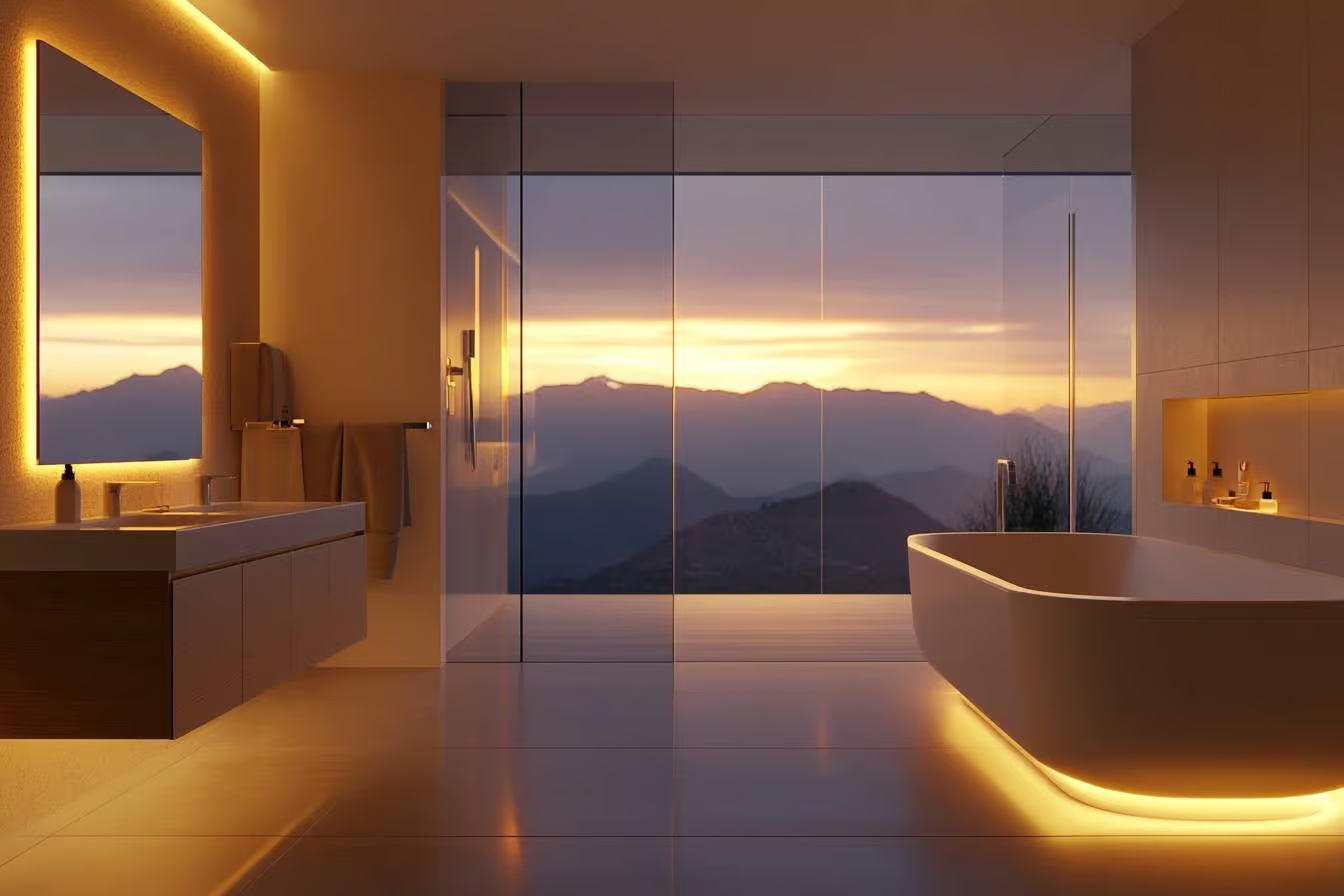
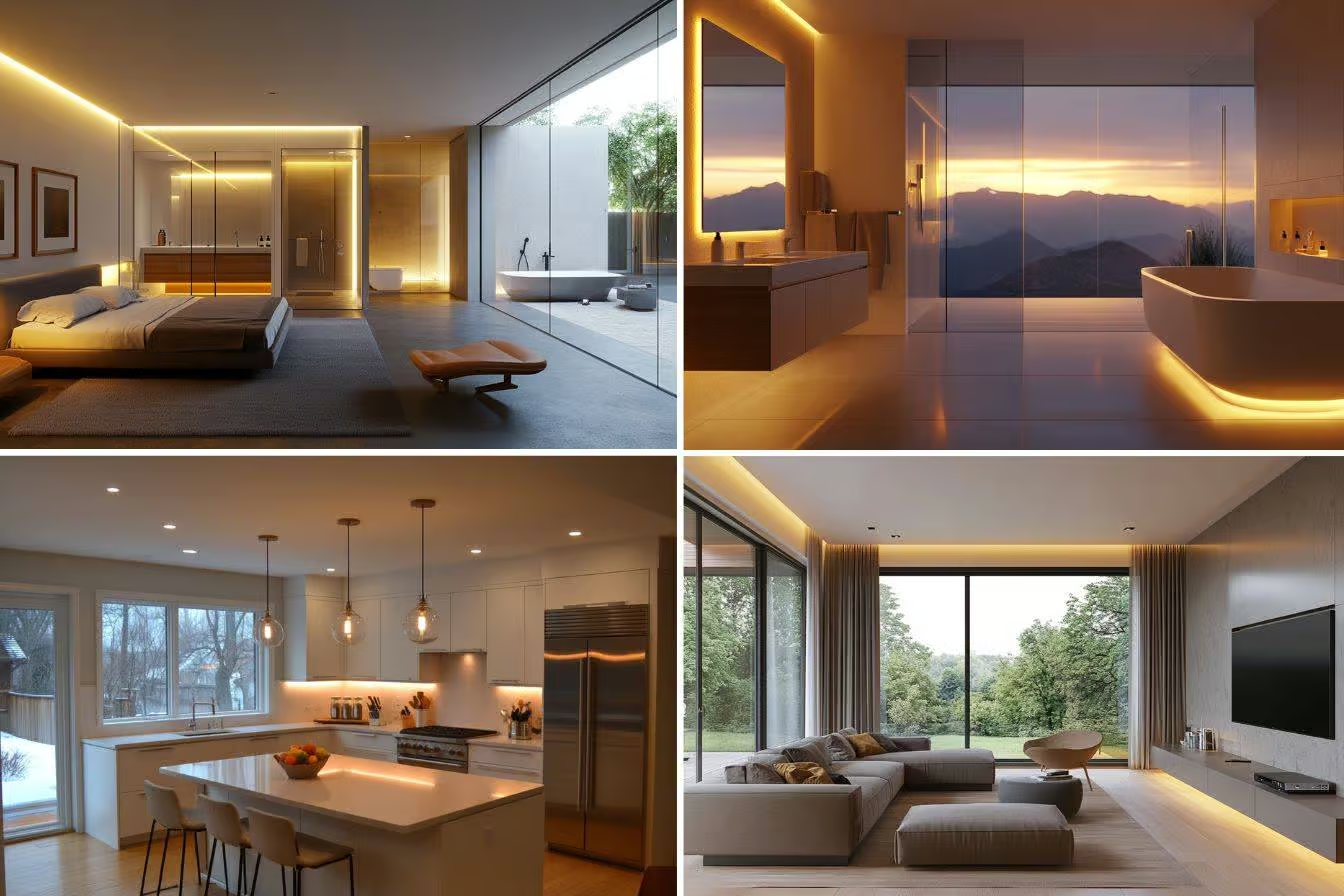
Tailor your plan to the “layers” of light needed. Ambient lighting is the base layer for general visibility (e.g., ceiling-mounted LEDs). Task lighting provides focused light for specific activities (e.g., under-cabinet lights in kitchens). Accent lighting adds decorative highlights for walls, art, or plants (e.g., track lights or LED strip lights). Example: in a living room, combine recessed ambient lights with floor lamps (task) and flexible LED strips (accent) to highlight shelves or architectural details. See our LED strip lights for accent options.

4. Step 3: Calculate Light Requirements
Use lumens (total light output) and lux (light intensity per square meter) to determine brightness. Lux guidelines: offices 500 lux, kitchens 300–400 lux, hallways 100–200 lux. Formula: total lumens needed = room area (sqm) × recommended lux level. For a 20 sqm office: 20 × 500 = 10,000 lumens. Divide total lumens by the output per fixture to determine the number of lights required.

5. Step 4: Select Fixtures
Choose fixtures based on purpose: downlights for ambient lighting, pendant lights for task lighting, and LED strip lights for seamless accent or cove lighting. Efficiency: opt for high-efficacy LEDs to reduce energy use. Beam angle: narrow (15°–30°) for accent lighting; wide (60°–120°) for ambient. Spacing: avoid glare by spacing fixtures 1–1.5 times the ceiling height apart. Common mistakes: overlighting small spaces (causes eye strain) and ignoring color temperature (e.g., 2700K for warm ambiance; 4000K for offices).

6. Step 5: Draft the Lighting Plan
Use software like Dialux, Relux, or AutoCAD to create a visual layout. Include fixture locations, circuits, and wiring paths; controls like dimmers, motion sensors, or smart systems; and zoning (e.g., separate circuits for task vs. ambient lights). Pro tip: label fixtures on the plan for easy installation.

7. Step 6: Review and Optimize
Ensure your design meets local energy codes (e.g., IECC limits wattage per sqm), balances electrical load across circuits, and minimizes shadows with overlapping beams. Run simulations in lighting software to spot issues like dark corners or glare.
8. Step 7: Install and Adjust
After installation, test dimmers and controls, adjust fixture angles or spacing if needed, and add diffusers to soften harsh light. Final touch: use tunable LEDs to adapt lighting for different times of day. Why invest in a professional lighting layout? Cost savings — reduces energy waste by up to 30%. Enhanced safety — prevents tripping hazards in poorly lit areas. Increased property value — premium lighting boosts appeal for homes or commercial spaces.
Elevate Your Project with KayTai LED Strip Lights
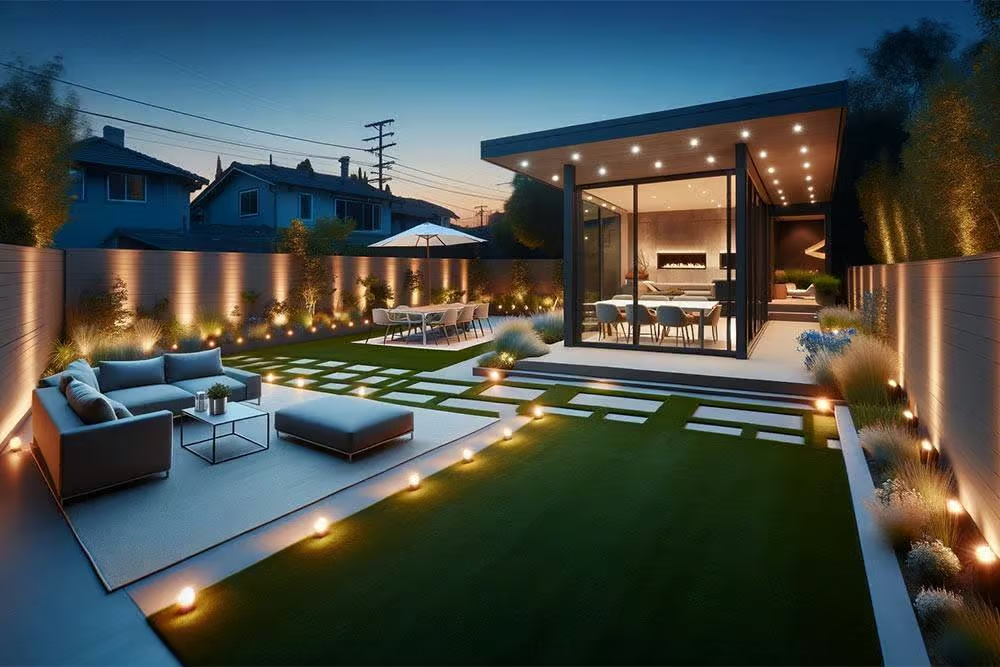
As a leading Chinese LED strip light manufacturer, KayTai combines cutting-edge technology with innovative design to deliver lighting solutions that excel in performance and aesthetics. Why professionals trust us: custom solutions — tailored LED strip lights for any application; superior quality — rigorously tested products with certifications (e.g., CE, RoHS); advanced features — RGB color-changing strips, high-CRI options, or waterproof designs (IP65/IP67); expert support — from layout design to post-installation troubleshooting. Popular applications: under-cabinet kitchen lighting, retail display case accents, cove lighting for ceilings, and outdoor landscape illumination. Contact KayTai today for a free consultation!
💡 Use KayTai RGB strips for dynamic accent lighting. Need professional help? Get a free layout consultation from KayTai engineers.
Design Your Lighting Layout with Experts
Get free layout consultation and tailored LED strip solutions from KayTai engineers.
Related LED guides

A structured approach to layout design. The spacing and layering tips apply to both rooms and outdoor areas. The planning framework is a good starting point for any project.
The layout design guide is well structured. The tips on spacing, angles and layering are practical for both rooms and outdoor spaces. A good starting framework for planning.
I consult on lighting layouts in Belgium and the step-by-step approach here matches how I work with clients. The lux targets per room are a solid starting point, and the layer recommendation for ambient and accent lights is easy to communicate. Good framework.