
LED strip lights turn any surface into a controllable light line. But simply switching them on and off is rarely enough: a restaurant needs full brightness at cleaning time and a soft glow at dinner, a home cinema needs deep blacks, and an office needs bright focus in the morning and calm warmth after lunch. That is exactly why dimming matters.
This guide compares every common way to dim LED strip lights, explains which parts of the system actually decide whether dimming works smoothly, and shows how to match the right method to your project. Whether you are wiring a single living-room shelf or designing a hotel lobby, you will leave with a clear answer.
Table of Contents
- What does “dimming” actually mean for LED strips?
- Are all LED strip lights dimmable?
- Why dimming matters for modern lighting
- The 7 LED strip dimming methods, compared
- Side-by-side comparison table
- How to install a 0–10 V dimming system
- 7 common dimming problems (and how to fix them)
- How to choose the right dimming method
- KayTai dimming-ready LED strip solutions
- Frequently asked questions
What Does “Dimming” Actually Mean for LED Strips?
Dimming an incandescent bulb works by lowering the voltage across its filament; the same trick would destroy an LED. An LED is a semiconductor: it shines at full brightness whenever current flows through it, and off when it stops. To dim an LED without colour shift or damage, you must switch the current on and off so fast that the human eye only sees the average brightness.
That high-speed on/off switching is called Pulse Width Modulation (PWM). A controller toggles the LED at 1 kHz to over 20 kHz. The percentage of each cycle spent “on” is the duty cycle: 100% duty is full brightness, 50% feels like half, and 5% is a faint glow. Anything above about 1 kHz looks flicker-free on camera, and 4–20 kHz is invisible to both eye and lens.
Two practical consequences follow. First, the dimming signal must reach a dimmable driver or controller; a plain wall dimmer cutting mains voltage will not work directly on a 12 V or 24 V strip. Second, smooth low-end dimming — reaching 1% or 0.1% without flicker — depends on the controller quality, not the strip itself. A good controller is the difference between “dims a bit” and “cinematic”.
Are All LED Strip Lights Dimmable?
Almost every constant-voltage 12 V and 24 V LED strip on the market is technically dimmable, but the strip is only one of four parts. The rest of the system decides whether that dimming actually feels good.
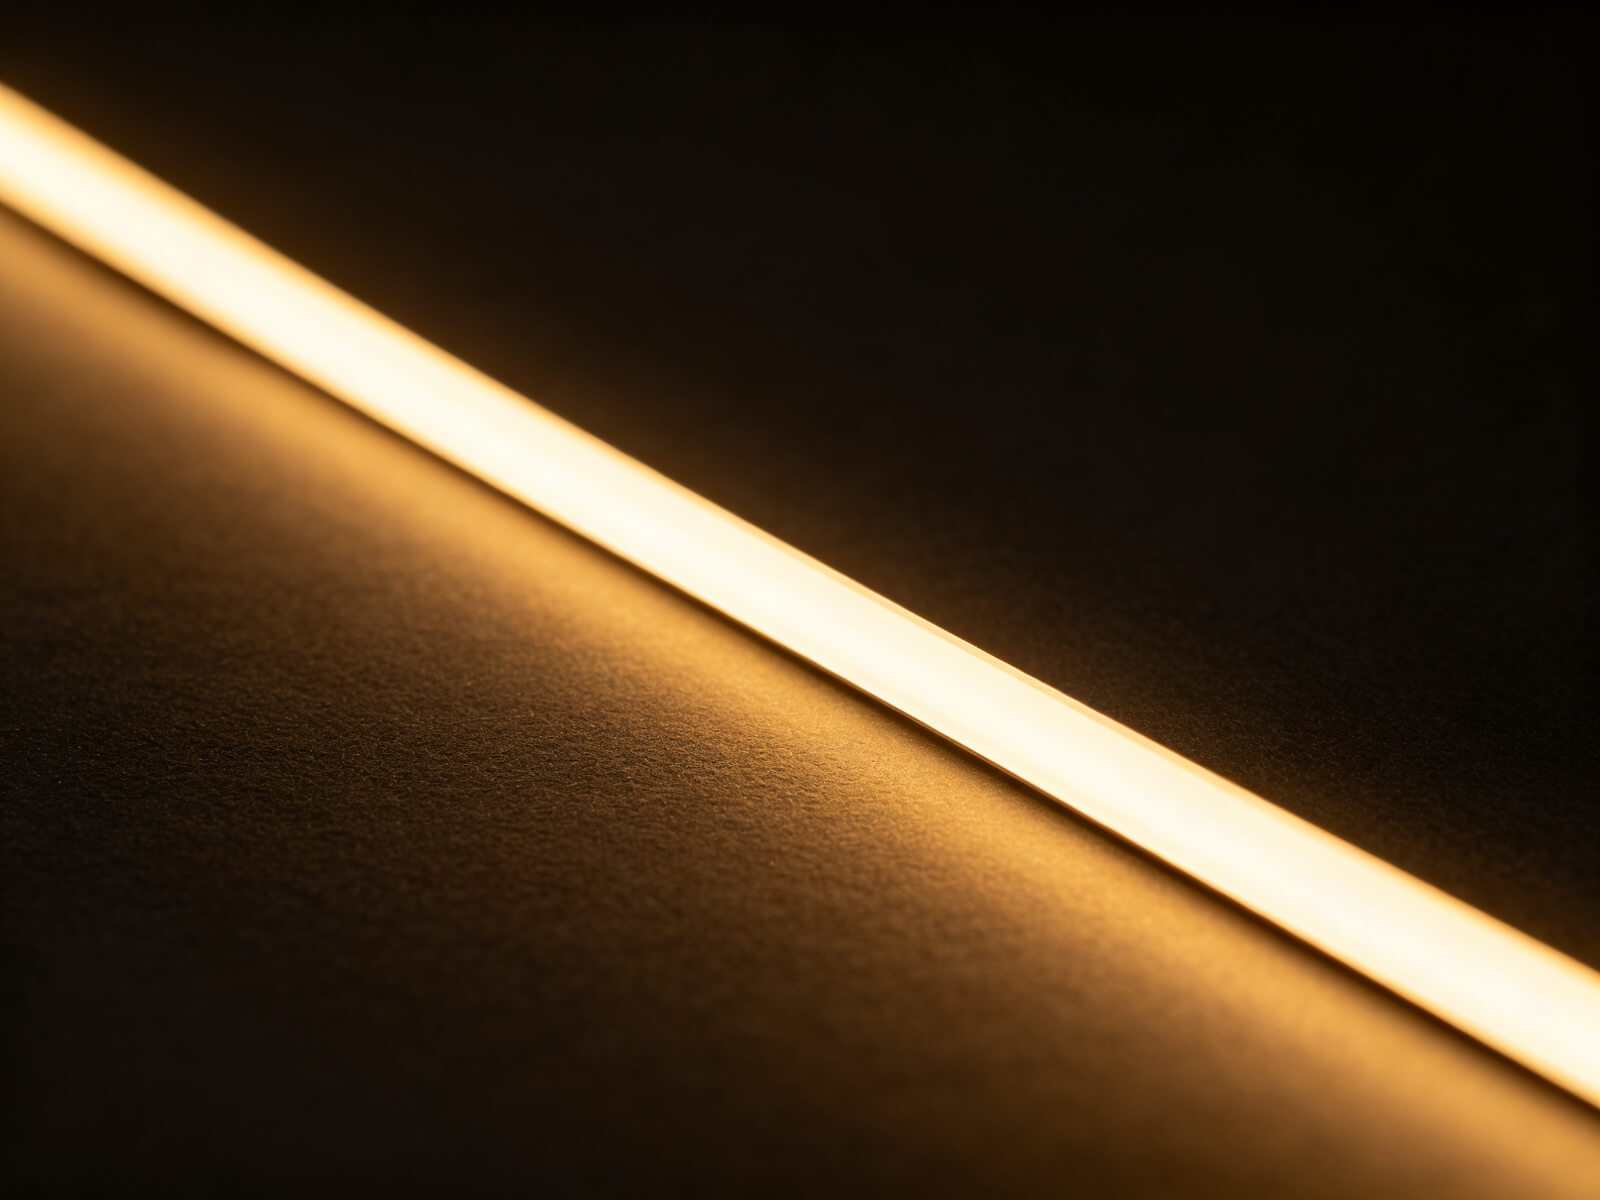
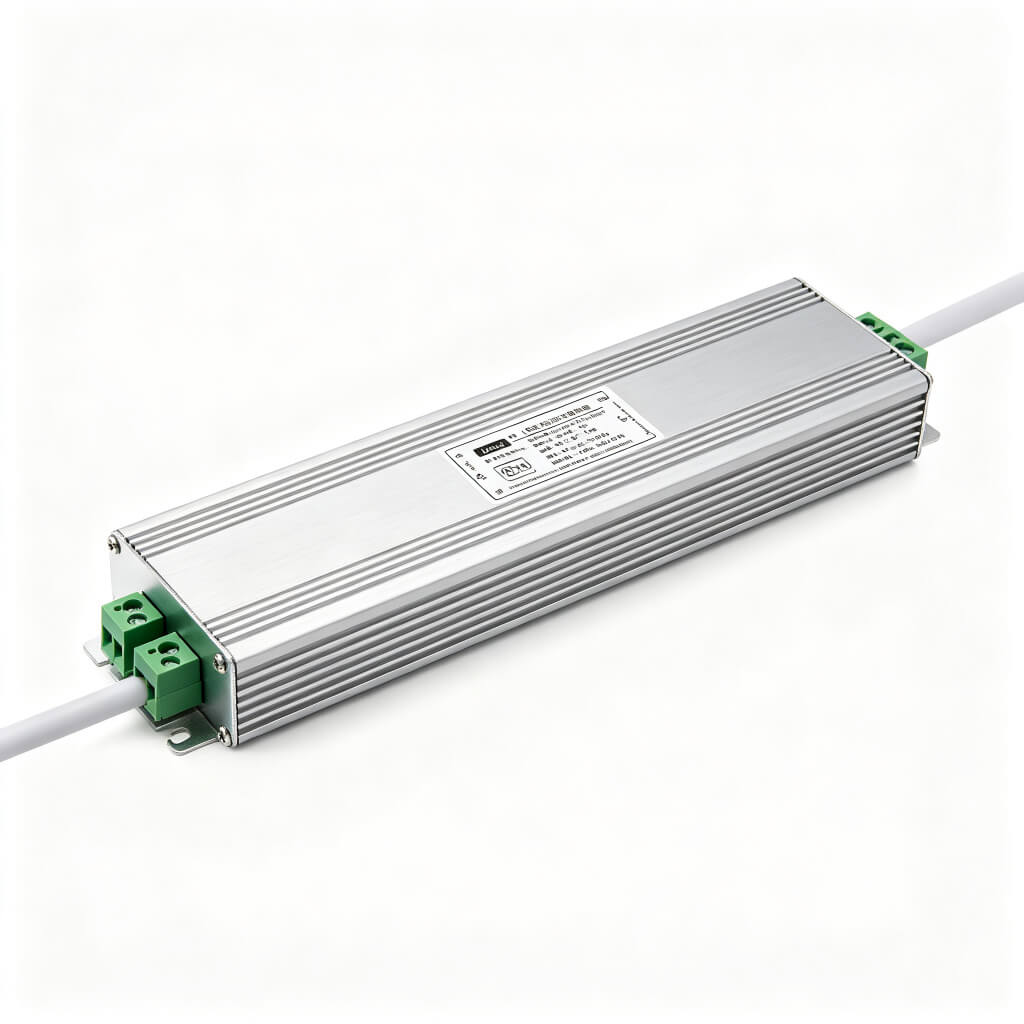
Mixing components that do not speak the same language is the most common cause of dimming complaints: flicker, a high minimum brightness, or brightness that drops as soon as more strip is added. We cover that in the problems section below. For a system-level overview, see our complete LED strip lighting guide.
Why Dimming Matters for Modern Lighting
Dimming is not just “turning lights down.” It changes what a space feels like, how much energy it uses, and how comfortable people are after hours.
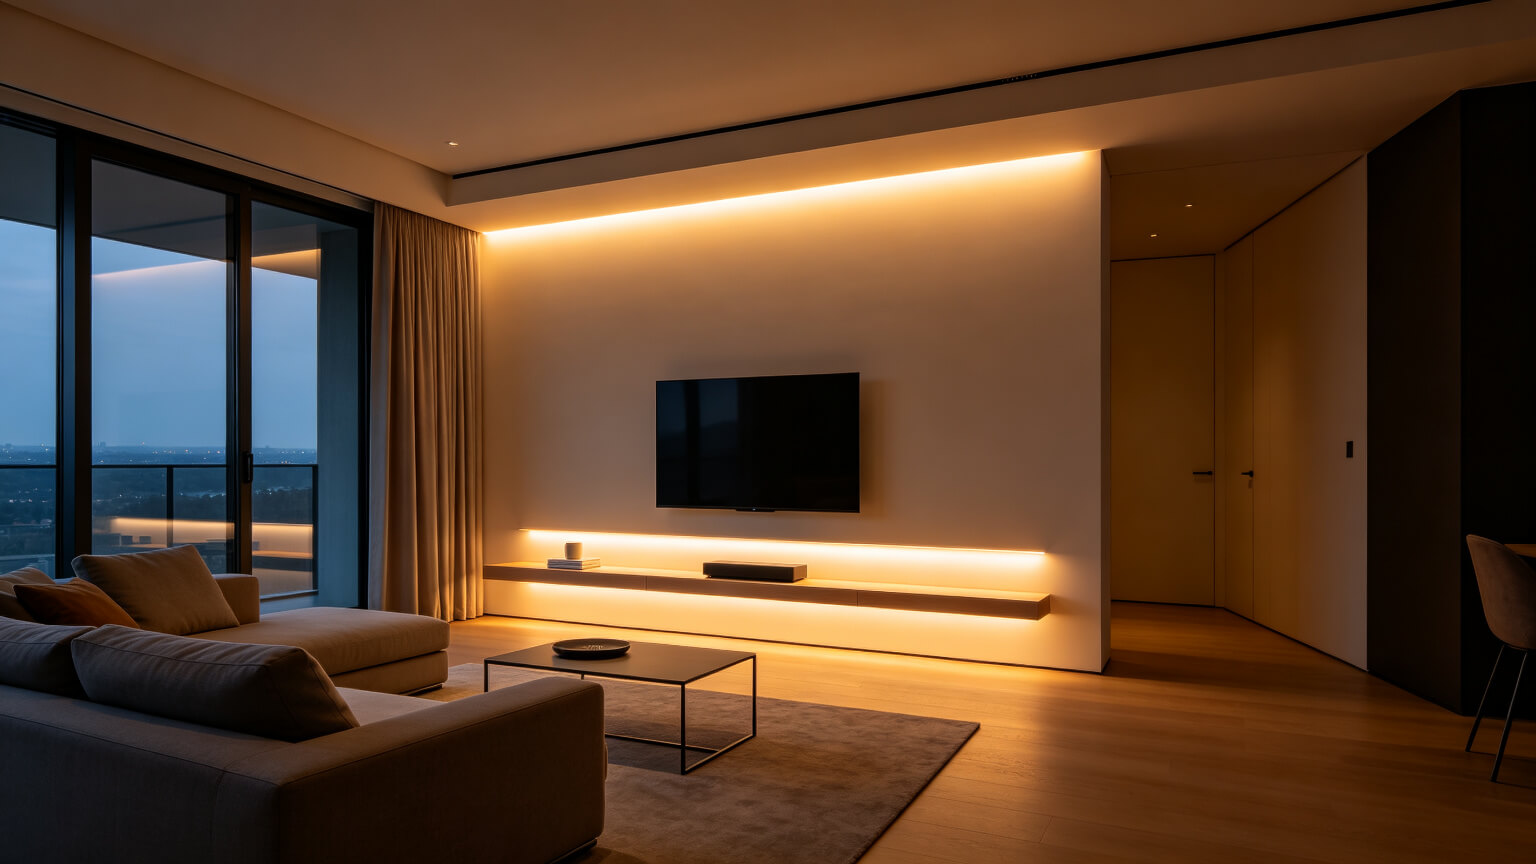
Set the atmosphere
Bright light wakes people up; soft warm light helps them relax. Dimming lets one room switch from work mode to movie mode without changing a single fitting.
Save real energy
LED current falls almost linearly with duty cycle. Dropping from 100% to 25% brightness typically cuts power use by 60–75%, not just 25%.
Protect eyes at night
Full-brightness blue-rich light at 11 pm suppresses melatonin. A 2700–3000 K dimmed glow is far easier on sleep.
Match the use case
Restaurants, hotels, museums and cinemas all need different lux levels at different times — fixed brightness cannot do that.
The 7 LED Strip Dimming Methods, Compared
Each method has a different control signal, wiring style and price point. The right choice is decided by project size, who uses the lights every day, and whether you need static white, tunable colour temperature or dynamic RGB.
4.1 PWM Dimming — the foundation
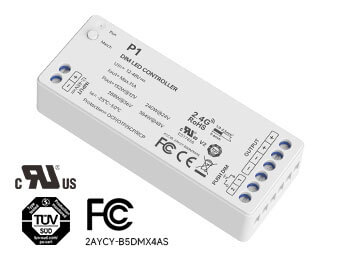
PWM is the internal language of every LED dimmer. A PWM controller sits between the driver and the strip and chops the current at high frequency. It is the simplest, cheapest method for single-colour and CCT strips, usually paired with an inline knob, touch panel or RF remote. Look for controllers rated above 1 kHz (preferably 4–20 kHz) and a claimed 0.1–100% dimming range.
4.2 TRIAC / Phase-Cut Dimming — familiar wall switches
TRIAC dimming uses the same mains wall switch your customers already know. The wall dimmer chops the AC voltage, and a TRIAC-dimmable driver translates that into low-voltage PWM for the strip. It is ideal for homes, hotels and apartments where you do not want a new control app — but the driver must be explicitly labelled TRIAC (leading-edge or trailing-edge), and quality matters: cheap drivers flicker or hum.
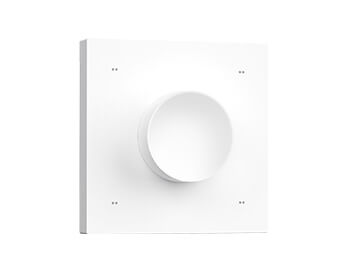
4.3 RF Remote (2.4 GHz) — wireless, no line of sight
A 2.4 GHz RF remote pairs with a small receiver hidden behind the cabinet. Unlike older IR remotes, RF works through walls and furniture, which makes it perfect for bedroom, living-room and display-case retrofits. No new wall wiring is needed — the receiver just sits in the driver circuit.
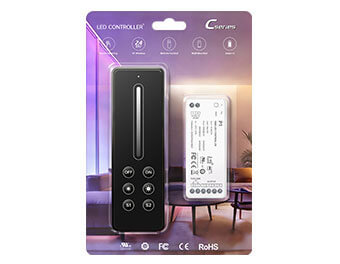
4.4 Wi-Fi / Smart Control — app and voice
A Wi-Fi controller (usually Tuya/Smart Life based) lets users change brightness, colour temperature and scenes from a phone, with Amazon Alexa or Google Assistant voice control. Scheduling and group control make it a favourite for smart homes, boutique hotels and modern offices. It needs a stable 2.4 GHz Wi-Fi network on site.
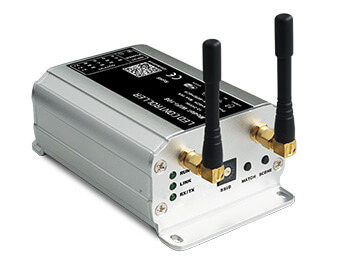
4.5 0–10 V Dimming — the commercial standard
A 0–10 V system sends a control signal on a separate pair of wires: 10 V is full brightness, 0 V is off. It is rock-solid, easy to scale across tens of fixtures, and native to offices, schools, retail and building-management systems. Every fixture on the loop dims together from one wall plate, provided the drivers are 0–10 V dimmable.
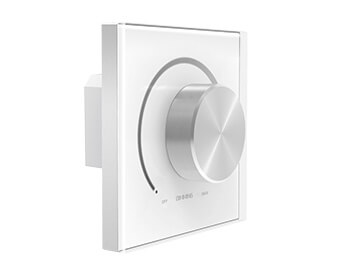
4.6 DALI / DALI-2 — individually addressable digital control
DALI is a two-wire digital bus. Each driver gets its own address, so groups, scenes and even single fixtures can be controlled separately from a wall panel or BMS. It costs more to design and commission than 0–10 V, but it is the right tool for hotels, multi-zone offices and buildings where lighting must be automated per room.
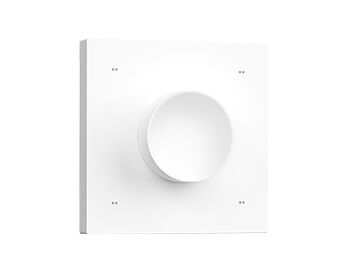
4.7 DMX512 — colour and dynamic effects
DMX512 is the entertainment-industry standard. It controls multiple channels per fixture — red, green, blue, white and master dim — so RGB and RGBW strips can chase, fade, strobe and sync. It is the natural choice for stage, exhibition, retail facades and architectural colour-change projects.
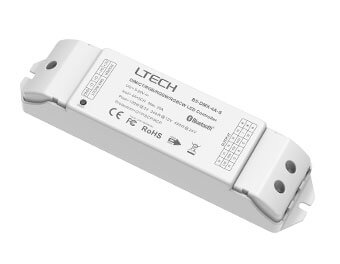
Side-by-Side Comparison Table
Use this table as a quick spec sheet. It summarises the wiring, control experience and typical project size for every method above.
| Method | Control signal | Best for | Complexity | Brightness / colour |
|---|---|---|---|---|
| PWM (inline) | High-speed switching | Single rooms, furniture, cabinets | Very low | Single colour or CCT |
| TRIAC | Mains phase-cut | Homes, apartments, hotels retrofit | Low | Single colour / CCT |
| RF 2.4 GHz | Wireless radio | Bedrooms, cabinets, rental setups | Very low | Single colour / CCT / RGB |
| Wi-Fi / Tuya | 2.4 GHz Wi-Fi | Smart homes, boutiques, offices | Low | CCT tunable, RGB, scenes |
| 0–10 V | Analogue 0–10 V loop | Offices, retail, schools | Medium | Single colour / CCT |
| DALI / DALI-2 | Digital bus | Hotels, multi-zone commercial | High | CCT, group addressing |
| DMX512 | Serial 512-channel bus | Stage, facade, RGBW effects | High | Full RGBW dynamic |
How to Install a 0–10 V Dimming System (Real-World Steps)
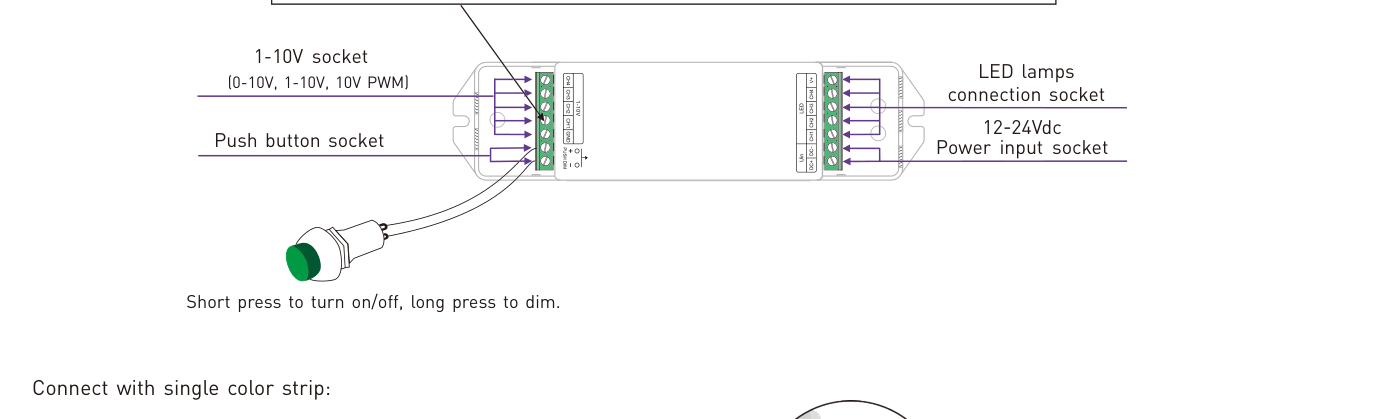
0–10 V is the most common commercial LED strip retrofit, so it is worth showing the actual install sequence. The wiring looks simple, but three details decide whether it works on day one: the source/sink setting, the signal polarity, and keeping the signal bus physically separated from mains. This is the exact sequence our installers follow on a 230 V office project.
Shut off the main power
Lock off the circuit at the distribution board and test with a non-contact voltage tester before touching any terminal. Do not skip this on a live 230 V loop — it takes 30 seconds.
Confirm every driver is 0–10 V dimmable
Look for the two signal terminals on the driver, usually labelled DIM+/DIM−, DA/DA− or 0–10V. A plain constant-voltage PSU has no such terminals and will not dim, no matter what wall panel you fit.
Run two separate cable runs
One 2–3 core cable for 230 V AC input, and a separate 2-core shielded cable for the 0–10 V signal. Never run both inside the same conduit — the 50 Hz ripple on the mains will inject visible flicker.
Wire the AC and DC sides first
Connect L / N / PE to the driver AC terminals, then V+ / V− from the driver DC output to the LED strip. Polarity on the DC side matters: reversed V+/V− will kill a COB strip instantly.
Daisy-chain the 0–10 V bus
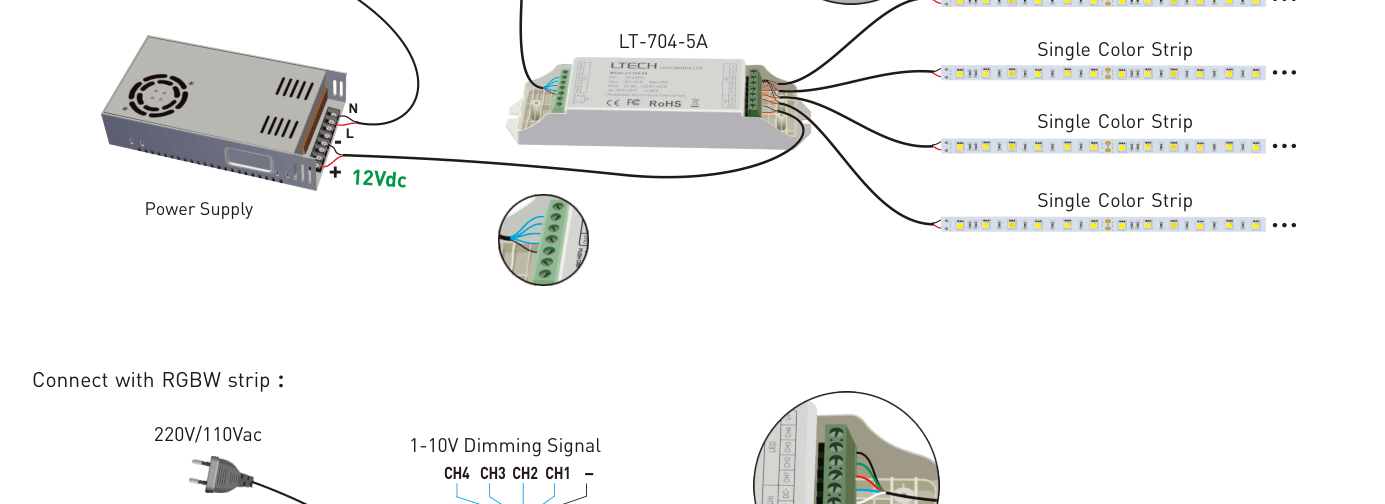
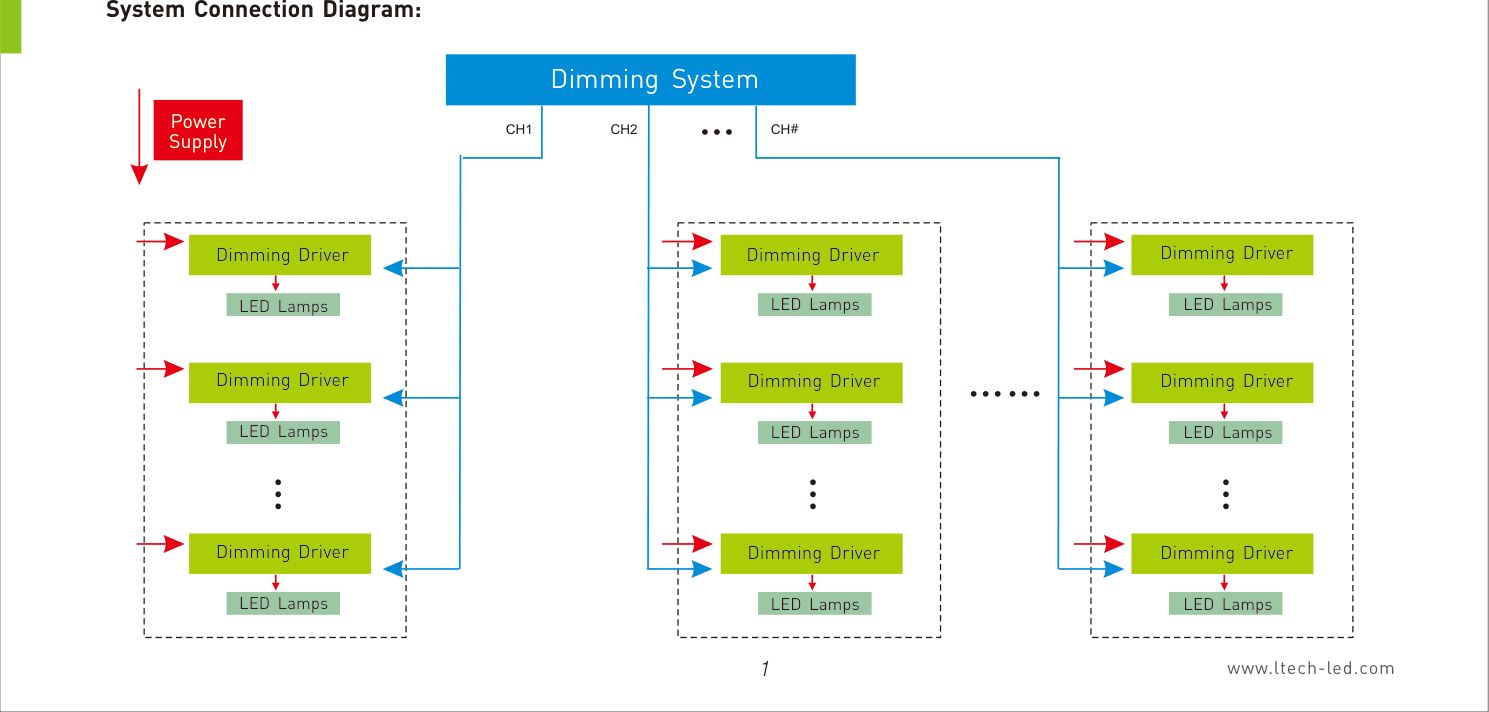
Run the shielded cable from the wall panel to the first driver’s DIM+/DIM−, then continue hand-in-hand to the next driver. All DIM+ terminals tie together, all DIM− tie together. This is a loop, not a star topology.
Match source or sink mode
Check the driver label: “source” means the driver supplies 10 V to the bus; “sink” means the wall panel does. Mixing one source driver with sink panels — or vice versa — gives no dimming at all. Set every device to the same mode.
Power up and verify end to end
Switch the breaker back on, slide the panel from 0 to 10 V. The strip should go smoothly from off to full brightness. If it sticks at one brightness, re-check polarity and source/sink before touching anything else.
A few field rules keep the system quiet. Keep the 0–10 V bus under about 100 m, land the shielded drain wire to earth at one end only, and size every driver at roughly 1.2× the connected strip wattage. If the dimming feels “grainy” below 20% brightness, the bus is picking up mains noise — move it into its own conduit and add a 100 nF capacitor across DIM+/DIM− at the first driver on the loop.
These three diagrams from a real 0–10 V dimming driver datasheet show exactly what to look at on site: the terminal layout, the single-strip power wiring, and how multiple drivers share one dimming loop.
7 Common Dimming Problems (and How to Fix Them)
Most dimming complaints are not the strip — they are a mismatch between the driver, controller and power budget. Walk through these before you replace anything.
Flicker at low brightness
Usually a cheap driver or a controller running below 1 kHz. Upgrade to a 4–20 kHz PWM controller and a dimmable driver sized to the load.
Cannot dim below 20–30%
The controller’s minimum duty cycle is too high, or the driver is not fully dimmable. Check the driver datasheet for “0.1–100%” range.
Colour shifts when dimmed
Cheap strips warm up or turn blue at low current. Use a quality 24 V strip with consistent binning and the right CCT.
Brightness drops after 5 m
Voltage drop on long runs. Use 24 V (not 12 V), feed both ends, or add a second power supply.
Controller cannot drive the whole run
Power overload. Match the driver wattage to strip watts — total watts × 1.2 safety margin — and split long runs.
One strip flickers near the rest
Ground-loop or signal interference. Run low-voltage signal wires away from mains, and use screened cable for 0–10 V / DALI.
App does not reach the strip
Wi-Fi on the 5 GHz band only, or signal blocked. Use a 2.4 GHz SSID and place the controller within 10 m line of sight of the router.
For hardware-level guidance on the most common retrofit job, our under-cabinet LED lighting guide walks through drivers, channels and dimming in detail.
How to Choose the Right Dimming Method
Three questions narrow the field fast. Answer them in order and the method becomes obvious.
Who controls the light every day?
A wall switch user → TRIAC or 0–10 V. A phone-first user → Wi-Fi/Tuya. A theatre or designer → DMX or DALI.
How many zones?
One or two zones → PWM, RF or Wi-Fi. A whole building → 0–10 V. Per-room automation → DALI.
What colour behaviour?
Static white or warm–cool tunable → any method. Dynamic colour and effects → DMX or Wi-Fi RGB controller.
When in doubt, start from the simplest method that meets the control experience: adding RF or Wi-Fi to a finished cabinet is cheap; retrofitting DALI into a built ceiling is not. Our COB vs SMD vs RGBIC guide explains which strip technology pairs best with each dimming style.
KayTai Dimming-Ready LED Strip Solutions
KayTai engineers strips, drivers and aluminium channels as one matched system. Every product below is tested to dim smoothly to 0.1% without flicker — order a free sample and see it on your own bench.
Dimmable COB LED strips
Dotless light line, 0.1–100% smooth dimming, ideal for cabinets, coves and premium hospitality where visible dots would look cheap.
Dimmable SMD 2835 / 5050 strips
The workhorse for under-cabinet, shelf and linear projects, available in single-colour, dual-white and RGB/RGBW variants.
CCT tunable white strips
2700 K to 6500 K warm-to-cool adjustment, perfect for offices and hotels that need day-morning and evening scenes.
RGB / RGBW strips
Full colour control for gaming rooms, storefronts and feature walls, paired with DMX or Wi-Fi controllers.
Dimmable drivers & controllers
TRIAC, 0–10 V, DALI, RF and Wi-Fi drivers matched to strip wattage, with 1.2× built-in safety margin.
Aluminium extrusion channels
The channel hides the strip and protects it — essential for any visible dimmable installation, with diffusers for a clean glow.
Browse the full range in the LED Strip Lights category, or ask our engineers to spec a matched kit for your project.
Frequently Asked Questions
▶Can I dim any LED strip with a normal home dimmer?
No. A normal mains wall dimmer works directly on incandescent bulbs. For LED strips you need either a TRIAC-dimmable driver behind the wall dimmer, or a low-voltage PWM / RF / Wi-Fi controller between the driver and the strip.
▶Why does my strip flicker when it gets dim?
Almost always the driver or controller, not the strip. Cheap drivers and sub-1 kHz controllers flicker visibly. Use a 4–20 kHz PWM controller and a dimmable driver rated for 0.1–100% range.
▶Is 12 V or 24 V better for dimming?
24 V is better for runs longer than about 5 m: it halves current and voltage drop, keeps brightness even, and lets you dim smoothly along the whole run. Use 12 V only for short runs under 3–4 m.
▶What is the difference between 0–10 V and DALI?
0–10 V is a simple analogue loop: all fixtures on the wire dim together. DALI is a digital addressable bus: each fixture or group can be controlled separately and scenes programmed. DALI costs more but scales to whole buildings.
▶Can I add dimming to an existing LED strip installation?
Usually yes. If the driver is non-dimmable, swap it for a dimmable driver and add a small inline controller (RF or Wi-Fi). No need to replace the strip itself — just make sure the new driver’s wattage covers the total load.
▶Does dimming actually save energy?
Yes. LED current falls roughly with duty cycle: at 25% brightness the strip typically draws around 25–40% of full power, because dimming reduces real current rather than wasting energy as heat the way a resistor would.
Need a dimming-ready LED strip kit for your project?
Tell us your strip length, voltage, control method (TRIAC / RF / Wi-Fi / 0-10V / DALI / DMX) and target brightness. KayTai engineers will spec a matched driver + controller + channel kit, and send a free sample for bench testing.
Contact KayTai
The PWM vs analog dimming explanation is the clearest I have read. I have struggled with flicker issues before and the section on high-frequency PWM explains why. The controller comparison table is a great shortcut for choosing the right setup.
The PWM vs analog dimming explanation is the clearest I have read. I have struggled with flicker issues before and the section on high-frequency PWM explains why. The controller comparison table is a great shortcut for choosing the right setup.
Helpful breakdown of dimming methods. The 0-10V installation notes were exactly what I needed for a commercial project. It would be useful to see a compatibility table between common dimmers and drivers next time.
I compared this to three other dimming guides and the cost breakdown between leading-edge and DALI stood out. The section on choosing between 0-10V and PWM for long runs matched the flicker issues we saw on a retail project. Cleared up why our trailing-edge dimmer hummed.