
The difference between “LEDs stuck on” and “lighting built into the room” is not the strip — it is the craft of installation. Adhesion failure is the single most common complaint in LED strip reviews, and messy mounting is the second-biggest visual problem in gaming rooms.
This guide covers the exact method for installing strips in a gaming room so they look built-in: surface prep, channels, corners, and hiding the power supply.
Table of Contents
1. Clean the Surface Properly
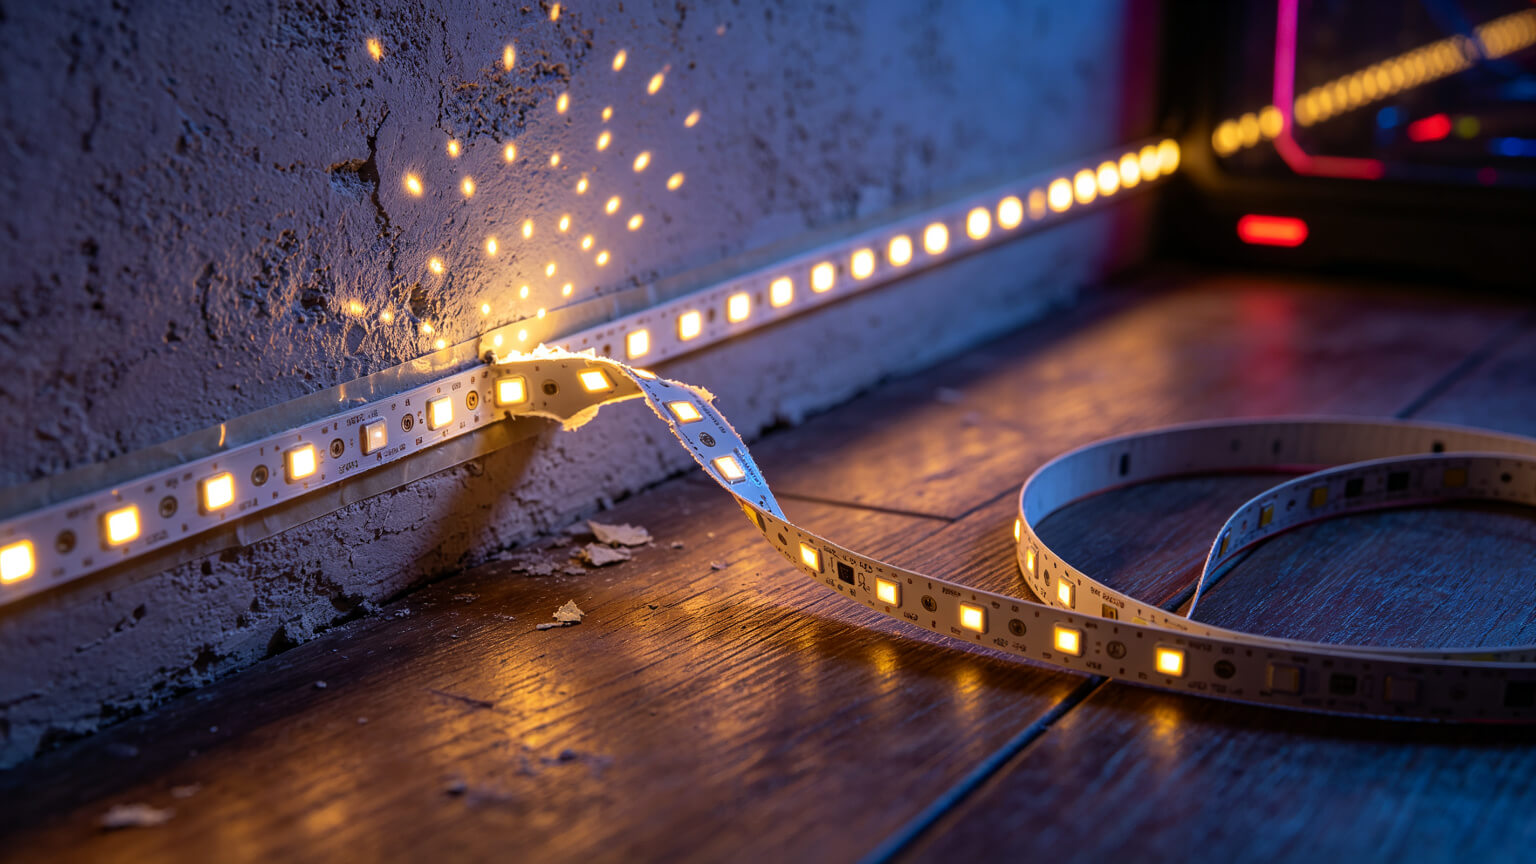
About 26.8% of negative strip reviews cite poor adhesion — and in almost every case the cause is the surface, not the tape. A thin layer of dust, grease or moisture makes even good 3M tape fail within days.
The fix is boring but essential: wipe the mounting surface with isopropyl alcohol (70–90%), wait for it to dry completely, then press the strip firmly along its full length. Skip this step and you will be re-mounting in a month.
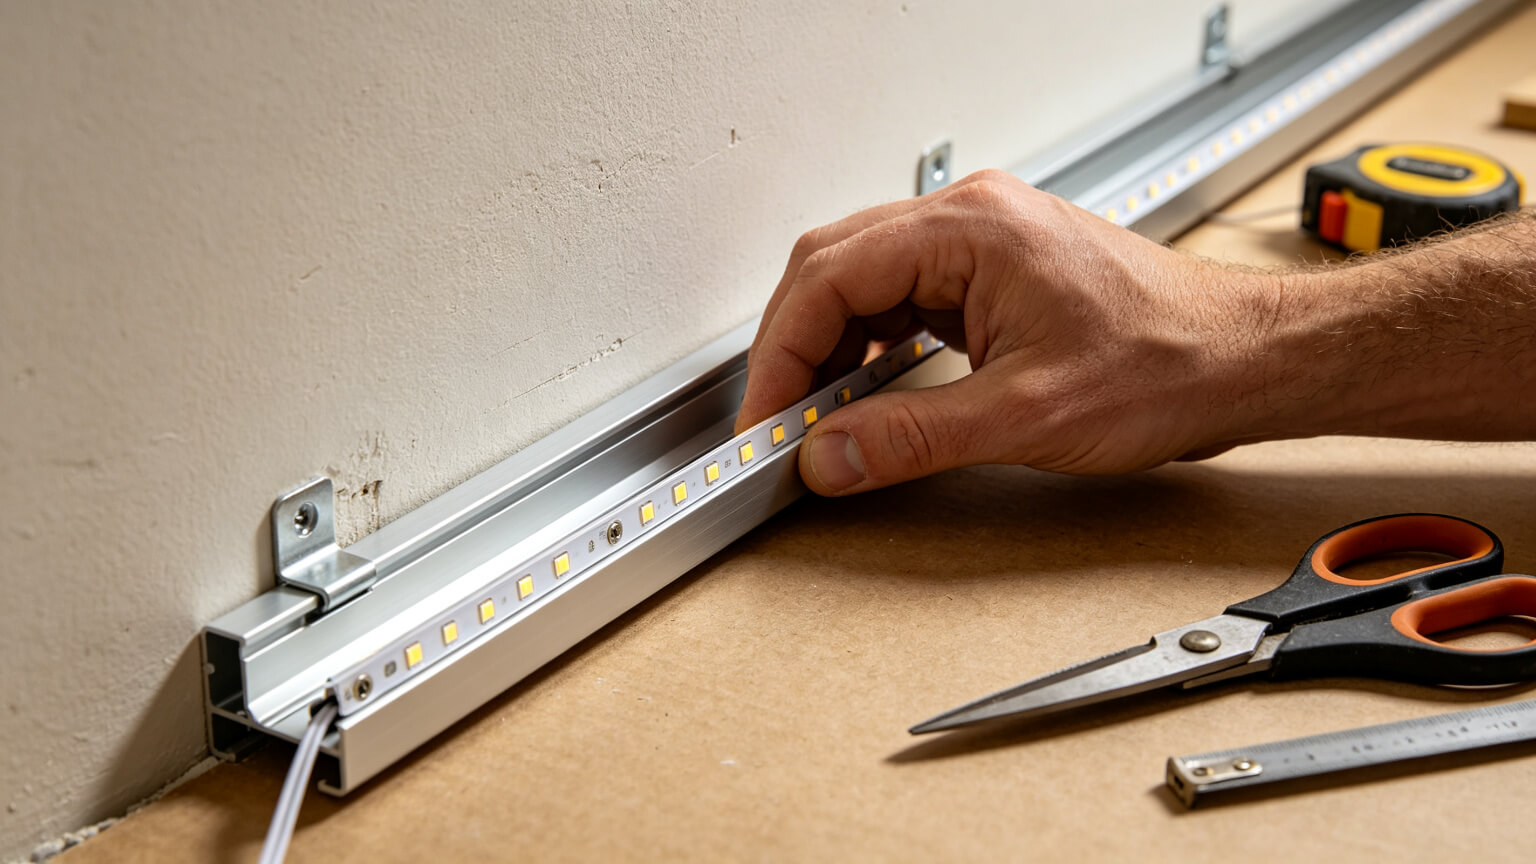

2. Aluminium Channels vs Bare Adhesive
Bare adhesive is fine for temporary, hidden runs. For anything visible — which is most of a gaming room — use an aluminium channel:
| Bare adhesive | Aluminium channel | |
|---|---|---|
| Adhesion | Depends on tape + surface | Clips and screws — mechanical hold |
| Light quality | Raw dots, hotspots | Diffuser evens light into a line |
| Heat | Poor dissipation | Aluminium acts as a heatsink |
| Corners | Hard to do cleanly | Corner pieces available |
| Removal | Tape residue | Clean removal, re-usable |
For gaming rooms, channels pay for themselves in the first re-mount you avoid. They are also the difference between a dotted line and a clean light line.
3. Corners, Jumps and Splices Without Soldering
Hard 90° folds are the second-biggest visual tell of an amateur install — they strain the copper and look sloppy. Instead:
Corner Connectors
Snap-on corner pieces for channels keep a clean 90° with no fold.
L-Shaped Cuts
Cut at the marked line and join with a 2-pin connector — no soldering.
Jump Wires
For gaps (shelf to shelf), use a jumper cable rated for the strip voltage.
Solderless Splices
Clip-on splice connectors work for SMD and COB strips; crimp firmly.
Measure twice, cut once — and always test the strip uncoiled before mounting (never power a coiled strip).
4. Hiding the Controller and Power Brick
For renters, removable mounting is covered in rental-friendly gaming lighting, and the layer plan this fits into in how to light a gaming room.
Visible controllers and power bricks are the second-biggest visual problem after bad mounting. Three clean options:Behind the Desk
Zip-tie the driver to the desk frame; run the low-voltage cable along the edge.
In a Raceway
A slim trunking channel hides the cable run from the wall to the strip.
Under the Monitor Stand
For desk strips, the driver hides under the stand or behind the monitor arm.
Keep the driver ventilated and away from heat — a cramped, hot driver is a reliability problem, not just a looks problem.
5. The 10 Mistakes That Ruin a Clean Install
Here is a pattern you have seen in photos: a setup with expensive hardware that still looks cheap. Every one of these mistakes is cheap to fix — here is the full list and what to do instead:
- Pointing strips straight at the wall — creates hotspots. Mount into a cove or behind furniture so the wall receives reflected glow.
- Mixing colour temperatures — a 6500K strip on one wall and 3000K on another reads as a hardware mismatch. Match within each role.
- Visible LED dots — the number one giveaway of a cheap setup. Use COB or high-density strips, or add a diffuser channel.
- Folding at a hard 90° corner — strains the copper and lifts the tape. Use corner connectors or channel corner pieces.
- Powering a coiled strip — concentrates heat and can permanently damage the LEDs. Unroll fully before any test.
- Full brightness all the time — washes out the screen. The professional range is 30–40%; if the strip cannot dim that low, replace the driver.
- Coloured light behind the screen — distorts on-screen colour. Bias light must be neutral white (6500K).
- Bare adhesive on dusty walls — about 26.8% of negative strip reviews cite adhesion failure. Clean with isopropyl alcohol, or use a channel with clips.
- Visible cables everywhere — cable spaghetti is the second-biggest visual problem. Plan power placement before mounting; hidden cables are 50% of the “built-in” look.
- One strip doing three jobs — trying to be ambient, accent and bias at once fails at all three. Separate the jobs: white for ambient and bias, one colour for accent.
Each of these is covered in the right order above — surface prep, channels, corners and hiding the driver. Get those four right and most of the list disappears automatically.
6. The Install Order, Step by Step
A sequence that avoids the classic mistakes:
- Plan the run and measure — length, corners, power point location.
- Buy 10% extra for mistakes, or a matching connector set.
- Clean every surface with isopropyl alcohol and let it dry.
- Mount channels first, then press the strip in (never the reverse).
- Fit corners and diffusers before powering up.
- Uncoil fully, test at low brightness, then tidy cables.
- Calibrate brightness to the 30–40% level — then enjoy.
For the full spec guide — density, voltage and cut points — see our LED strip light guide.
7. Frequently Asked Questions
▶How do I keep LED strips from falling off?
Clean the surface with isopropyl alcohol and let it dry before mounting. For visible runs, use an aluminium channel with clips — mechanical hold beats tape every time.
▶Can I install LED strips without soldering?
Yes. Use solderless connectors for cuts and splices, corner connectors for 90° turns, and jumper cables for gaps between shelves or desks.
▶How do I hide LED strip wires?
Run low-voltage cables along desk frames, behind monitor arms or in slim raceways. Keep the driver behind the desk or under the monitor stand, ventilated.
▶Do I need an aluminium channel for LED strips?
For any visible run, yes — channels diffuse the light into a clean line, hold the strip mechanically, dissipate heat, and make corners look professional.
▶Can LED strips be cut and reconnected?
Most strips have marked cut lines. Cut cleanly on the line and reconnect with solderless connectors or jumper wires at the same voltage.
Get the Full Mounting Kit
Tell us your run lengths and corners — we will quote the channels, connectors, diffusers and driver together, so the install looks built-in from day one.
Contact KayTai
Install notes are clear and beginner friendly. The point about cleaning the surface before sticking and leaving slack at corners saved me from a failed install. My desk setup now looks professional.
The step-by-step install instructions are easy to follow for a first-time setup. The notes on corner bending and power requirements saved me from common mistakes. My gaming room looks great with the diffused strips.
The part about routing cables before sticking strips saved me an hour on my own setup. The spacing recommendation between strips and the desk edge gives a cleaner glow line than I had before. Straightforward instructions, no fluff.