
Want a room that looks calm and modern without a single visible light fixture? LED skirting line lighting hides a strip of light inside the baseboard, washing the wall with a soft glow and making the space feel bigger and more inviting.
This guide explains what skirting line lighting is, the two light directions, the three installation methods, and how to choose and install the right LED strip — step by step.
Table of Contents
What Is Skirting Line Lighting?
Skirting line lighting integrates an LED strip into the baseboard (skirting board) of a room. Instead of acting as the main light source, it adds a soft, indirect glow that radiates along the wall — washing it from the bottom up or lighting the floor below.


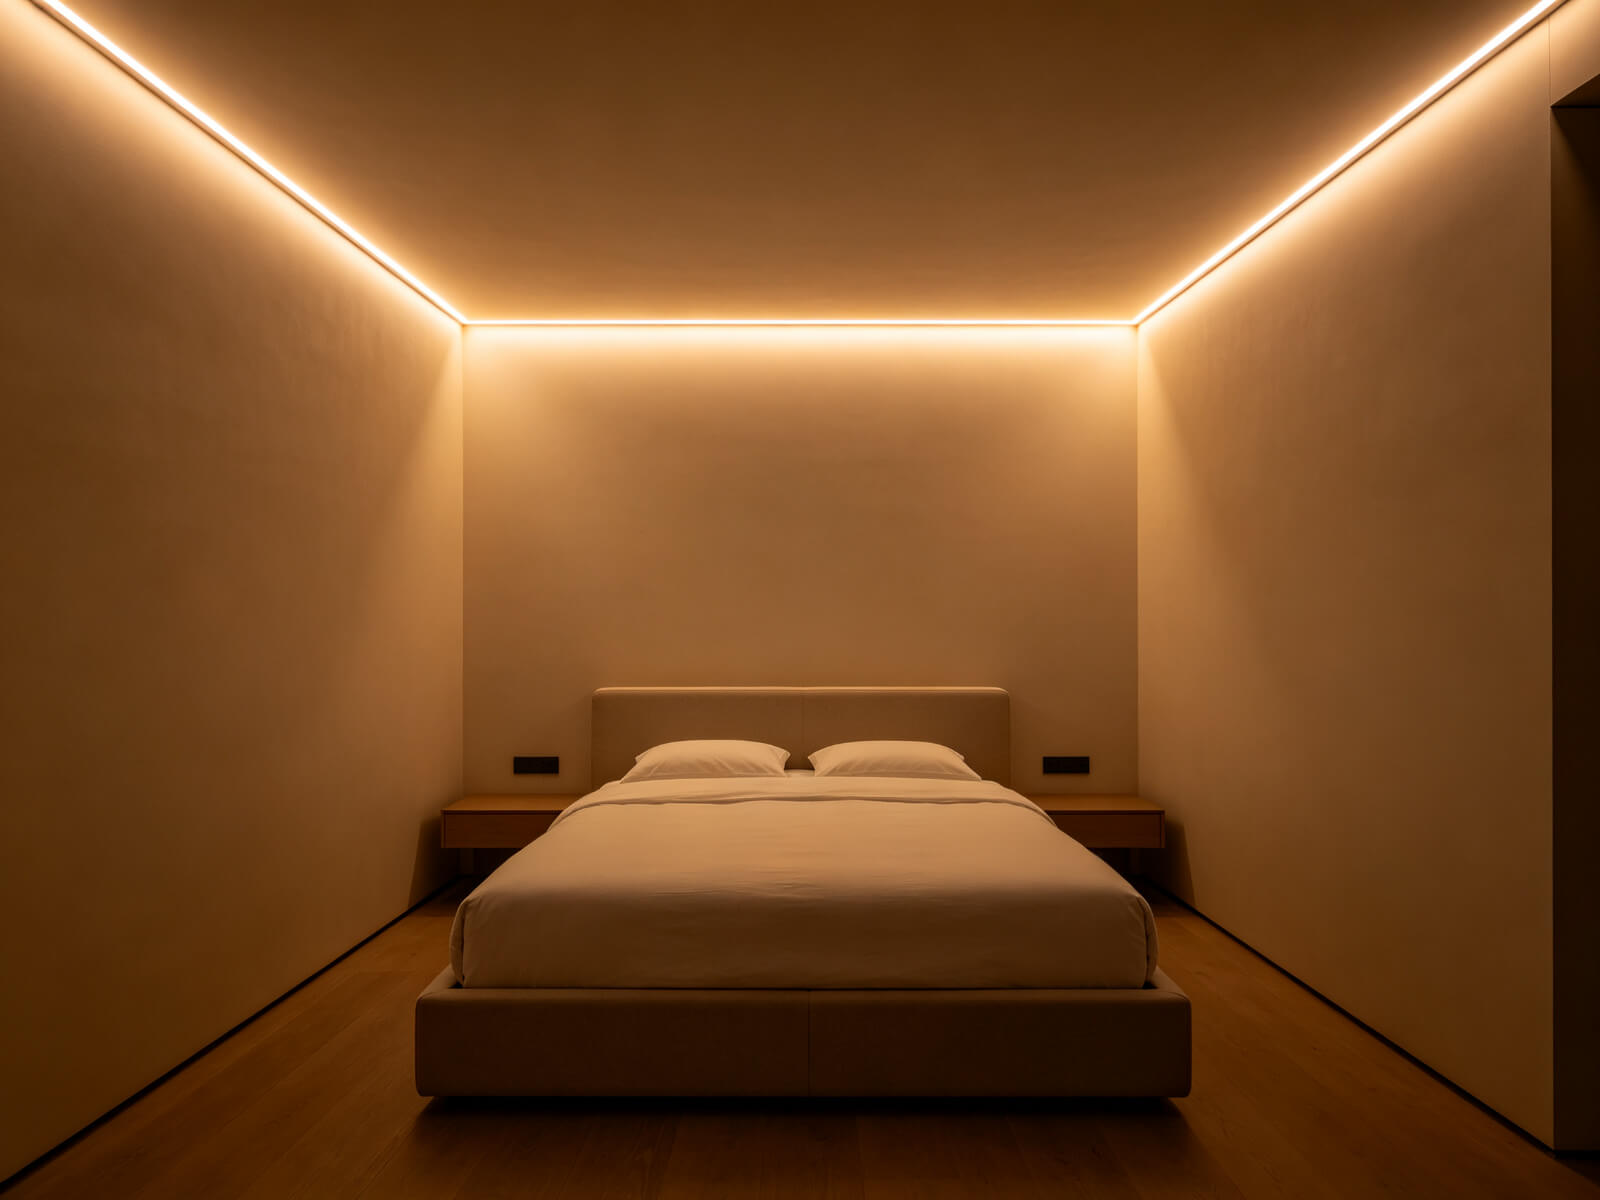
Because the light source is hidden, the effect is pure and minimal — no visible fixtures, just a floating line of light along the base of the wall.
Upward vs Downward: Two Light Directions
How the LED strip sits inside the profile decides where the light goes. There are two classic directions:
| Direction | Light goes | Effect | Best for |
|---|---|---|---|
| Upward (wall-wash) | Up the wall from the baseboard | Soft ambient glow, highlights wall texture | Bedrooms, lounges, feature walls |
| Downward / sideways | Onto the floor and around the base | Lights the floor edge, defines the room outline | Hallways, stair treads, corridors |
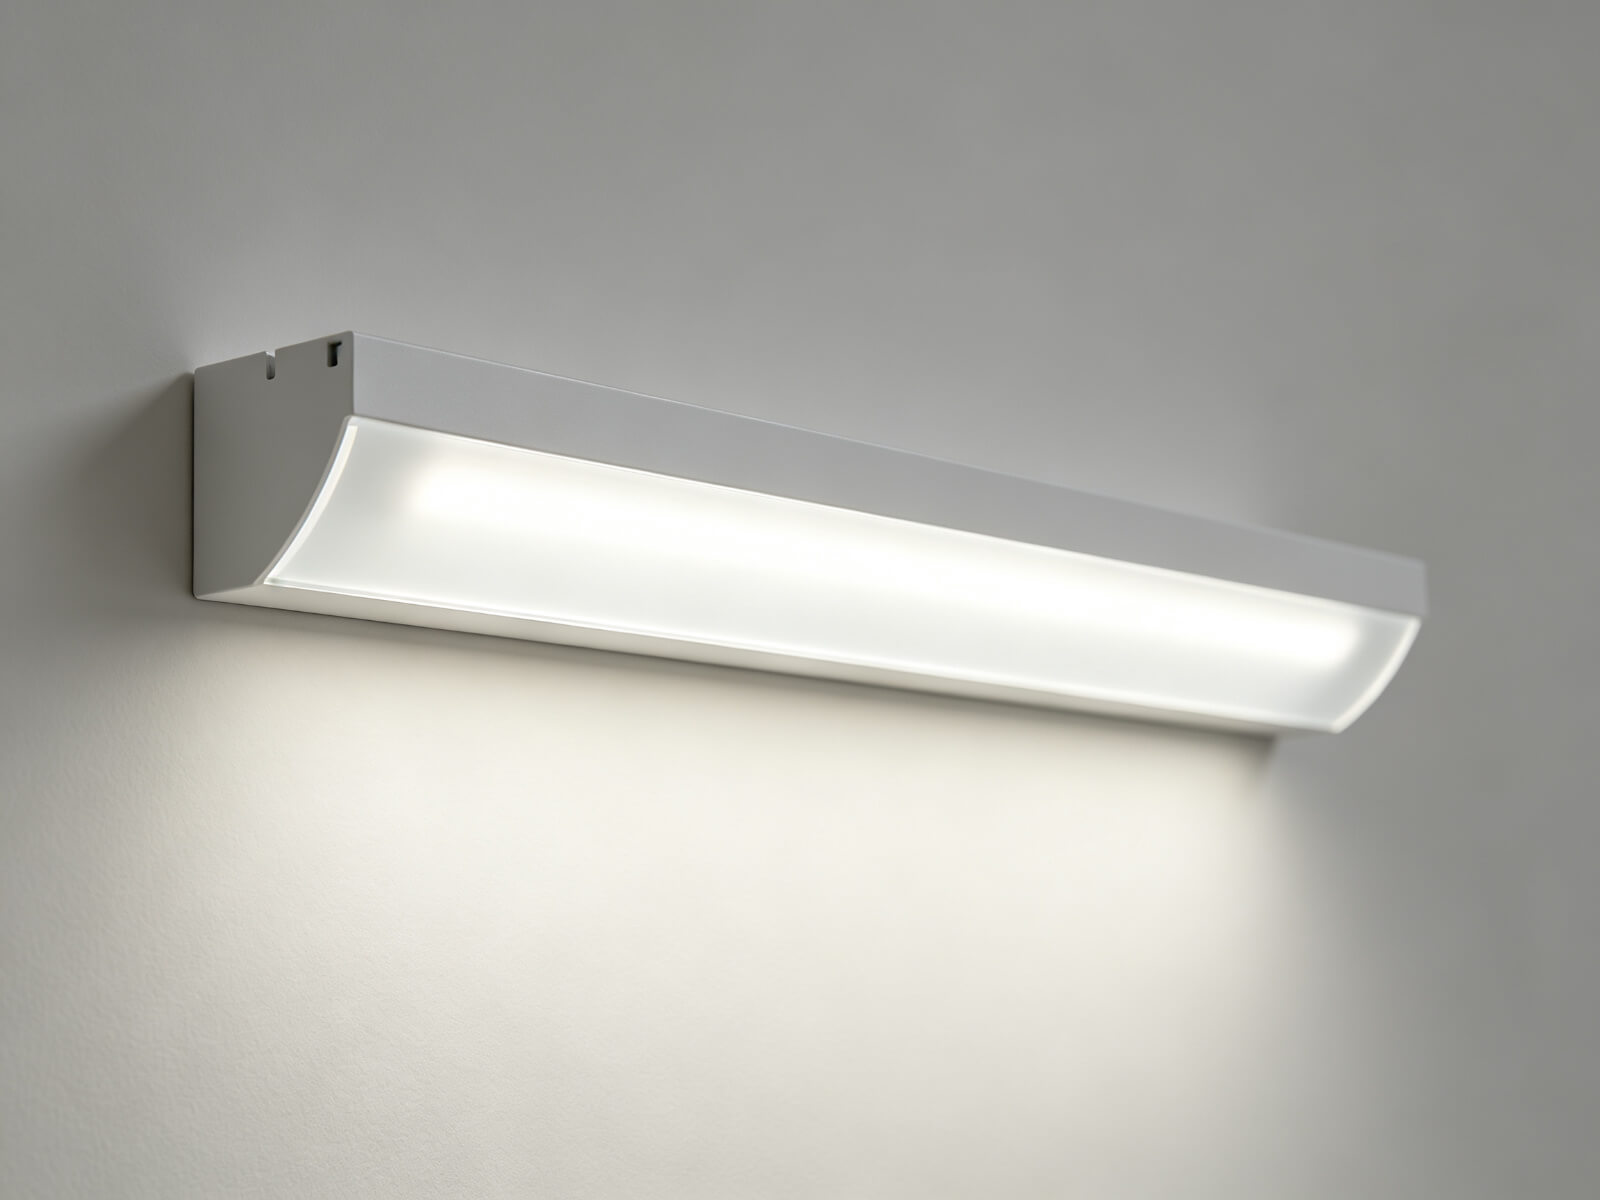
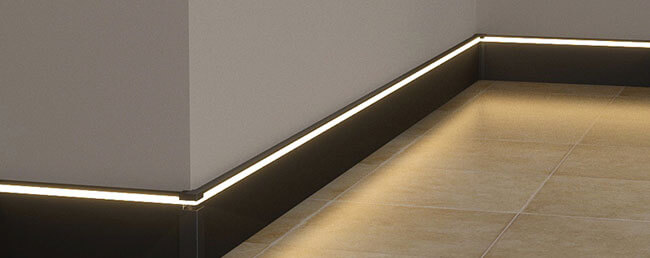
Both directions are decorative by nature — subtle ambience rather than task light. Many rooms combine a downward glow in corridors with an upward wash in living areas.
Installation Methods: Surface, Embedded & Plastered
Skirting profiles install three ways. Choose by construction stage and how seamless you need the finish:
| Method | How it works | Effort | Best for |
|---|---|---|---|
| Surface-mounted | Profile fixes directly to the finished wall base | Simple DIY | Retrofits, rented homes |
| Embedded | Profile screws into the wall foot; cover clips on | Moderate | Renovations wanting a tidy look |
| Plastered (in-wall) | Slot pre-reserved in the wall; putty finishes flush | Builder required | New builds, seamless luxury finish |

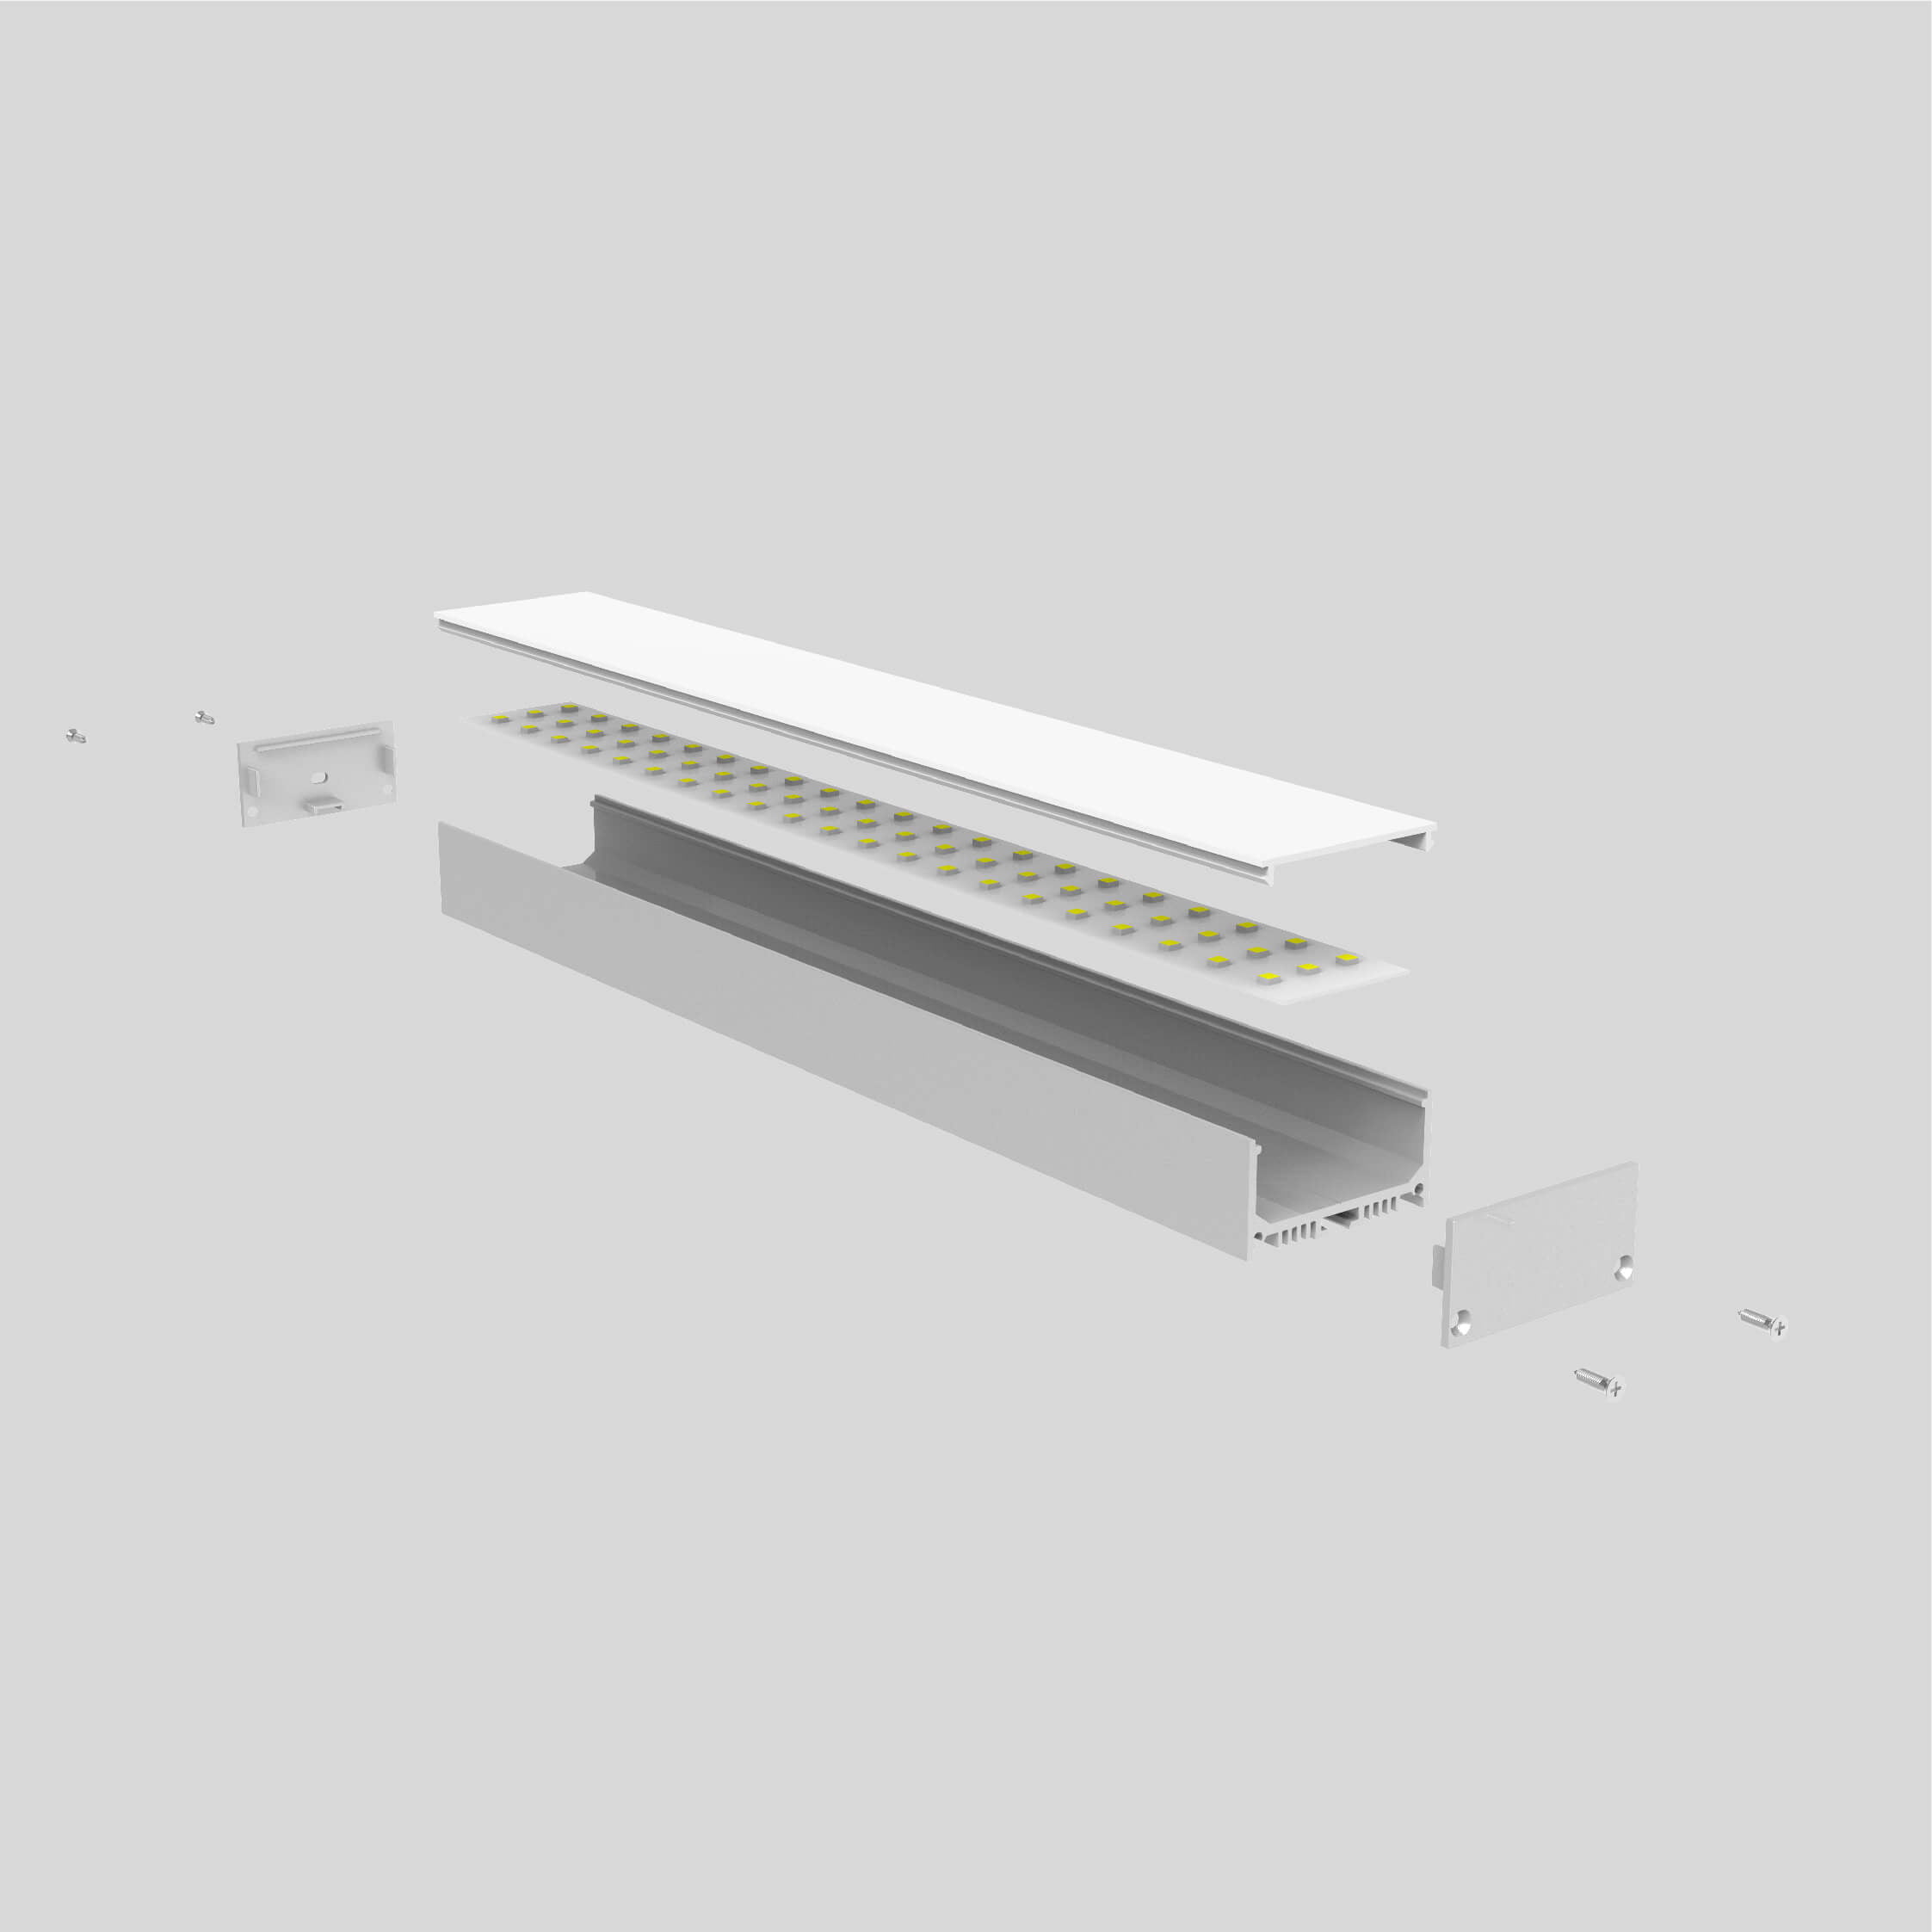
KayTai machines skirting channels, end caps and feeds to your run length, so the whole baseboard lights as one continuous line with no visible joints.
Why LED Skirting Lights Are So Popular
Skirting line lighting has moved from boutique hotels to everyday homes. Six reasons explain the boom:
Instant Modern Aesthetics
A thin line of light at the wall base looks premium and minimal — high impact, tiny footprint.
Space Feels Bigger
Light washing the lower wall visually expands small or low-light rooms.
Atmosphere on Demand
Dimmable to a whisper of warm glow — ideal as a night light or evening mood light.
Fully Customizable
Any run length, colour temperature, and RGBW colour — matched to the interior.
Smart Home Ready
DALI, 0–10V or WiFi dimming means scheduling and scenes from your phone.
Energy Efficient
LED strips use a fraction of the power of old lighting and last tens of thousands of hours.
How to Choose the Right LED Strip
Behind the profile sits the strip — and the strip choice decides the quality of the glow. Four specs matter:
| Spec | Recommendation | Why it matters |
|---|---|---|
| Chip type | COB for premium, SMD2835 for value | COB gives a perfectly dot-free line; both work behind a diffuser |
| Brightness | 240–480 lm/m | Skirting is accent light; too bright looks clinical |
| Colour | 2700K–3000K warm; RGBW for effects | Warm tones flatter interiors and feel restful |
| Voltage | 24V preferred | Longer runs with less voltage drop and thinner wire |
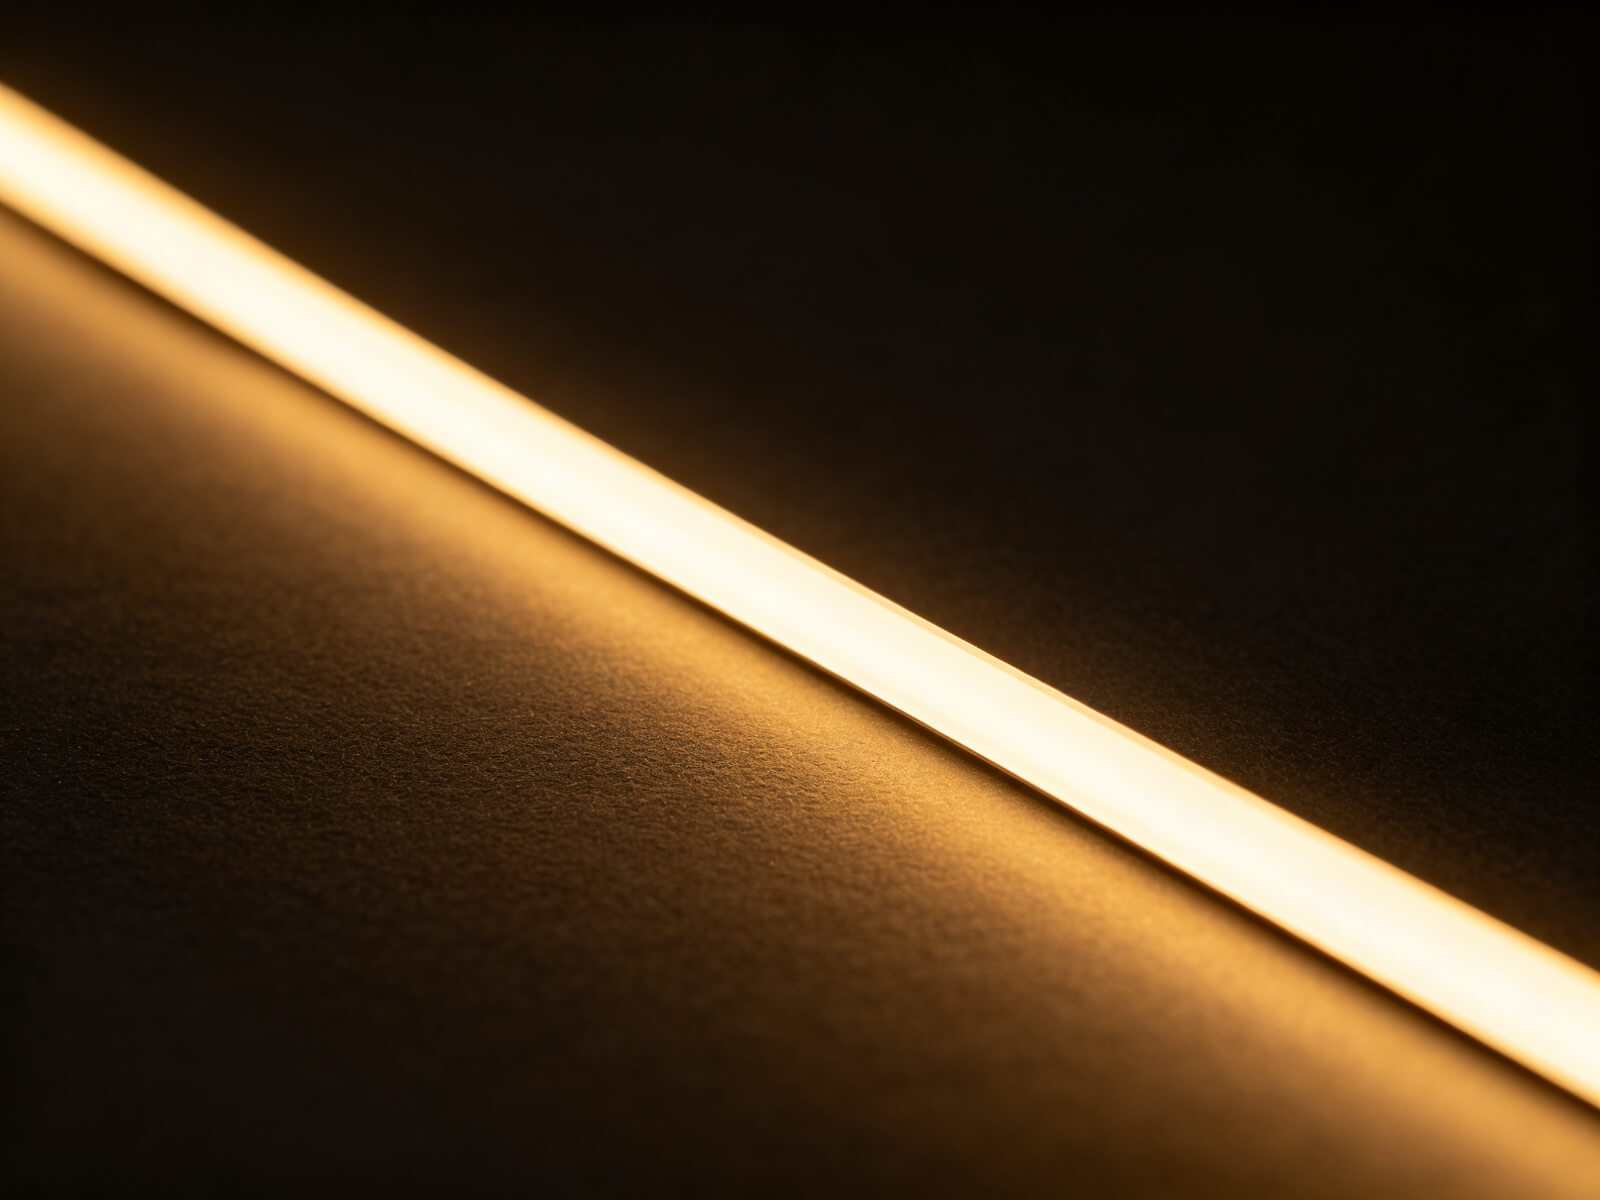
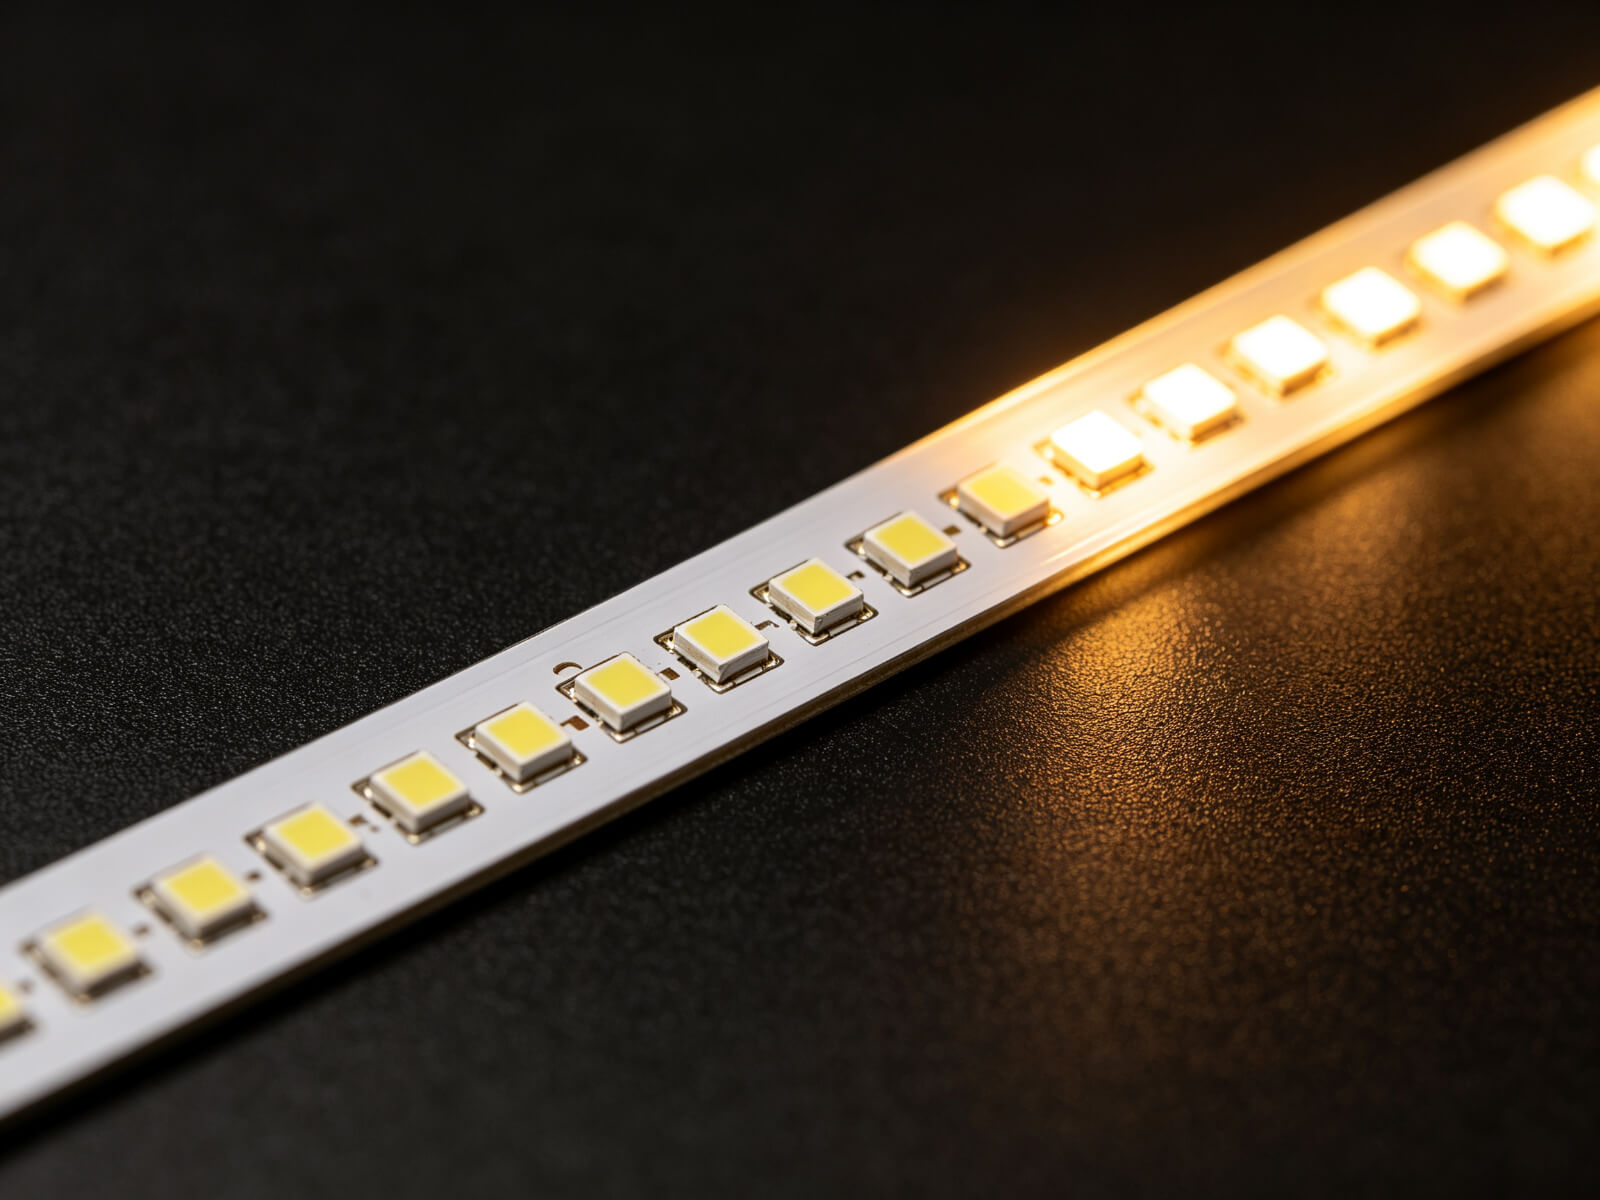
New to strip specs? The LED strip light guide explains chips, CRI, voltage and cutting in plain language.
Step-by-Step Installation
For a surface-mounted retrofit (the most common case), the process is a simple afternoon job:
Measure the Runs
Measure each wall section; note corners, doors and where the power supply will sit.
Cut Profile & Strip
Cut the channel and strip to length at marked cutting points; strip the ends for wiring.
Fix the Channel
Screw or adhesive-mount the profile along the wall base, keeping one straight line.
Slide in the Strip
Press the strip into the channel and route the cable through the end cap.
Connect & Dim
Wire to a 24V LED driver (120–130% rated load); add a dimmer or smart controller.
Finish & Test
Clip on the diffuser, fit end caps, switch on and check for even, dot-free light.
Common Mistakes to Avoid
- Too bright — skirting light is ambience, not task light; 240–480 lm/m is plenty and dimmable anyway.
- Bare tape with no diffuser — exposed LEDs make dots and harsh lines; always close the profile with a PC cover.
- Wrong direction — check the profile opening faces up (wall wash) or down (floor line) before fixing.
- Undersized power supply — measure the full run and size the driver at 120–130% of the strip load.
- Forgetting corners — plan corner connectors and end caps before you cut, or you will fight joints on site.
- Skipping dimming — a dimmer turns one installation into both ambience and night light; add it now.
Skirting Line Lighting FAQs
▶What is skirting line lighting?
Skirting line lighting hides an LED strip inside the baseboard so light washes the lower wall or the floor. It adds a soft, indirect glow and a modern architectural line without any visible fixture.
▶Can I retrofit skirting lights without tearing up the wall?
Yes. Surface-mounted skirting profiles fix directly to the finished wall base — no plastering needed. For a perfectly flush finish, the plastered method suits new builds.
▶What LED strip should I use behind the skirting?
A 24V COB strip gives the smoothest dot-free line; SMD2835 is the value option. Choose warm white (2700–3000K) for interiors, and always add a frosted diffuser.
▶Is skirting lighting energy-hungry?
No. A typical 5-metre run of LED skirting uses only about 30–50W in total — a fraction of a traditional fixture — and LEDs last tens of thousands of hours.
▶Can skirting lights be dimmed or colour-changed?
Yes. With a compatible dimmer or smart controller you get smooth dimming, and RGBW strips offer full colour scenes — perfect as a night light or mood setting.
Ready to Design Your Glowing Baseboard?
Send us your room layout and run lengths — our factory team will recommend the skirting profile, strip and driver, with free samples available.
Contact KayTai
The up vs down light direction section is genuinely useful — I nearly ordered a downward profile for a wall-wash feature. The part about light outlet height for the floor effect saved me from a costly mistake on a hotel corridor job. Thanks for including the measurements.
Clear guide. The diffuser comparison helped me choose opal for a bedroom project. One question: do you have recommendations for sealing cut ends on IP65 strip in a bathroom skirting install? I could use more detail on that.
I installed a skirting profile in a hallway last month and the up vs down light direction section explains why my downward wash looks better than the neighbour’s upward version. The outlet height drawing was the exact spec I wished I had before cutting.