
What Is a Drywall LED Channel?
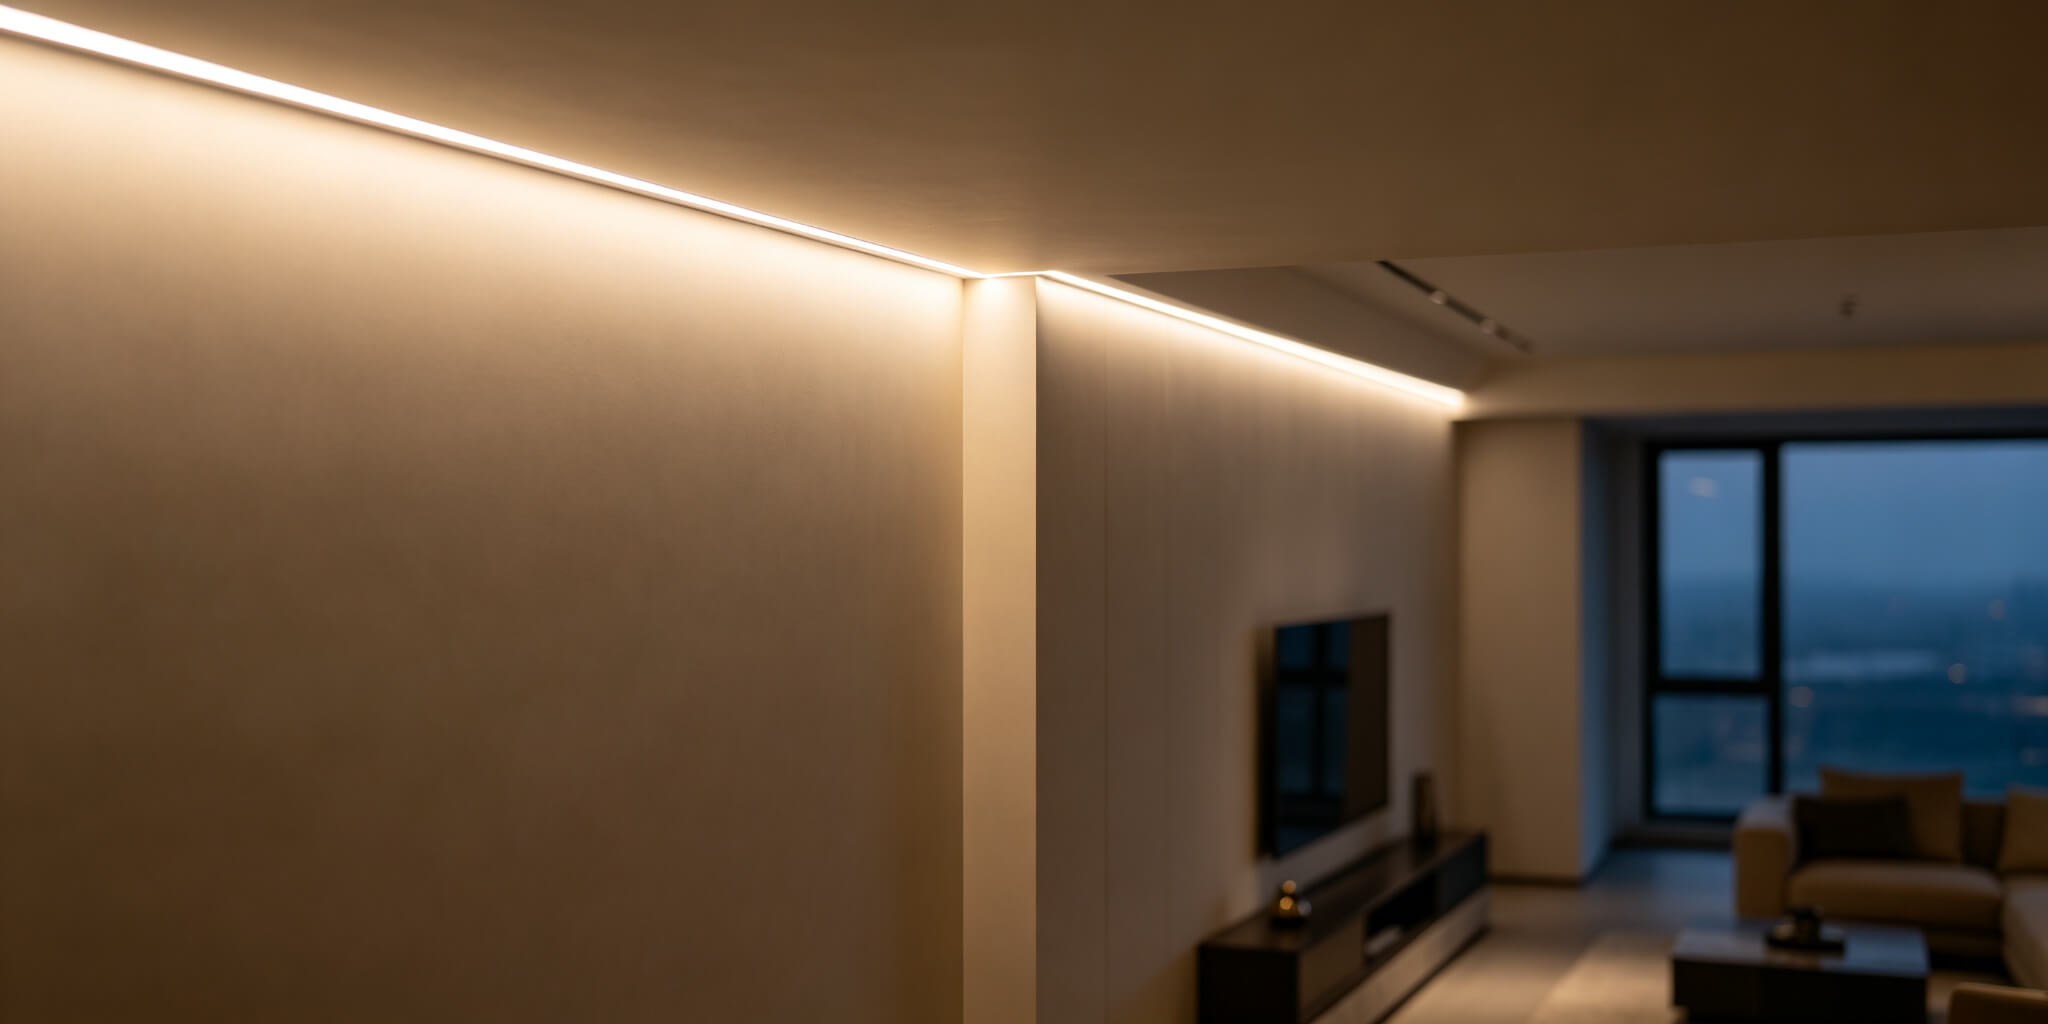
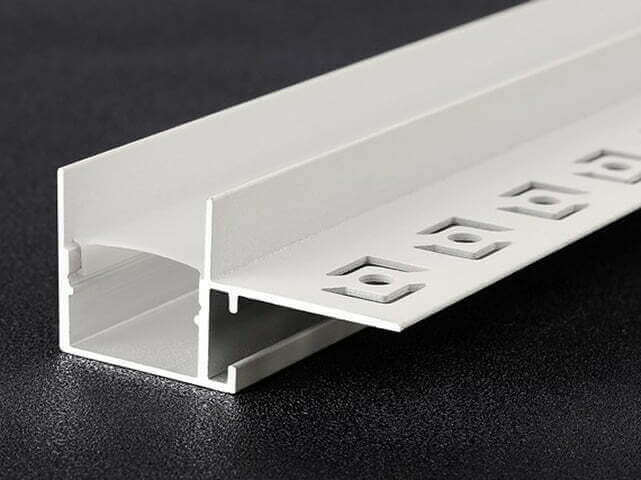
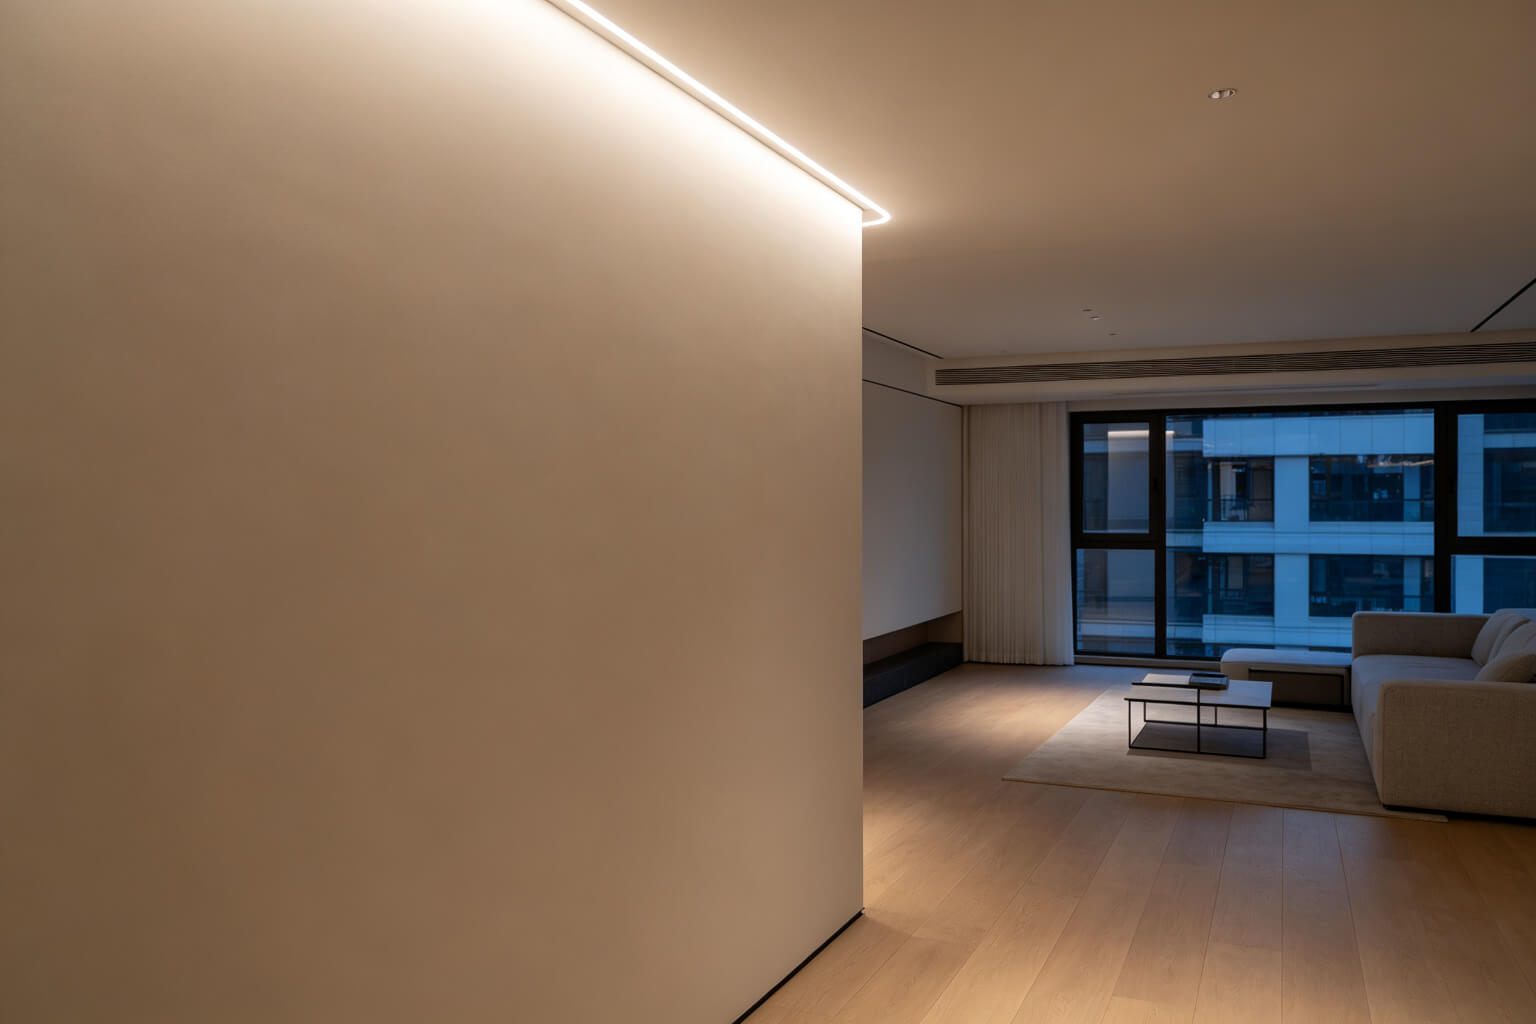
A drywall LED channel (also called a plaster-in profile, mud-in extrusion or trimless LED channel) is an aluminum profile designed to sit flush inside a prepared opening in plasterboard, gypsum board or drywall. Unlike a surface-mounted extrusion that sits on top of the wall, the recessed channel disappears into the surface: only the diffuser slot remains visible, and the rest is covered by joint compound and paint.
A complete system has five parts: the aluminum channel body, the LED strip, a diffuser (opal or clear), end caps, and a low-voltage driver. The aluminum body does two jobs at once — it mechanically holds the strip, and it acts as a heat sink so the LEDs last longer than an adhesive strip stuck directly to plaster.
Why Recess an LED Channel in Drywall?
Surface-mounted strips are fast, but they leave a visible plastic or aluminum body on the wall. A recessed channel buys you a clean architectural light line instead of a fixture-looking add-on. The three reasons contractors choose it:

How to Choose the Right Channel: Size and Strip Compatibility
This is the step where most DIYers and even some contractors go wrong. Three numbers decide whether the installation fits: the strip width, the channel internal width, and the drywall thickness / cavity depth. Match all three before you cut anything. Not sure which strip type fits your project? Start with our complete LED strip light buying guide.
| Strip width | Recommended internal channel width | Typical channel overall width | Typical recess depth |
|---|---|---|---|
| 8 mm (narrow COB / 2835) | 9–10 mm | 17–25 mm | 10–15 mm |
| 10 mm (most common SMD / COB) | 11–12 mm | 30–52 mm | 14–25 mm |
| 12 mm (high-density 5050 / RGBW) | 13–14 mm | 50–64 mm | 20–38 mm |
| 15 mm (high-power / dual-channel) | 16–17 mm | 64–88 mm | 25–40 mm |
Drywall thickness check. North American standard 5/8” (15.9 mm) drywall is the most common; thinner 1/2” (12.7 mm) board cannot house a deep channel. If the recess depth is greater than the drywall plus framing cavity, the profile will poke through. For deeper channels you need either two layers of board or a channel that mounts to studs behind the board.
Diffuser choice. Opal / frosted diffusers hide LED dots best and suit living rooms, hotels and offices. Clear diffusers maximize output but show dots — use them only with high-density COB strips (120+ LEDs/m). Black diffusers are used when the slot must disappear during daylight.
What You Need Before You Start
Gather everything before you open the wall. Running back and forth mid-installation wastes more time than the work itself.
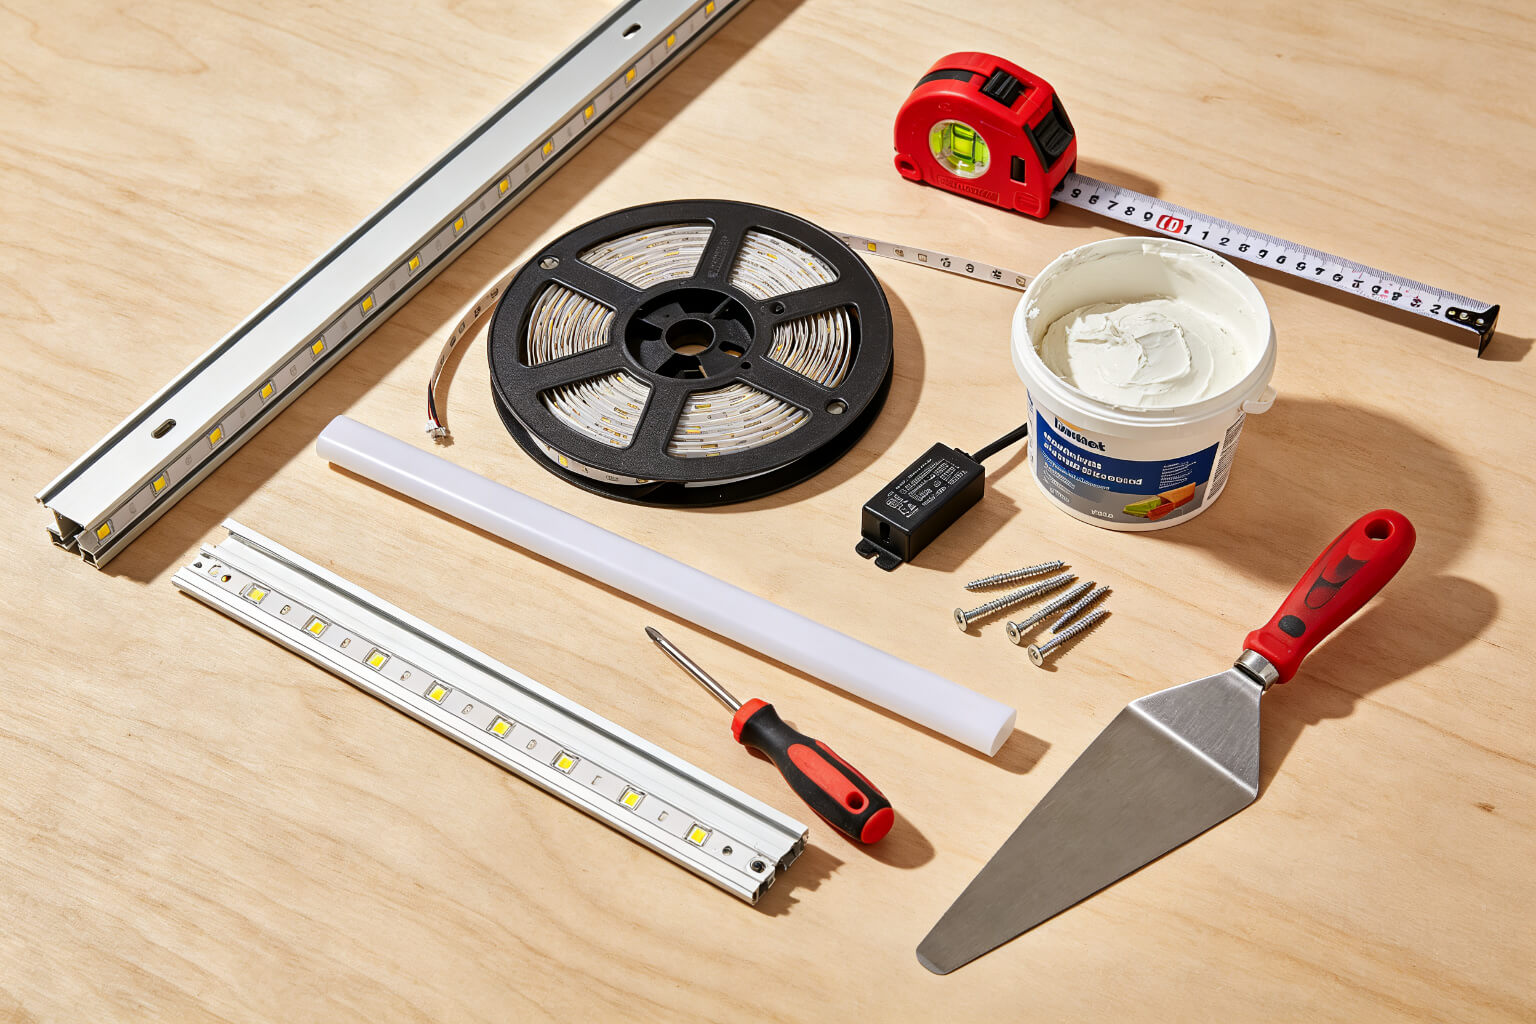
Drywall LED channel, matching LED strip (same batch!), opal diffuser, end caps, mounting clips, dimmable 12/24 V driver, 2-core signal wire, joint compound, primer and paint.
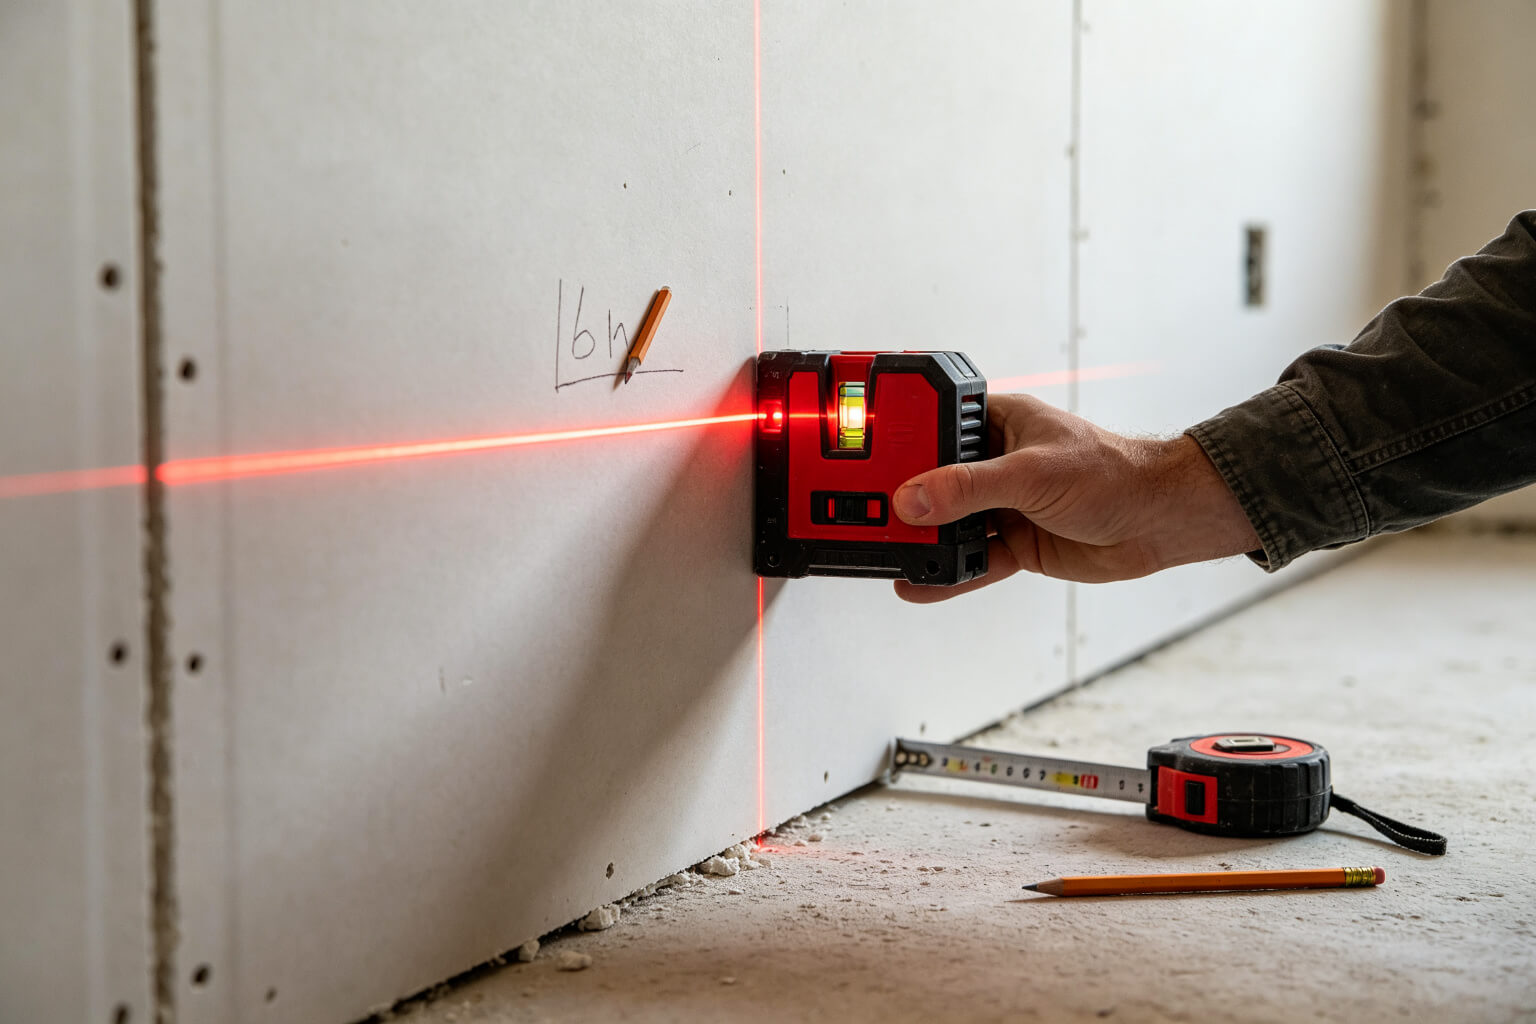
Tape measure, pencil, laser level (worth it for long runs), drywall saw, utility knife, drill, screwdriver, hacksaw or miter saw for aluminum, wire strippers, sanding block.
Step-by-Step Installation
This sequence follows what our installation team actually does on site. Read the whole list once before you start — a few steps (especially testing before closing) are the ones people skip and regret.
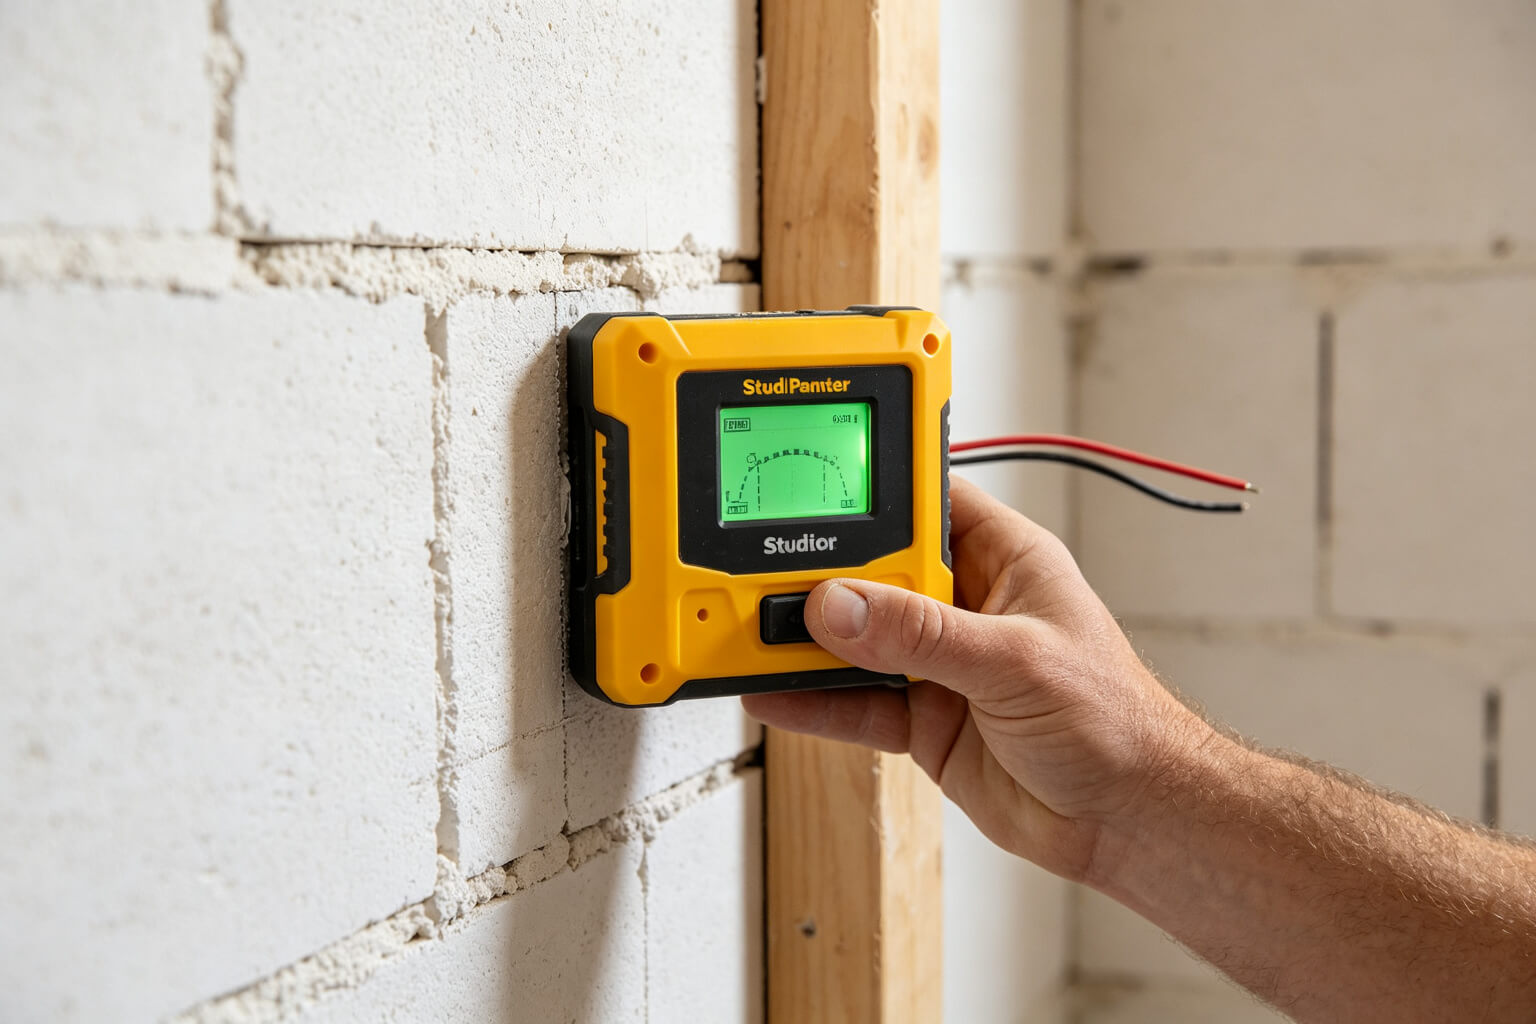
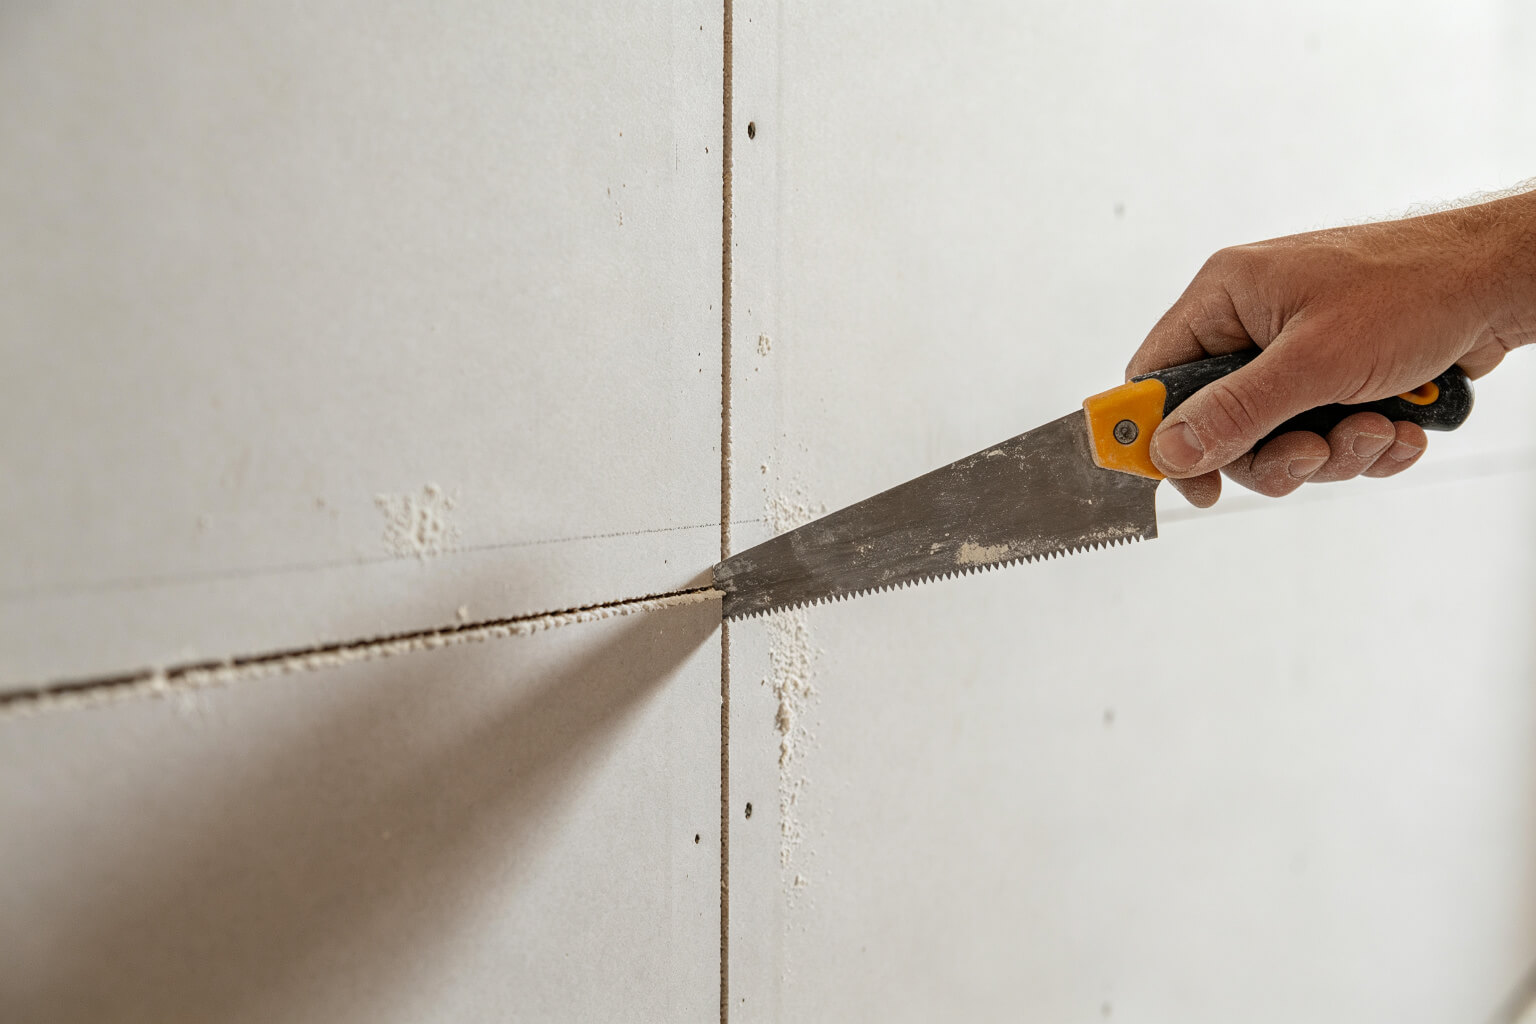

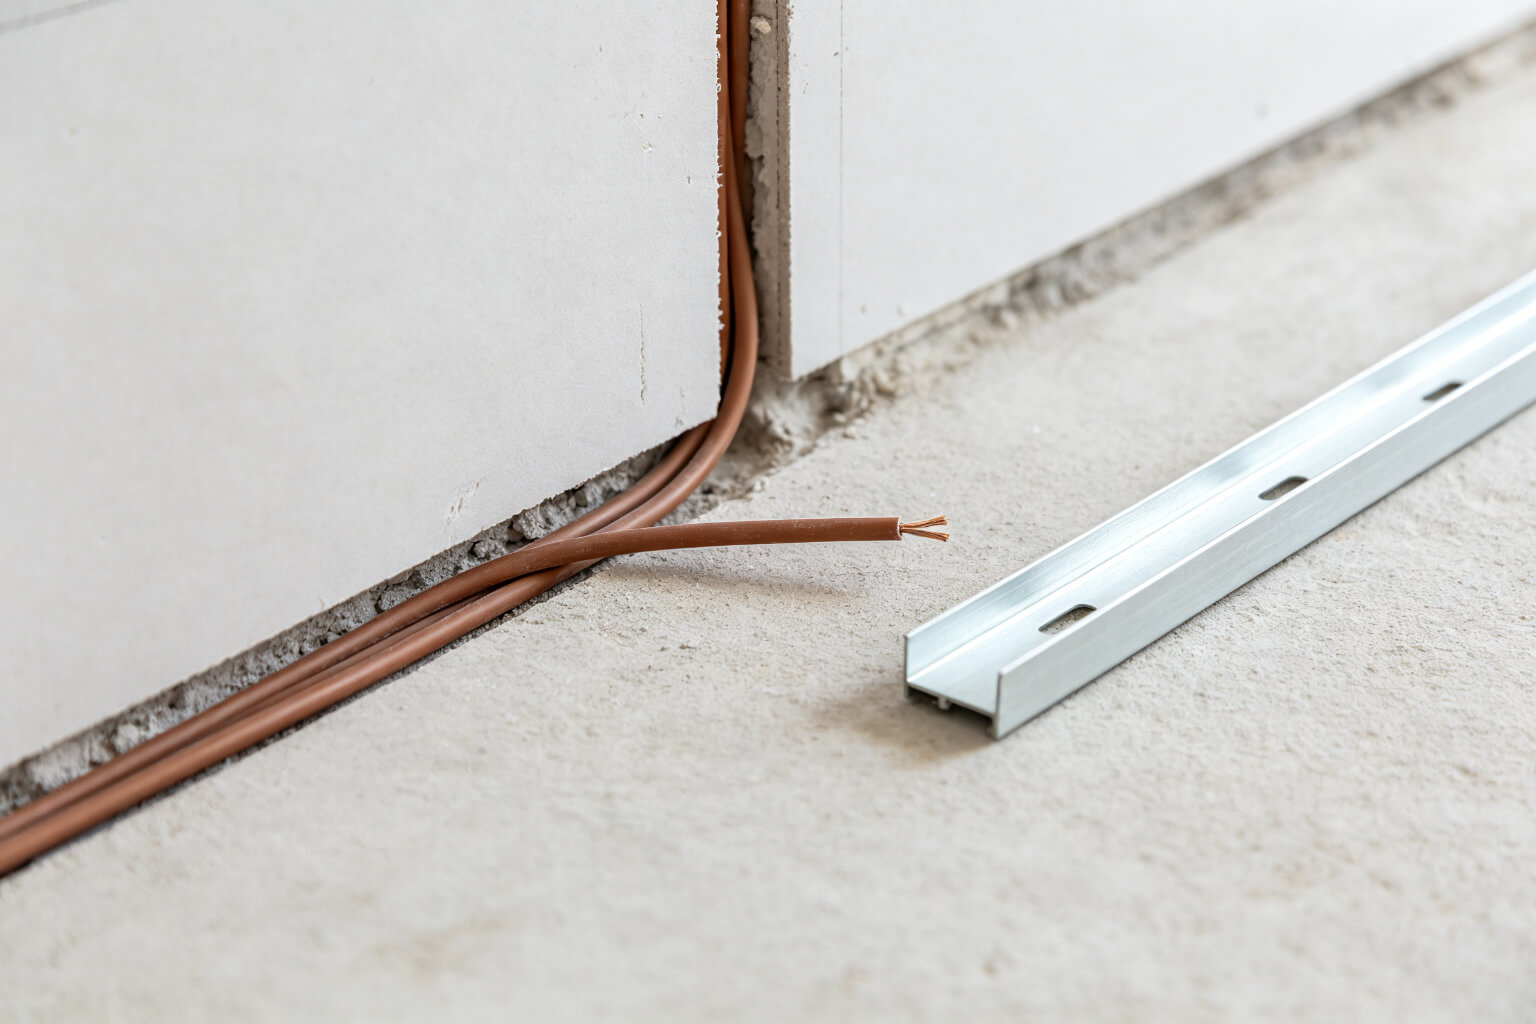
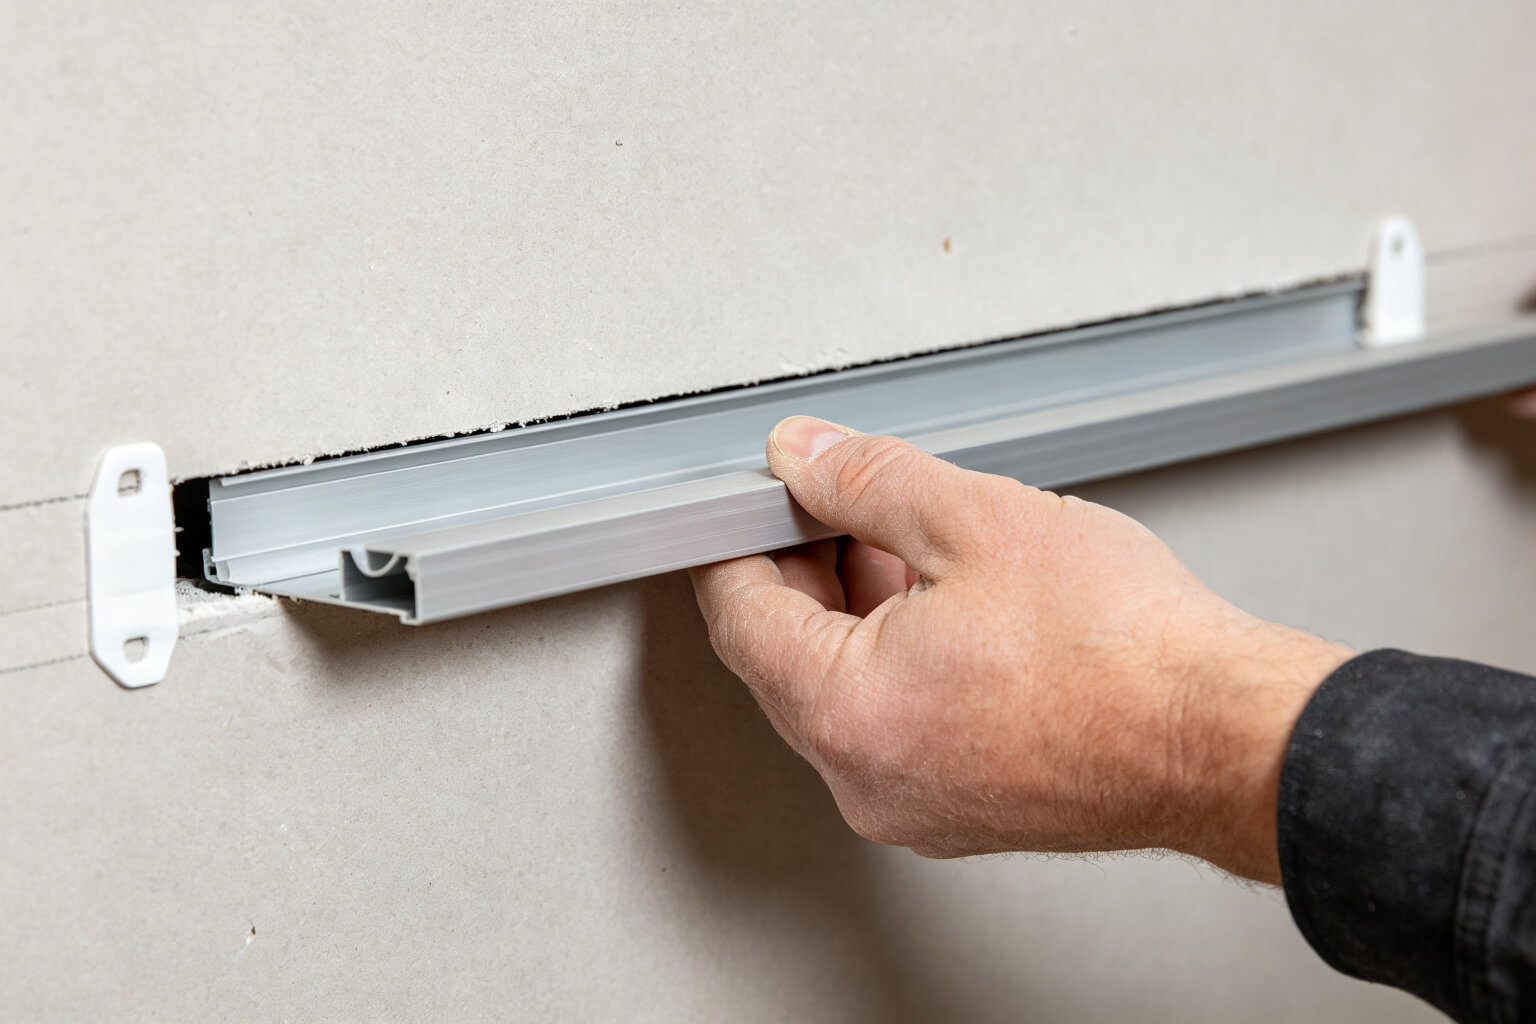
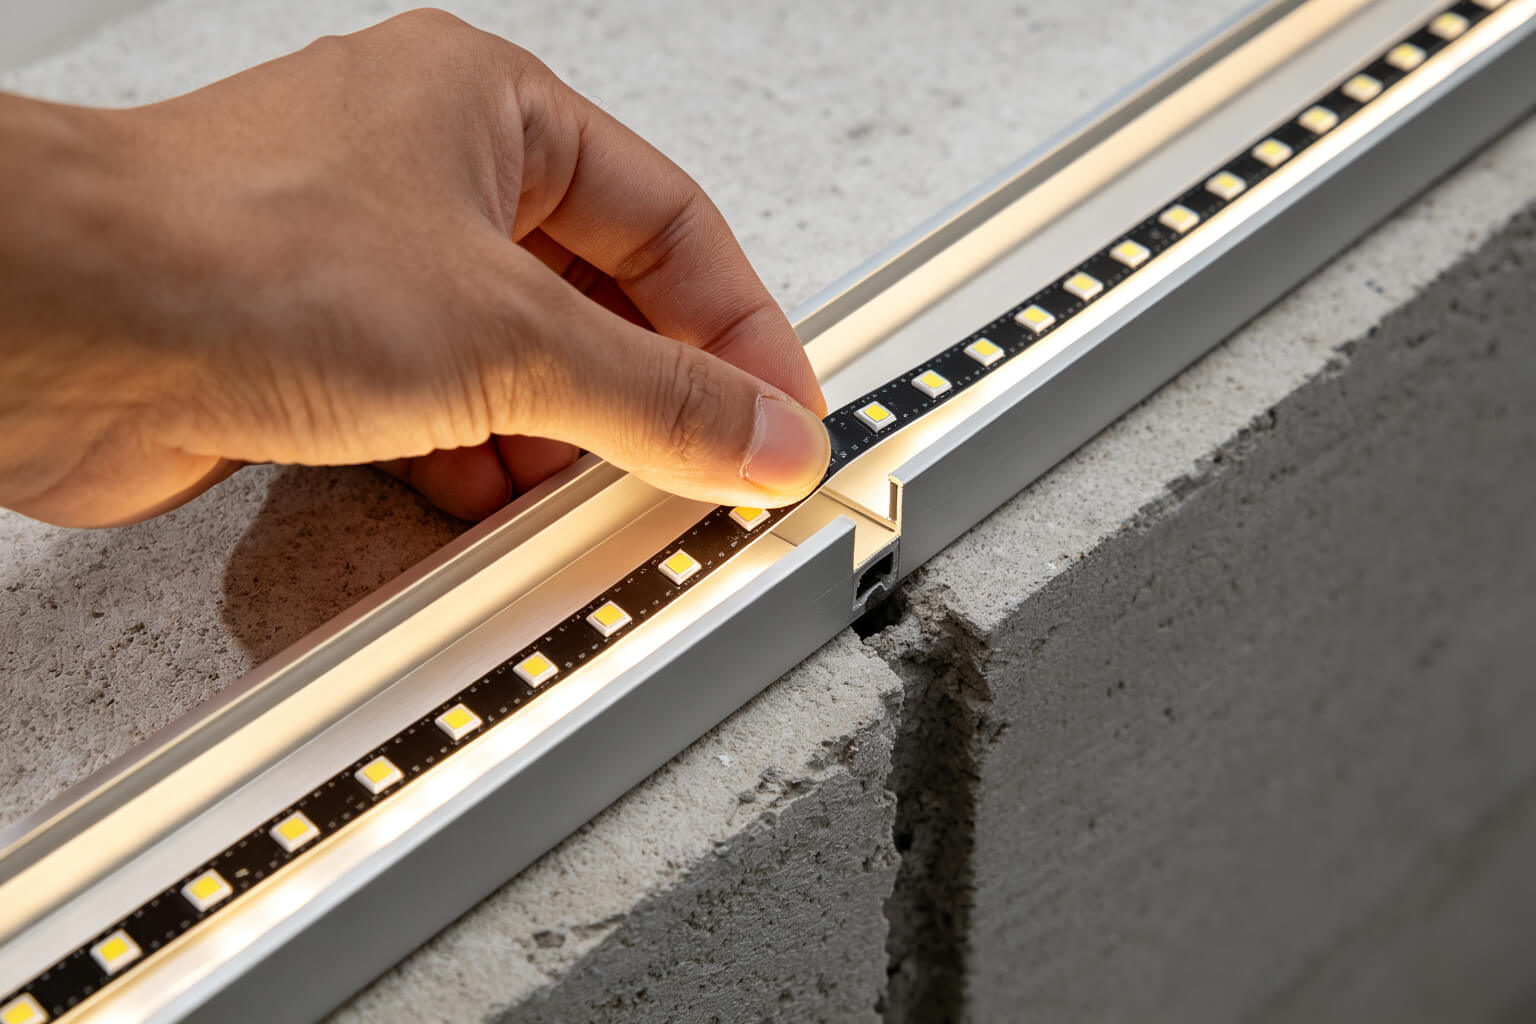
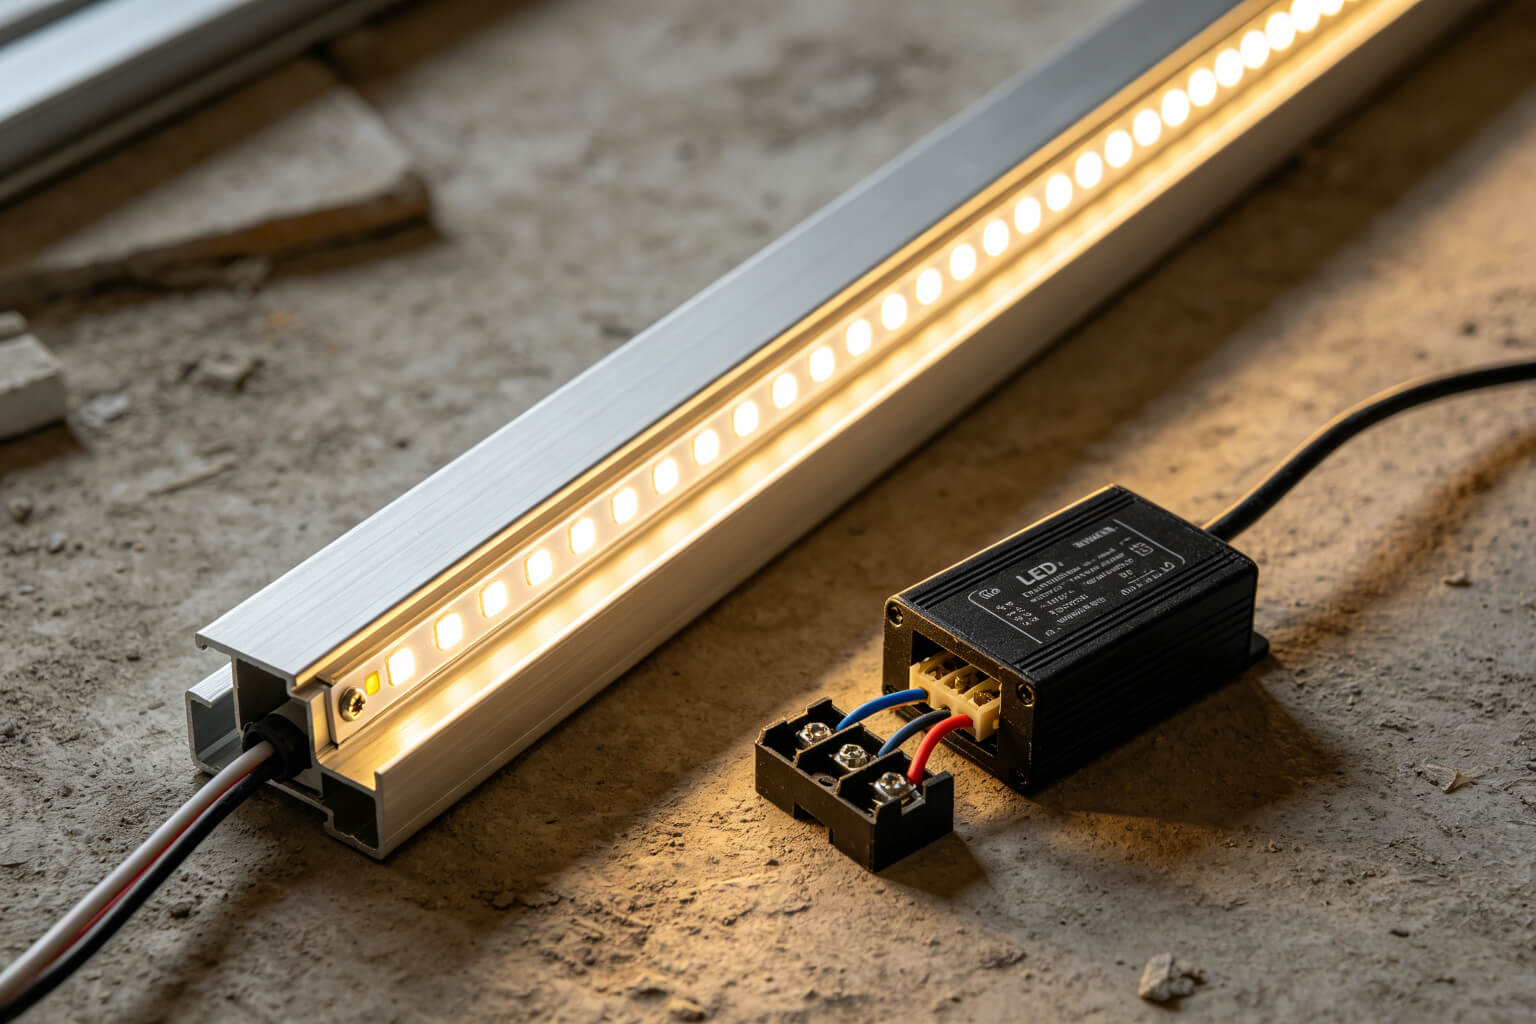
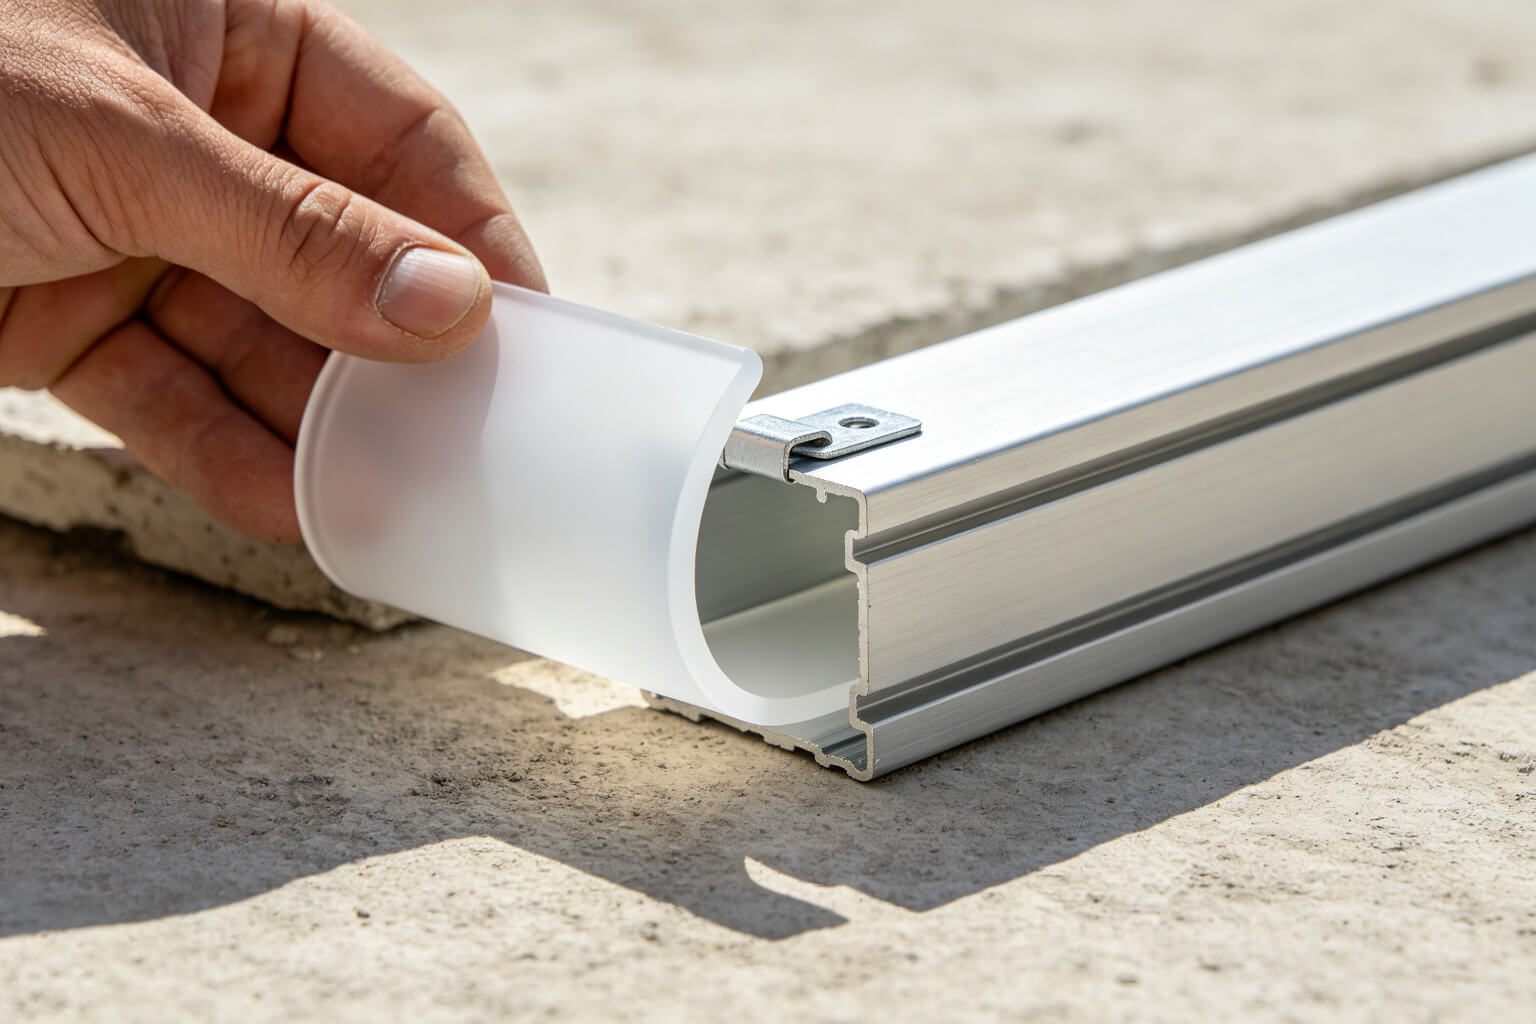
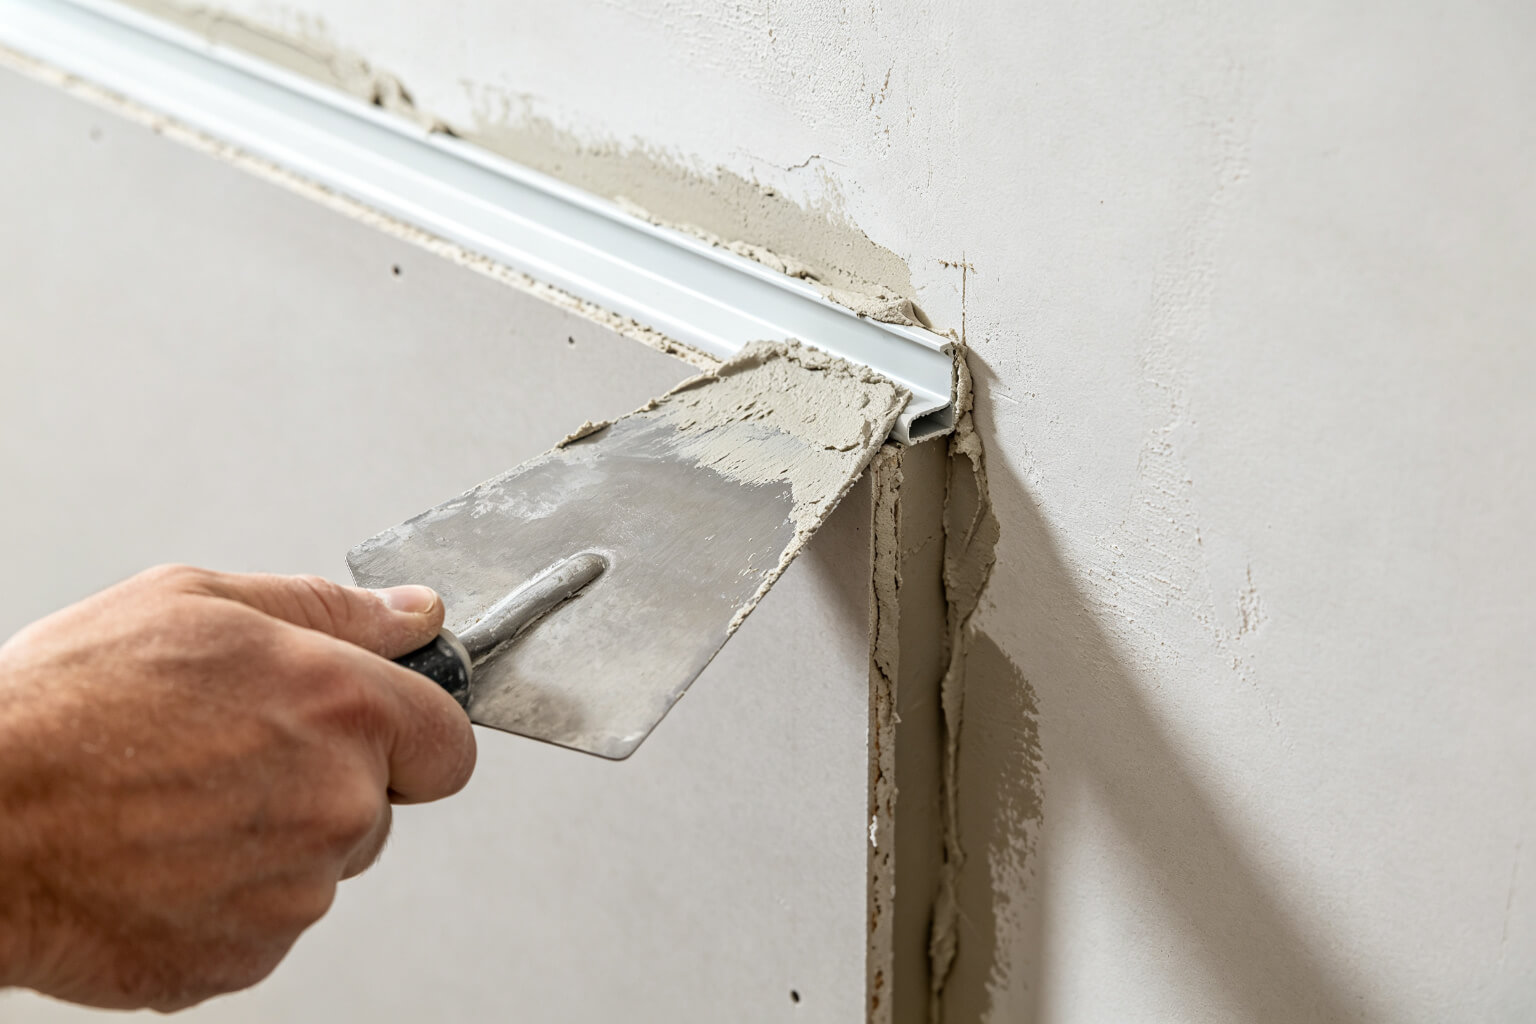
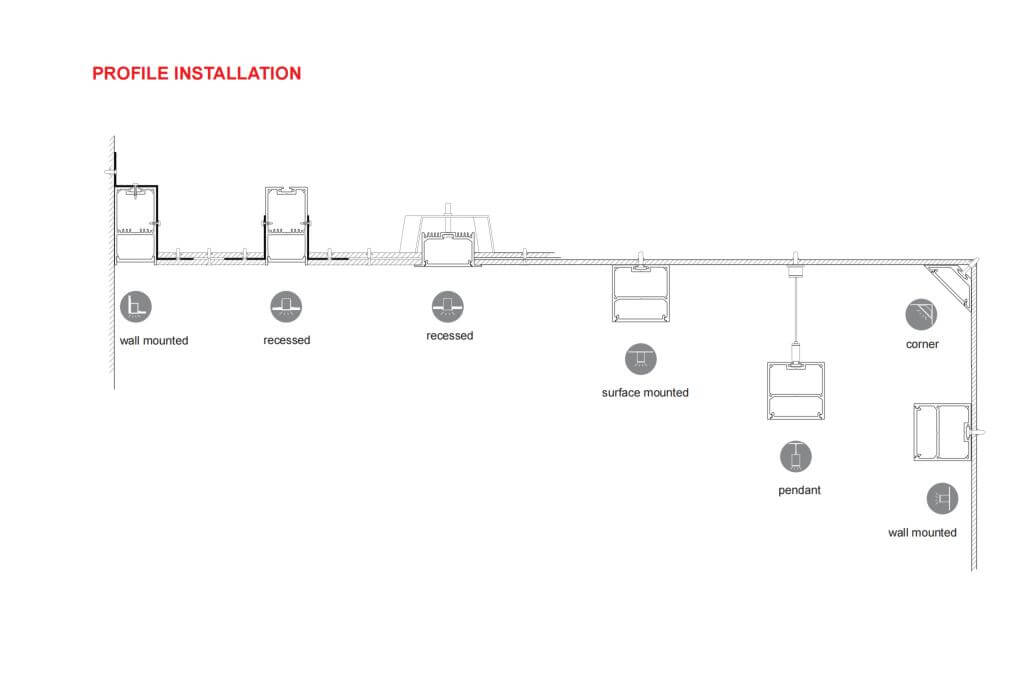
Troubleshooting: Common Problems and Fixes
When a recessed LED channel looks wrong, it is almost never the aluminum — it is the strip, driver or wiring. Walk this table from top to bottom before you blame the profile.
| Symptom | Likely cause | Fix |
|---|---|---|
| One end is dim | Voltage drop on a long run | Use 24 V instead of 12 V, feed both ends, or step up to a thicker gauge cable |
| LEDs flicker | Driver / dimmer mismatch | Match the dimming protocol (0–10 V, TRIAC, PWM) and stay within the driver’s rated load range |
| Strip peels off the channel | Dirty base or weak adhesive | Clean with isopropyl alcohol and reapply; for high-temperature jobs add mounting clips |
| LED dots show through the diffuser | Shallow channel or low-density strip | Switch to an opal diffuser, a deeper channel, or a COB strip with 120+ LEDs/m |
| Color differs between sections | Different CCT batches | Use one batch for the whole run; verify CCT on site before installation |
| Light line is crooked | No level used during fix | Always laser-level the channel before joint compound — a 2 mm deviation shows up when lit |
| Cracks appear at the channel edge | Rigid compound over aluminum | Use a flexible joint tape and minimal compound; see next section |
How to Prevent Cracks Around the Channel Edge
The weakest point of any plaster-in LED installation is the seam where aluminum meets gypsum. Aluminum expands and contracts with temperature; drywall does not. Rigid joint compound applied thickly will crack within a heating season. Three rules prevent it:
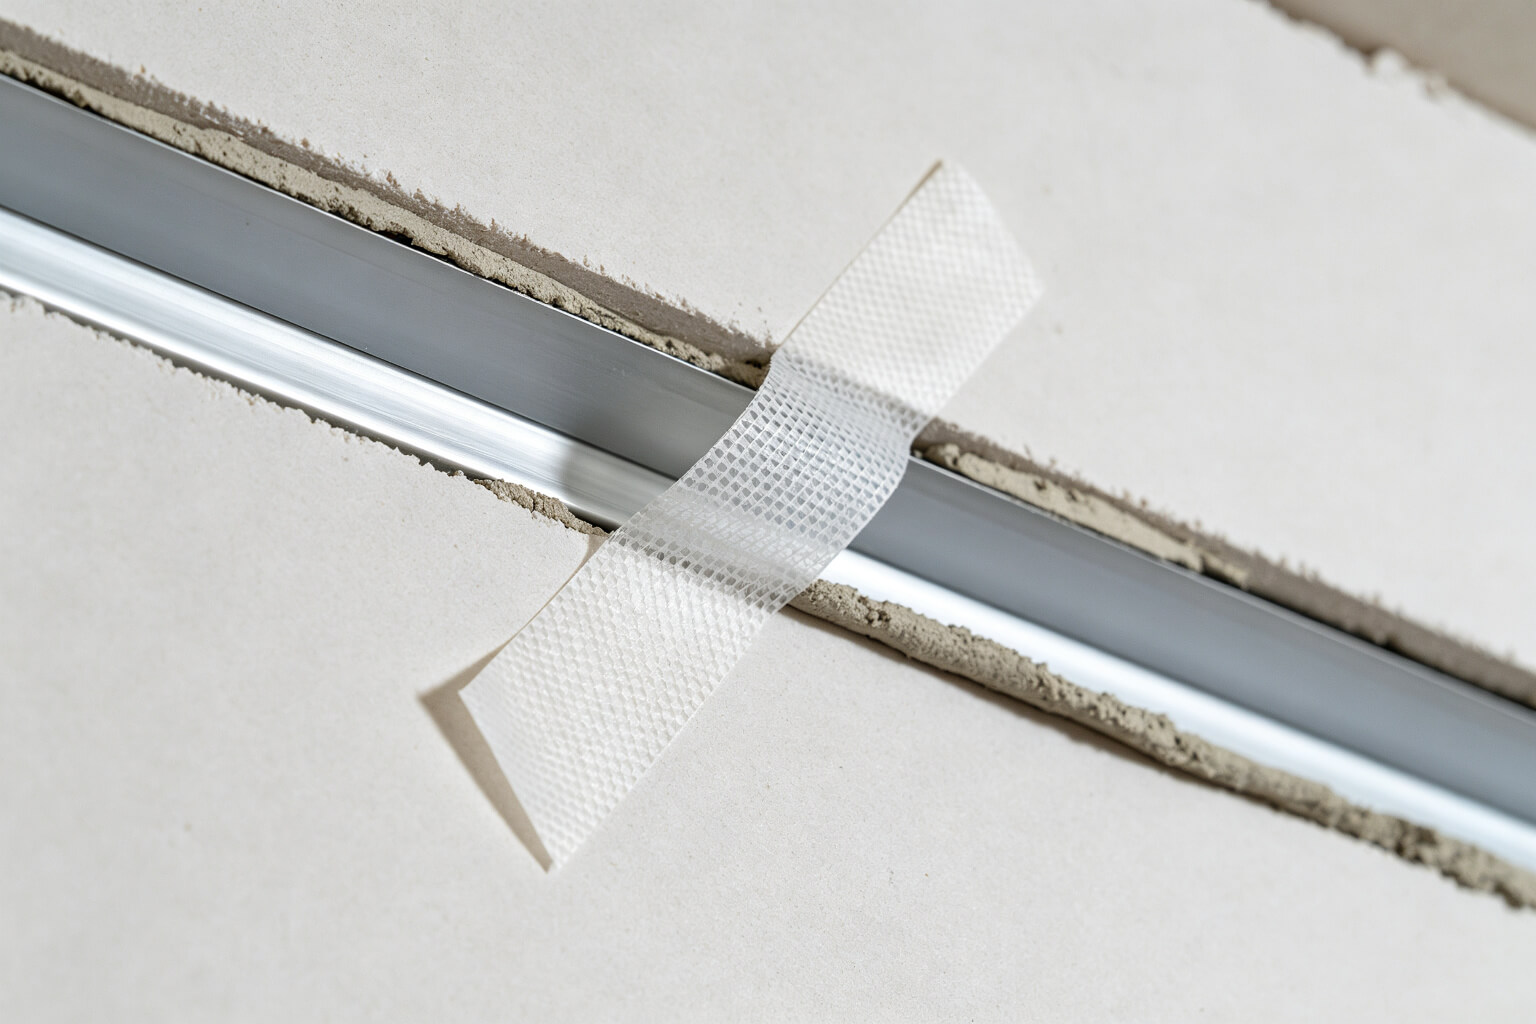
Bridge the channel flange and the drywall with fiberglass mesh tape, not plain paper tape. The mesh flexes with the aluminum.
Build up joint compound in 2–3 thin coats, letting each dry fully. A single thick shrink-prone coat cracks.
Wipe the channel flange with isopropyl alcohol. Dust on the surface stops the compound from keying — this is the most overlooked cause.
Trimless vs Surface-Mount vs Corner: Which Profile?
| Type | Look | Best for | When to avoid |
|---|---|---|---|
| Plaster-in / trimless | Flush, only a lit slot shows | New builds, high-end residential, hotels, galleries | Existing walls you cannot cut |
| Surface-mount | Extrusion sits on the wall, visible body | Retrofit, rental, fast installs, rental setups | When a seamless look is required |
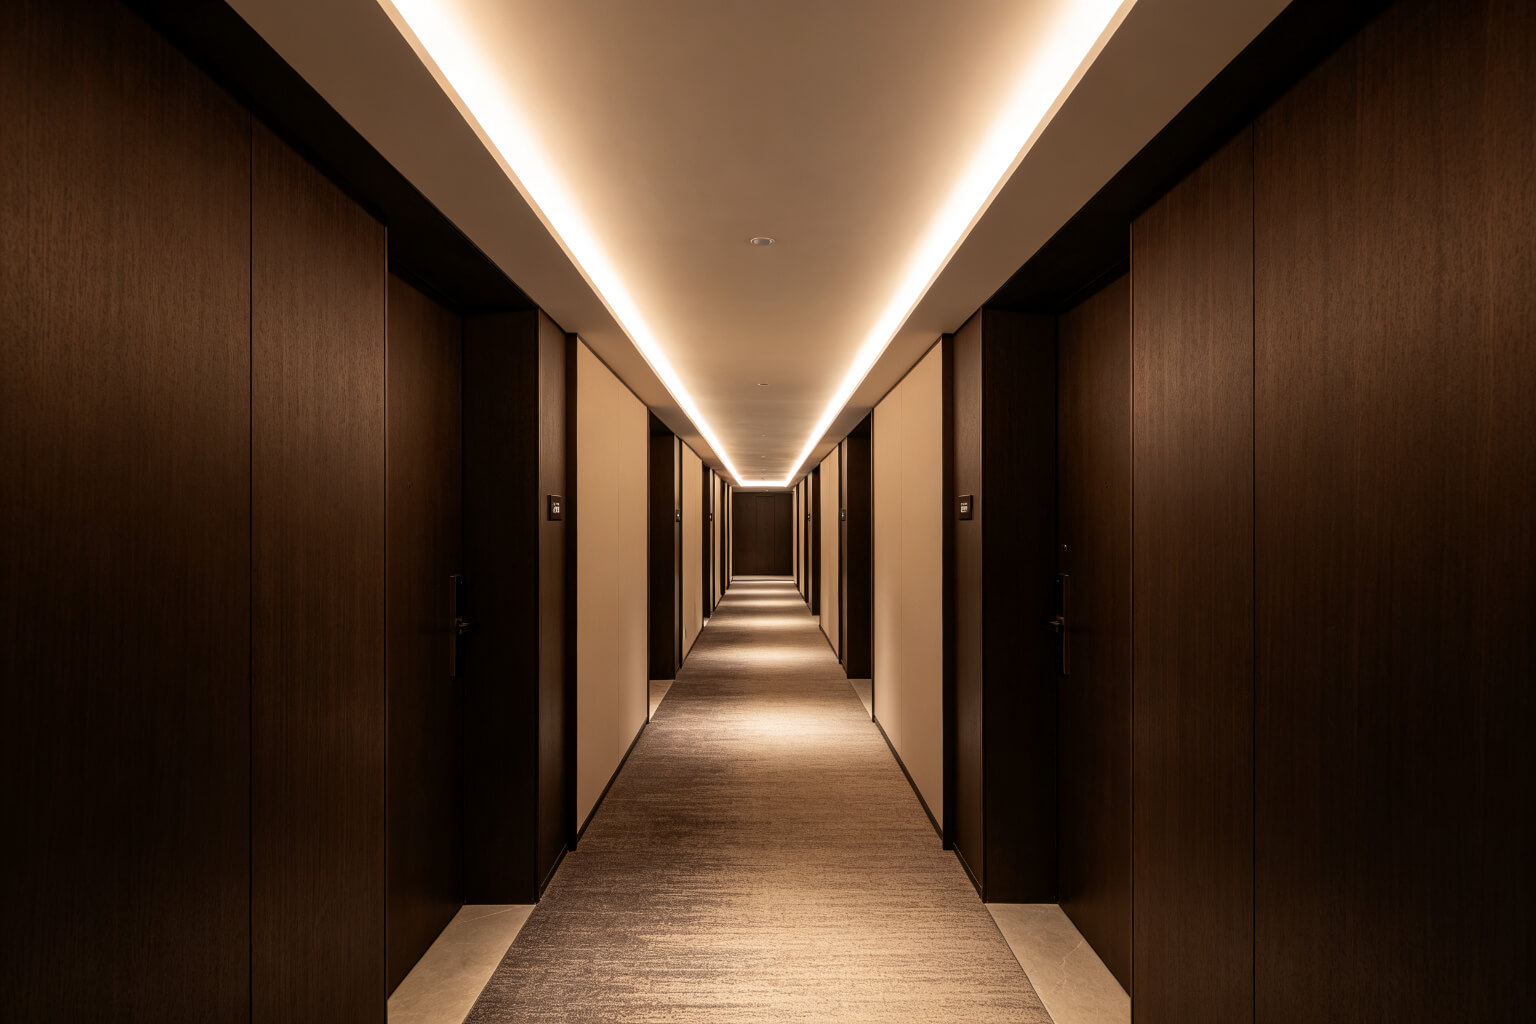
| Corner / cove | Light washes up or down a corner | Ceiling perimeter, cove lighting, wall-wash | Flat feature walls needing straight lines |
| Suspended / pendant | Hangs from the ceiling | Offices, retail, commercial | Low ceilings under 2.6 m |


New Build vs Retrofit: Timing Matters
The single most expensive mistake is deciding to recess a channel after the drywall is already up.
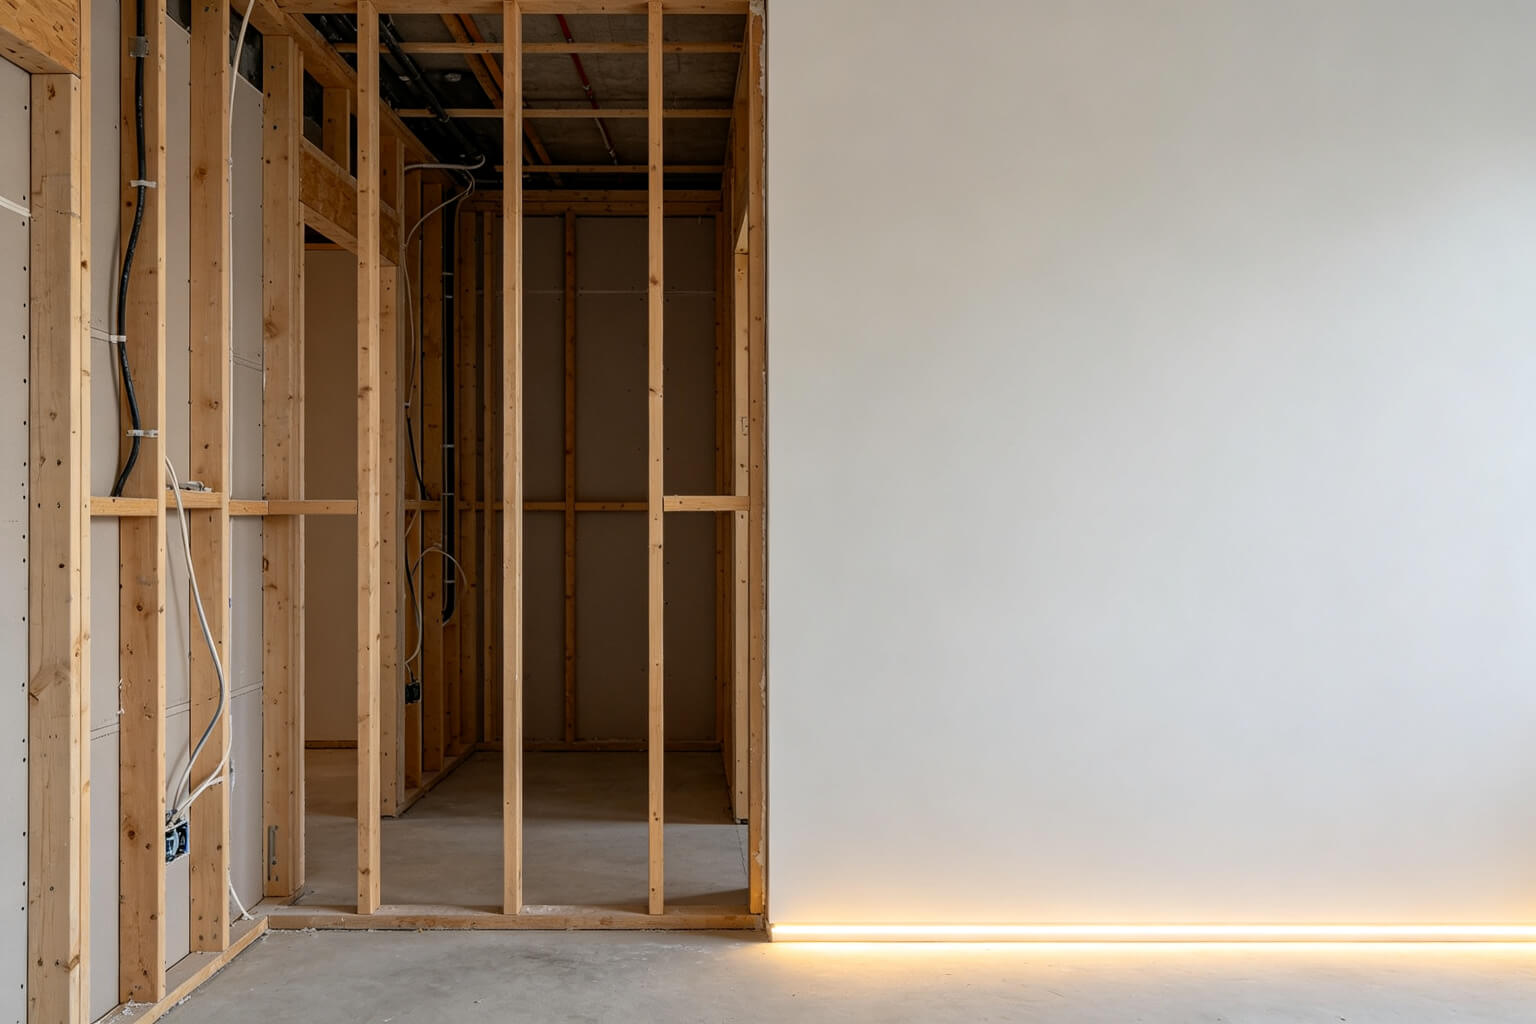
Best time: before the drywall goes up. The framer can pre-drill cable paths and the electrician can leave a junction box near the driver. You pay almost nothing extra for a trimless look.
Cutting a finished wall is doable but messy — dust, patchwork, repaint. If the wall is in good condition, a surface-mount or corner profile almost always wins on time and cost.
KayTai LED Aluminum Profiles for Drywall Projects
KayTai manufactures aluminum LED profiles for recessed, surface-mount, corner and suspended applications, with matched COB strips, opal diffusers and dimmable drivers. For projects needing custom lengths, special diffusers or OEM packaging, talk to our team before cutting the drywall.
Side flanges designed to be covered by joint compound; 14–25 mm deep, internal widths from 9 to 17 mm for 8–15 mm strips.
Anodized aluminum body, snap-on diffuser, 2 m standard length, easy retrofit for rental and commercial projects.
45° and 90° optics for ceiling-perimeter and wall-wash effects in hotels, lobbies and retail.
COB strips 320–528 LEDs/m, 12–24 V, 0.1–100% dimmable drivers — one matched pair, no compatibility guesswork.
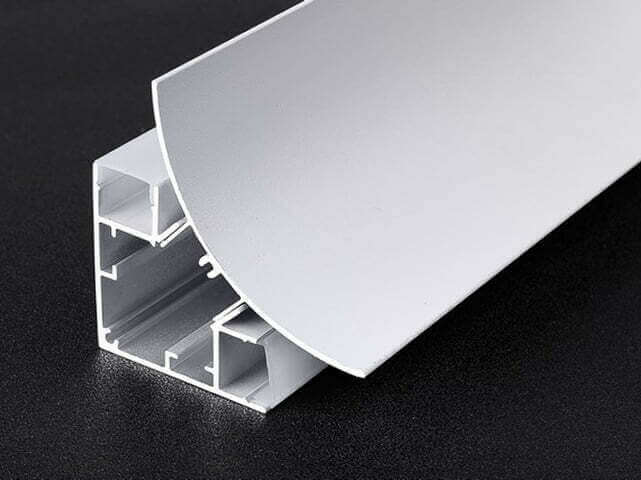
Still not sure which profile shape you need? Browse our full LED aluminum profile range — recessed, surface, corner and suspended options all in one place.
Frequently Asked Questions
Can I install a drywall LED channel in an existing wall without cutting it open?
You can, but you cannot recess it invisibly. If the wall is already painted, use a surface-mount or corner profile — it sticks on with adhesive and clips, looks intentional, and costs a fraction of a wall cut. Save the trimless look for the next renovation.
How deep does the drywall need to be for a recessed channel?
Standard 5/8” (15.9 mm) drywall works for shallow channels up to about 15 mm deep. Deeper channels (20–40 mm) need either a stud cavity behind the board or a double layer of plasterboard. Always check the profile data-sheet — not every channel suits every wall.
Why can I still see individual LED dots through the diffuser?
Usually one of three things: the diffuser is clear rather than opal, the strip density is too low (under 120 LEDs/m), or the channel is too shallow so the strip sits too close to the diffuser. Switch to an opal diffuser and a COB strip — that fixes it in 90% of jobs.
Do I need a dimmable driver, or will a normal LED driver work?
If you never plan to dim, a fixed-output 12/24 V driver is fine. If you want wall-dimming, scenes or app control, the driver itself must be dimmable (TRIAC, 0–10 V, DALI or PWM) — a generic wall dimmer on a normal driver will flicker or hum. See our LED strip dimming guide.
How long can one continuous run be?
With 24 V, a single run up to about 5 m is fine without visible dimming at the far end. Beyond that, feed both ends or split into two runs. With 12 V, keep runs under 3 m. Always size the driver at 1.2× the connected strip wattage.
Can I paint over the diffuser?
No. Paint on the diffuser will yellow, crack and block the light. Paint only the joint compound and drywall around the channel, and mask the diffuser during painting. Clean it after the paint is dry.
Can I use a drywall channel in a bathroom or outdoors?
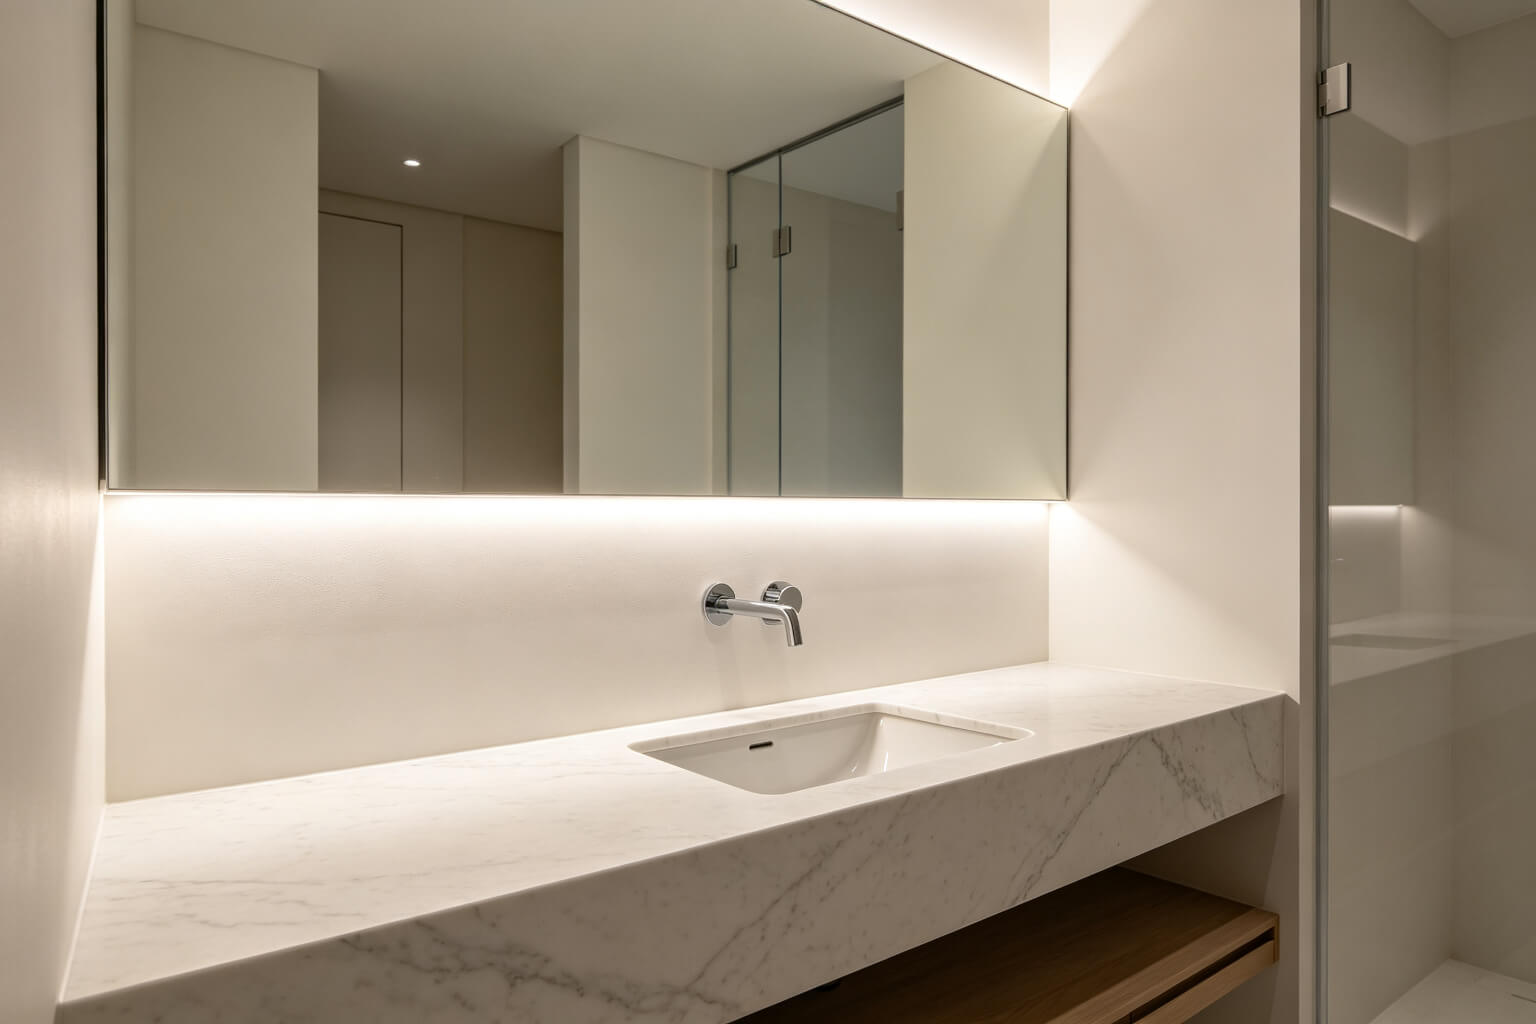
In a bathroom, use an IP65-rated strip and sealed end caps — the channel itself is fine. For vanity backlighting, see our under-cabinet and vanity lighting guide. For exterior wall-wash and facade work, you need a weatherproof profile instead — see our LED facade lighting guide.
Need a Custom Drywall LED Channel for Your Project?
KayTai supplies plaster-in, trimless and surface-mount aluminum LED profiles with matched COB strips, diffusers and drivers. Tell us your dimensions and project type.
Contact KayTai →
The step-by-step photos are excellent. I wish I had seen the mesh tape tip before my first trimless install — cracks appeared within a few months. The troubleshooting table is a lifesaver. This is the most complete drywall channel guide I have found.
Really useful detail on slot sizing and fixing intervals. We measured wrong on a job last year and this guide would have prevented the rework. Installing the strip after plastering is exactly the right call.
The mesh tape tip around the profile edges is gold — our drywall crew skips it and we always end up with hairline cracks. The step on embedding the flange before the second coat clarified our whole workflow. Sending this to the site foreman for our next cove job.