
A baseboard LED channel (also called LED skirting board profile, LED baseboard aluminum channel, or floor-line LED profile) is an extruded aluminum housing that sits where the wall meets the floor, hiding a LED strip and diffuser. It turns a plain skirting board into a continuous line of indirect light that washes the wall or floor without any visible fixture.
Whether you are a lighting designer, contractor or distributor, this guide covers how baseboard LED channels work, how to pick the right size, install them without the most common mistakes, and what KayTai supplies for OEM projects.
What Is a Baseboard LED Channel?
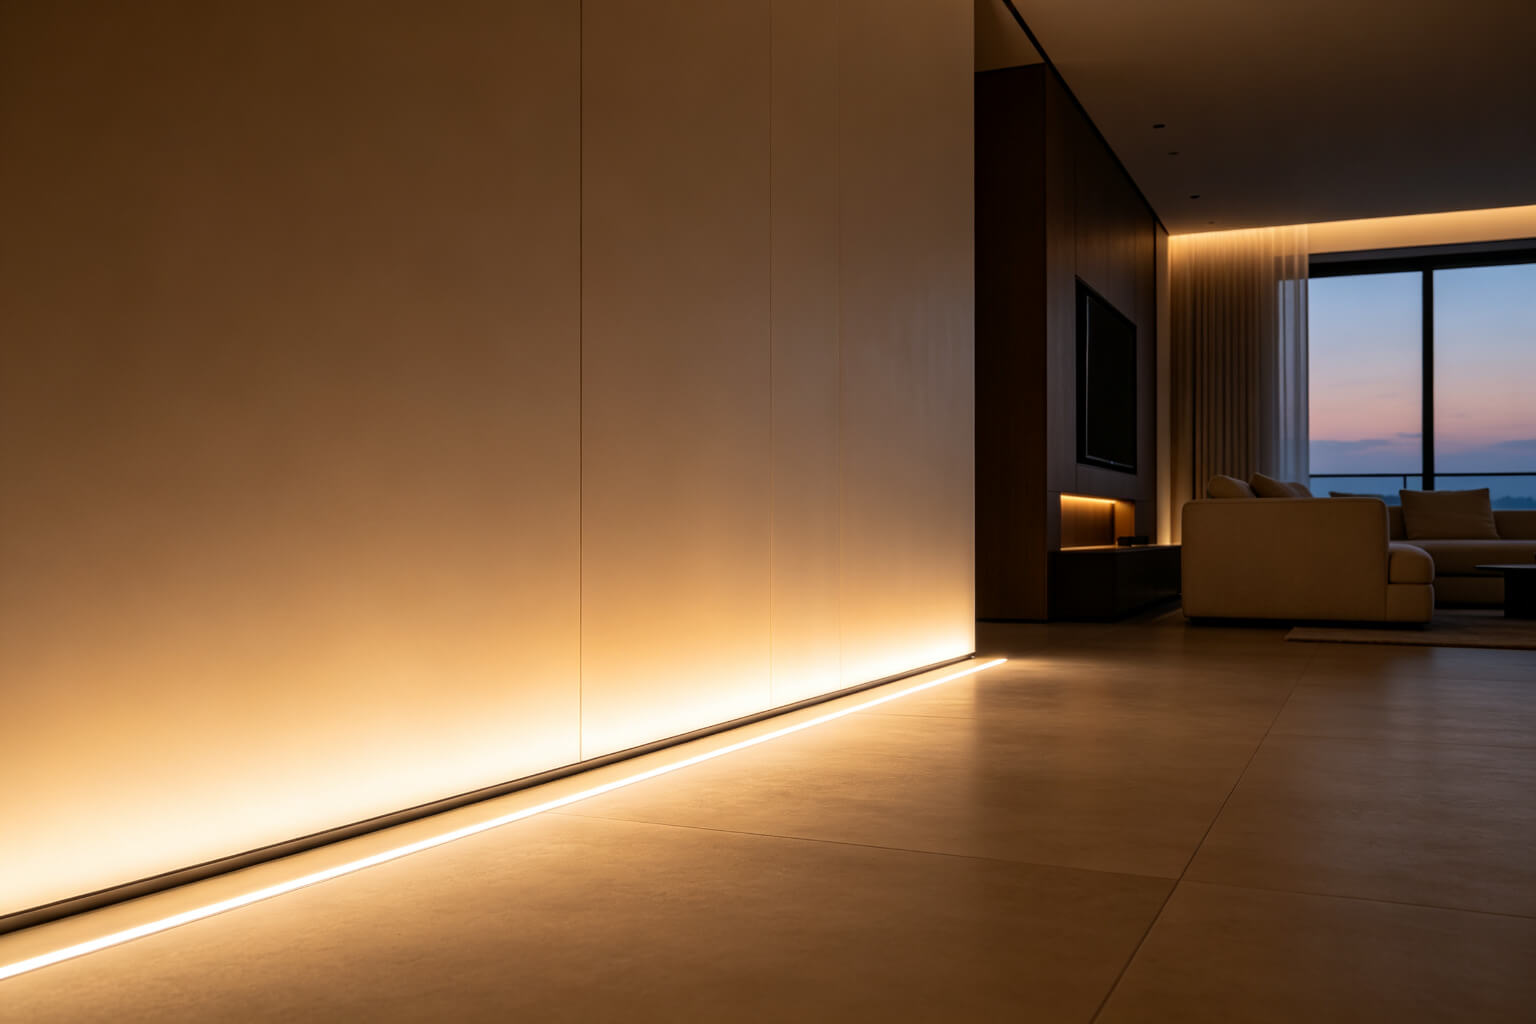
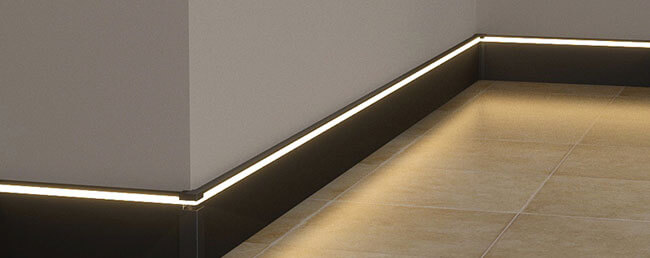
A surface-mount baseboard LED channel glowing at the wall-floor junction
A baseboard LED channel replaces the traditional wooden or MDF skirting board with an aluminum extrusion. Inside the extrusion, an LED strip is stuck to the base, and a polycarbonate diffuser clips over the top to soften the light and hide individual LEDs.
There are three core components: an anodized aluminum body (heat sink + structural rail), the LED strip (single color, tunable white or RGB), and a frosted or opal PC diffuser (clear for max output, opal for a seamless line).

Cross-section: aluminum body, LED strip, opal diffuser and end caps
How It Works: Up vs Down vs Side Light
The direction the light exits is decided by the shape of the internal reflector in the profile. Picking the wrong one is the most common design mistake.
| Light Direction | Where It Shines | Best Used For | Visual Effect |
|---|---|---|---|
| Downward | Washes the floor directly below | Bedroom night light, corridor wayfinding, stair guides | Soft halo on the floor, about 1 m wide; no wall wash |
| Upward | Washes the wall from floor up | Living rooms, feature walls, hotel lobbies | Gradient wall wash; makes the room feel taller |
| Outward / Side | Casts light into the room sideways | Retail displays, accent zones | Combines floor glow with a soft room fill |
SuperLightingLED testing shows that a light outlet height of 25-26 mm (about 1 inch) above the floor produces the cleanest floor-wash halo. Higher profiles wash more wall but lose the floor glow; lower profiles can produce a sharp shadow line instead of a soft pool of light.
Why Choose Baseboard LED Lighting
Minimalist Architecture
No visible lamps, cords or switch plates. The light line disappears into the wall-floor joint, which is why minimalist, luxury and hospitality projects pick it over skirting-board lamps.
Hidden Strip, Real Heat Sink
The aluminum body dissipates heat the way a proper heat sink should, so the strip lasts longer than self-adhesive LED tape stuck directly to drywall. It also protects the strip from dust and knocks.

Safe Low-Level Illumination
At 24 V low voltage, it is safe around children and pets. The soft low glow gives enough light to walk at night without switching on a bright ceiling lamp.
How to Choose the Right Profile
Match four dimensions before you order. Wrong sizing is the #1 reason projects need a second shipment.
| Parameter | Typical Range | How to Decide |
|---|---|---|
| Overall channel height | 25 / 50 / 80 mm | 25 mm for low floor wash; 50-80 mm for visible skirting replacement with more light output |
| Internal groove width | 8 / 10 / 12 / 15 mm | Must match your LED strip width with ~1 mm clearance on each side |
| Diffuser type | Clear / Frosted / Opal | Opal hides LED dots best; clear gives max lumen but shows individual emitters |
| Surface finish | Anodized silver / Black / White / Custom RAL | Match wall color; white is paintable for seamless plaster-in installs |
| Ingress rating | IP20 indoor / IP65 bathroom | Use IP65 + silicone-sealed ends in bathrooms, saunas or covered outdoor corridors |
For a complete strip-side spec check, see our LED aluminum profile range and the buying guide linked in the FAQ below.
Step-by-Step Installation
Whether surface-mount or recessed, the same six steps apply. All surface-mount installs use screws + adhesive on a clean, dust-free wall.
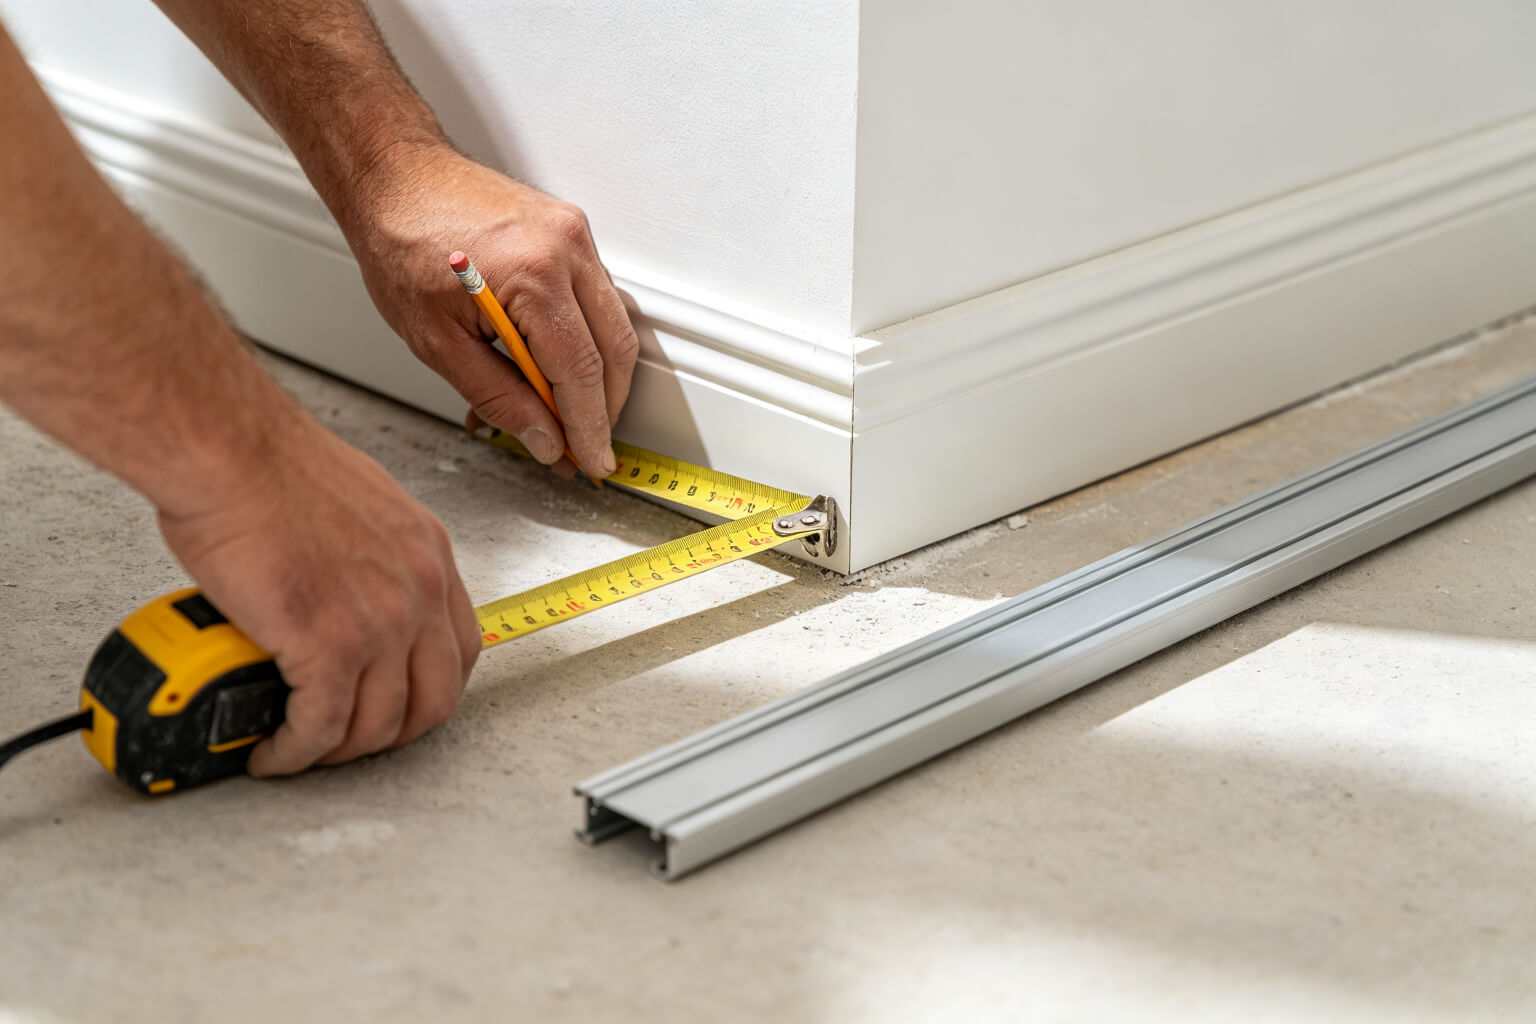
Measure and Lay Out the Run
Mark the wall-floor junction, account for doorway openings, and plan the driver location. Add 5-10% extra length so you do not come up short at a corner.
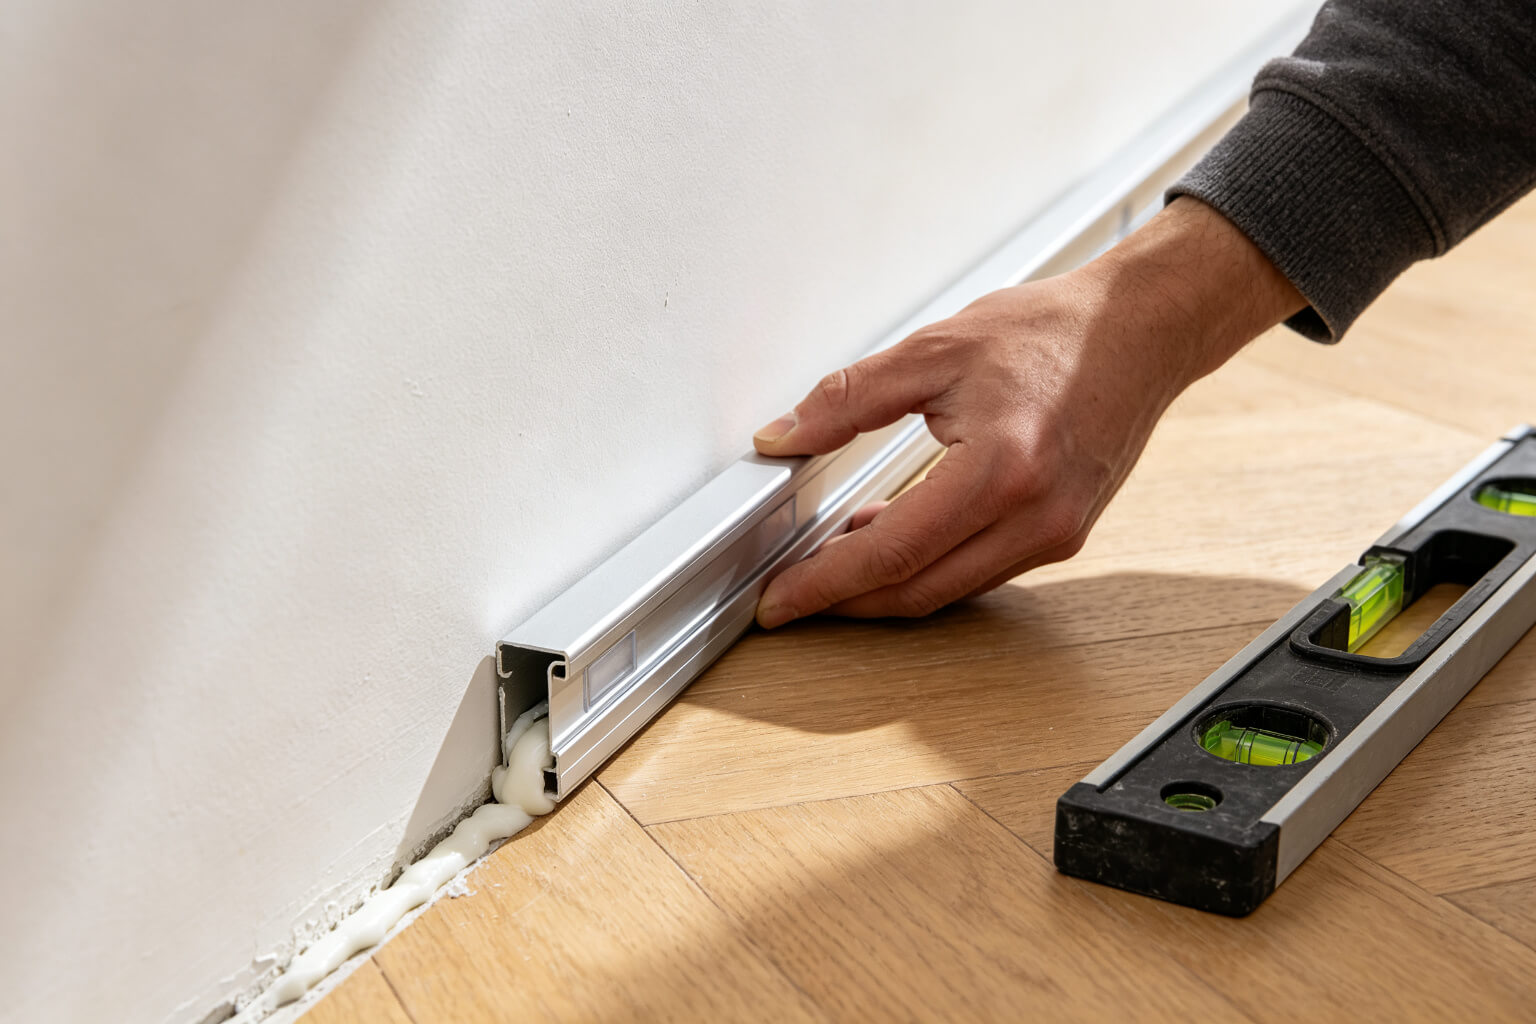
Fix the Aluminum Channel
Apply adhesive to the back of the extrusion, press it to the wall at 25-26 mm above the finished floor, and confirm with a spirit level. Screw through pre-drilled holes every 60 cm.
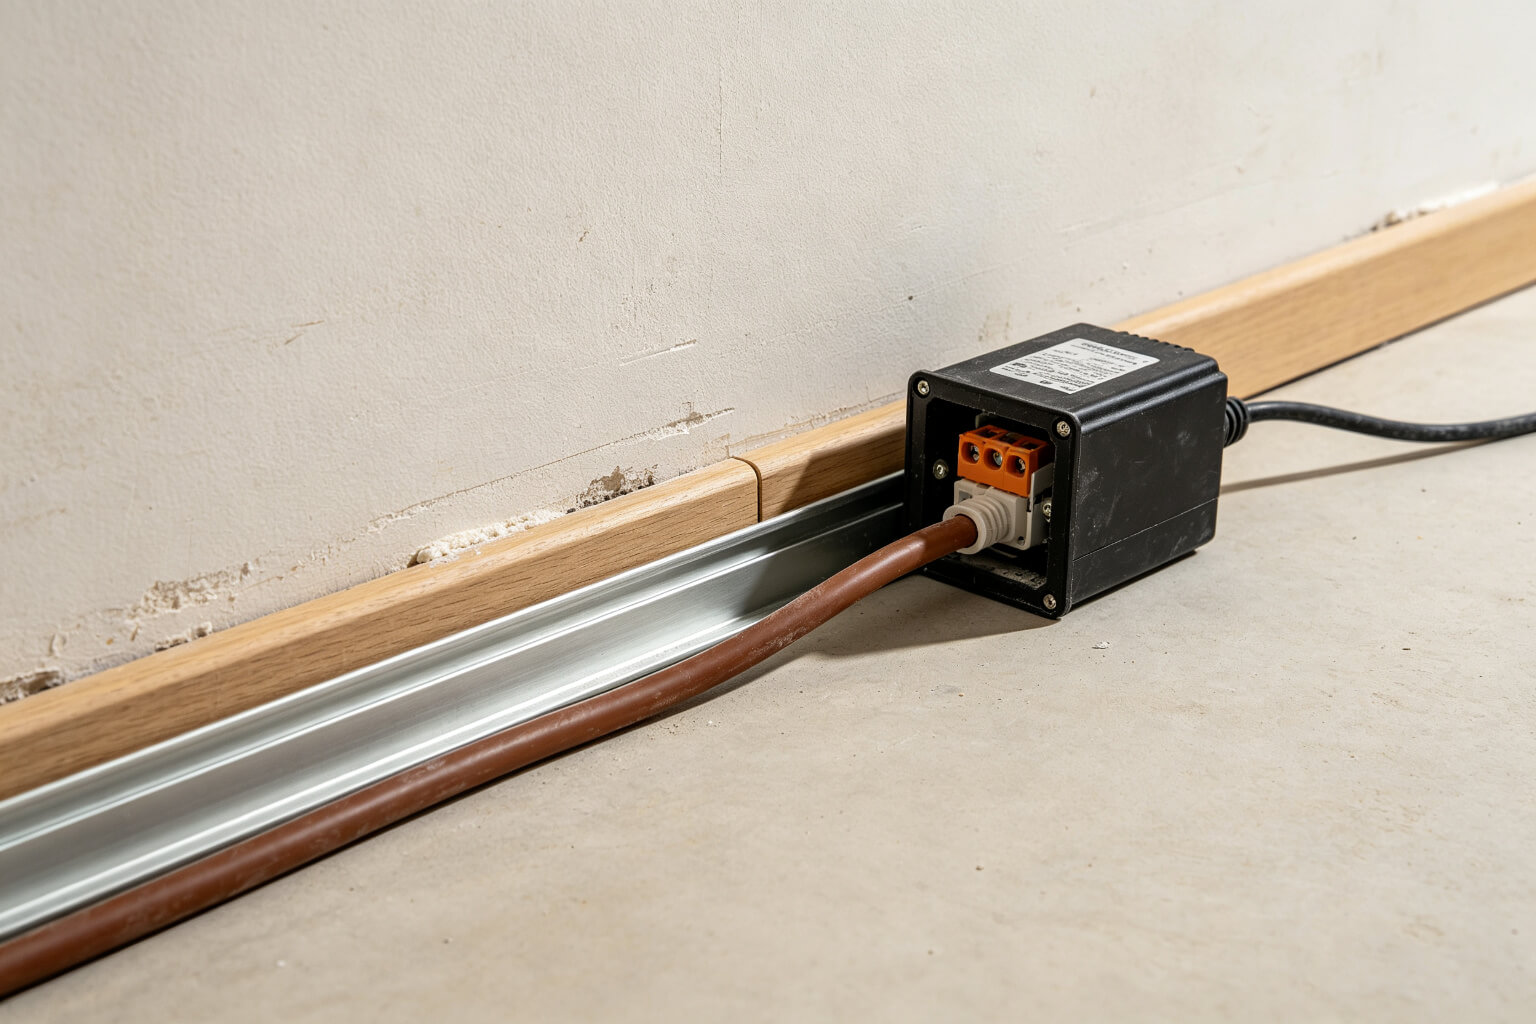
Route Low-Voltage Wiring
Run 18-22 AWG wire from the driver to each zone. At doorways, route cable under the floor or through a threshold strip. Solder corner joints rather than relying on push-fit connectors.
Stick the LED Strip
Peel the backing and press the strip firmly into the groove. Clean the channel base with isopropyl alcohol first – dust prevents adhesion. Use COB strip for a truly dot-free line.
Clip in the Diffuser
Start at one end and press the frosted PC cover along the length. Do not snap it down at one point first – that twists the extrusion and leaves gaps at the joint.
Power On and Test
Connect the driver, switch on, and walk the full run. Check for dim ends (voltage drop), visible dots (diffuser issue) and flicker (undersized driver).
Troubleshooting Common Problems
| Symptom | Most Likely Cause | Fix |
|---|---|---|
| Flickering or dimming at far end | Driver undersized or long single-run voltage drop | Size driver for strip wattage + 20% headroom (e.g. 48 W strip on a 60 W driver, not 50 W). Split runs longer than 5 m and feed from both ends. |
| Visible LED dots through diffuser | Standard SMD strip + clear diffuser | Switch to COB strip or upgrade to an opal diffuser. Opal diffusers are the single biggest upgrade for a seamless line. |
| Channel lifts off the wall | Surface not cleaned or adhesive only, no screws | Re-clean with isopropyl alcohol, add screws every 60 cm, and make sure the wall is level on old floors (up to 12 mm/m variation). |
| Flicker on dimming | Driver and dimming protocol mismatch | Check whether your driver is trailing-edge, 0-10 V or DALI, and pair it with a compatible control. See our LED strip dimming guide. |
| Short life in bathroom | IP20 strip in a wet zone | Use IP65 strip and seal every cut end and connector with heat-shrink + silicone; cut ends are the #1 ingress point. |
Surface-Mount vs Recessed Baseboard Channel
| Feature | Surface-Mount | Recessed / Plaster-In |
|---|---|---|
| Best for | Retrofit, rental, existing walls | New builds, luxury residential, hotels |
| Wall prep | None – stick/screw on top | Cut a chase or embed in drywall before plastering |
| Visual finish | Visible aluminum rail (silver/black/white) | Flush with wall, only the diffuser slit shows |
| Cost | Lower – fast install | Higher – more labor, dust, plaster |
| Floor leveling | Adapts to slightly uneven floors | Needs flat substrate; old floors may need adjustable feet |
KayTai Baseboard LED Channels
KayTai supplies extruded aluminum skirting channels with matching diffusers, end caps and mounting clips. All profiles are available in custom lengths, RAL finishes and OEM branding.


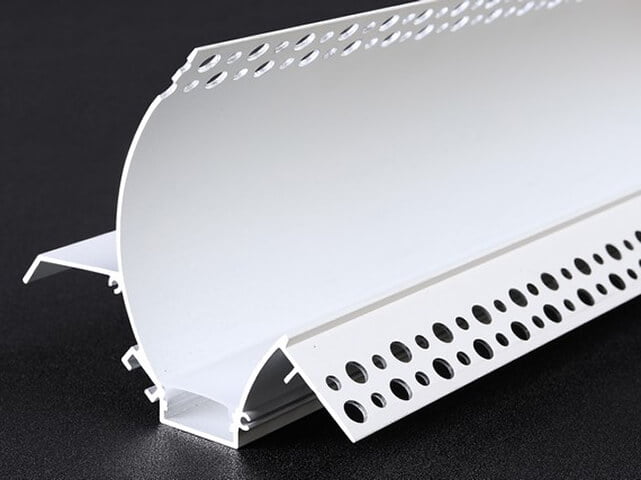
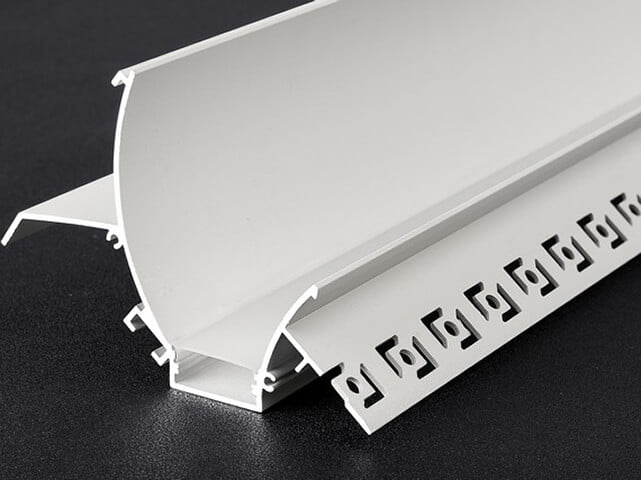
Where KayTai channels are used
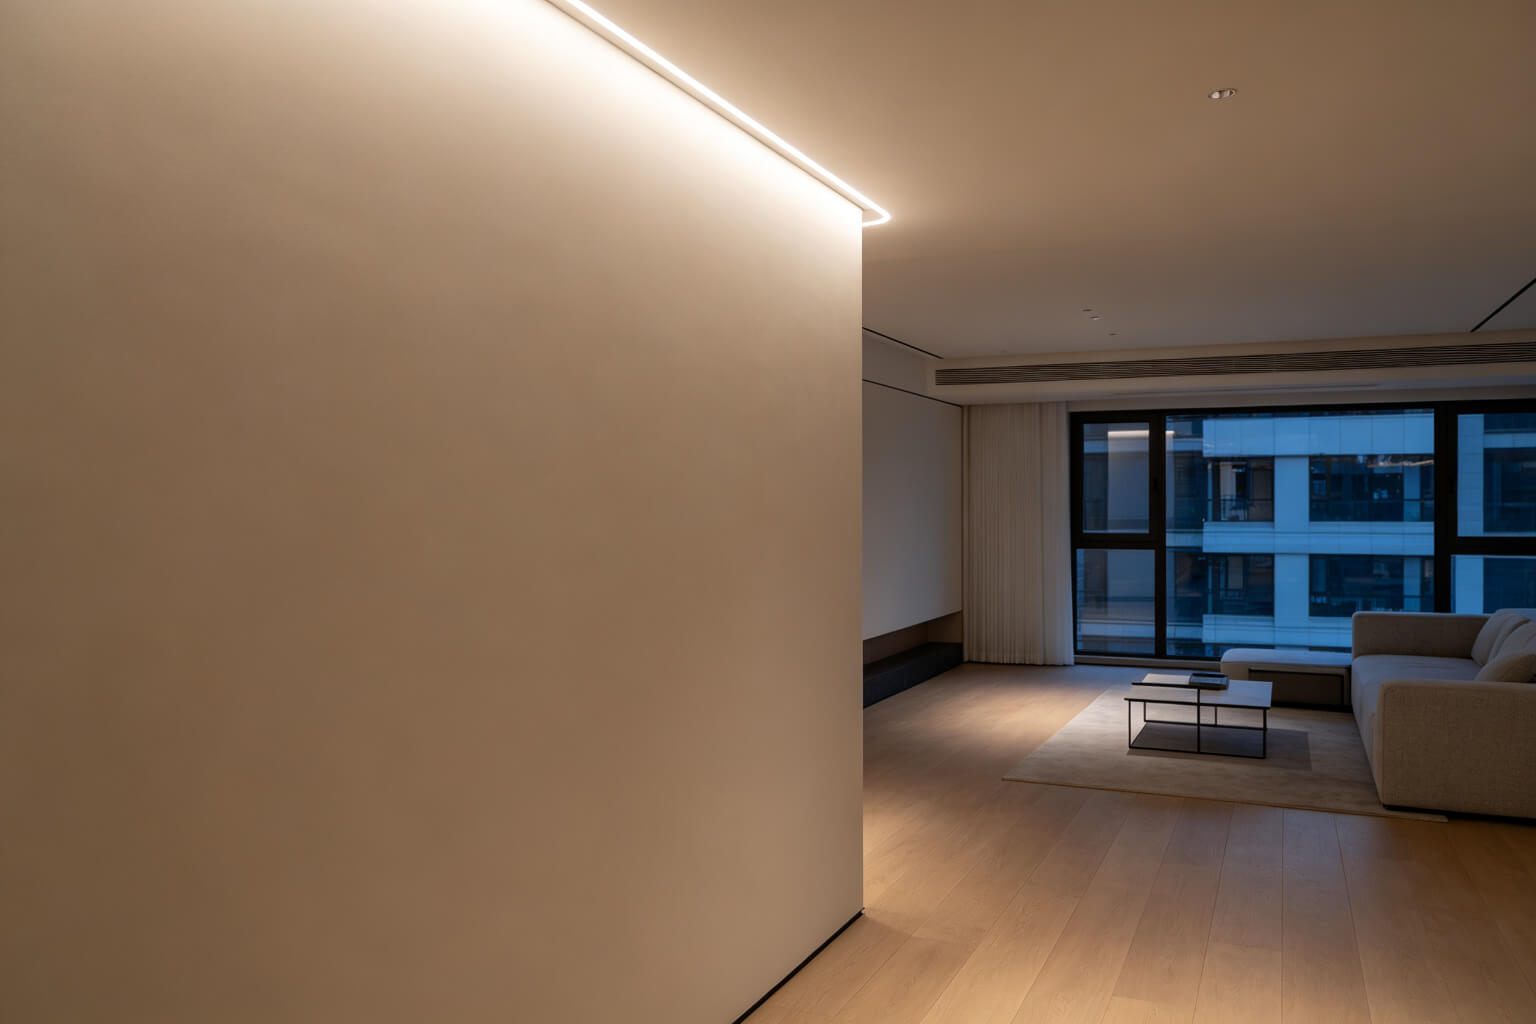
Living Room Feature Wall
Upward wall wash gives a soft gradient and makes the ceiling look higher.
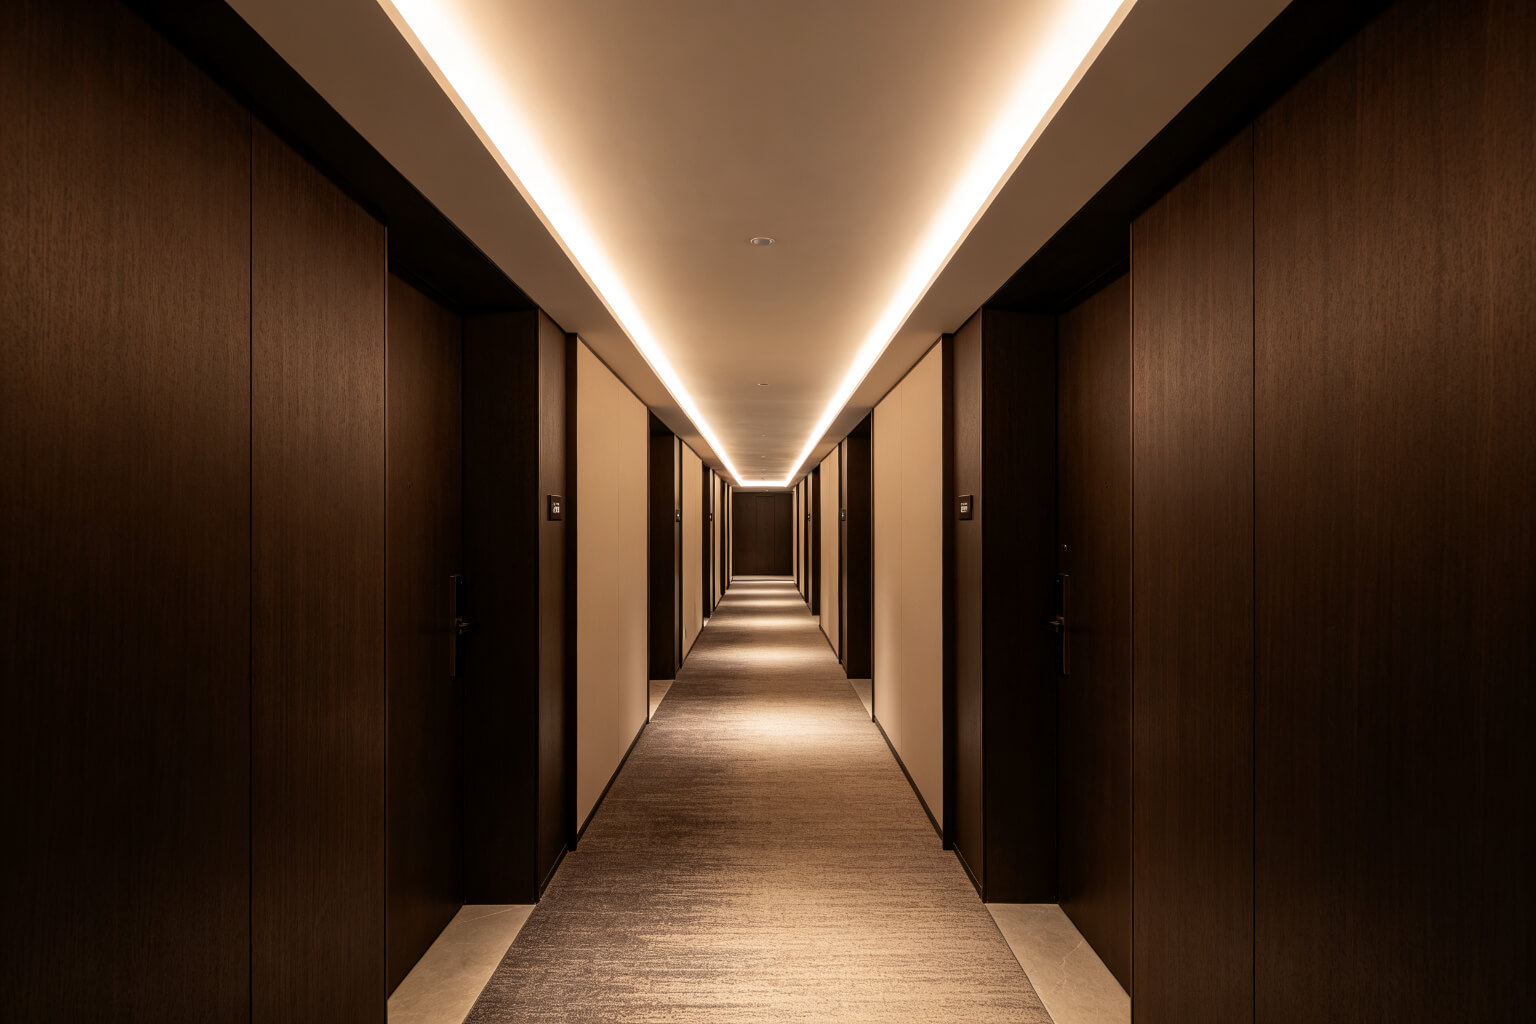
Hotel Corridor Wayfinding
Downward floor glow guides guests at night without waking neighbors.
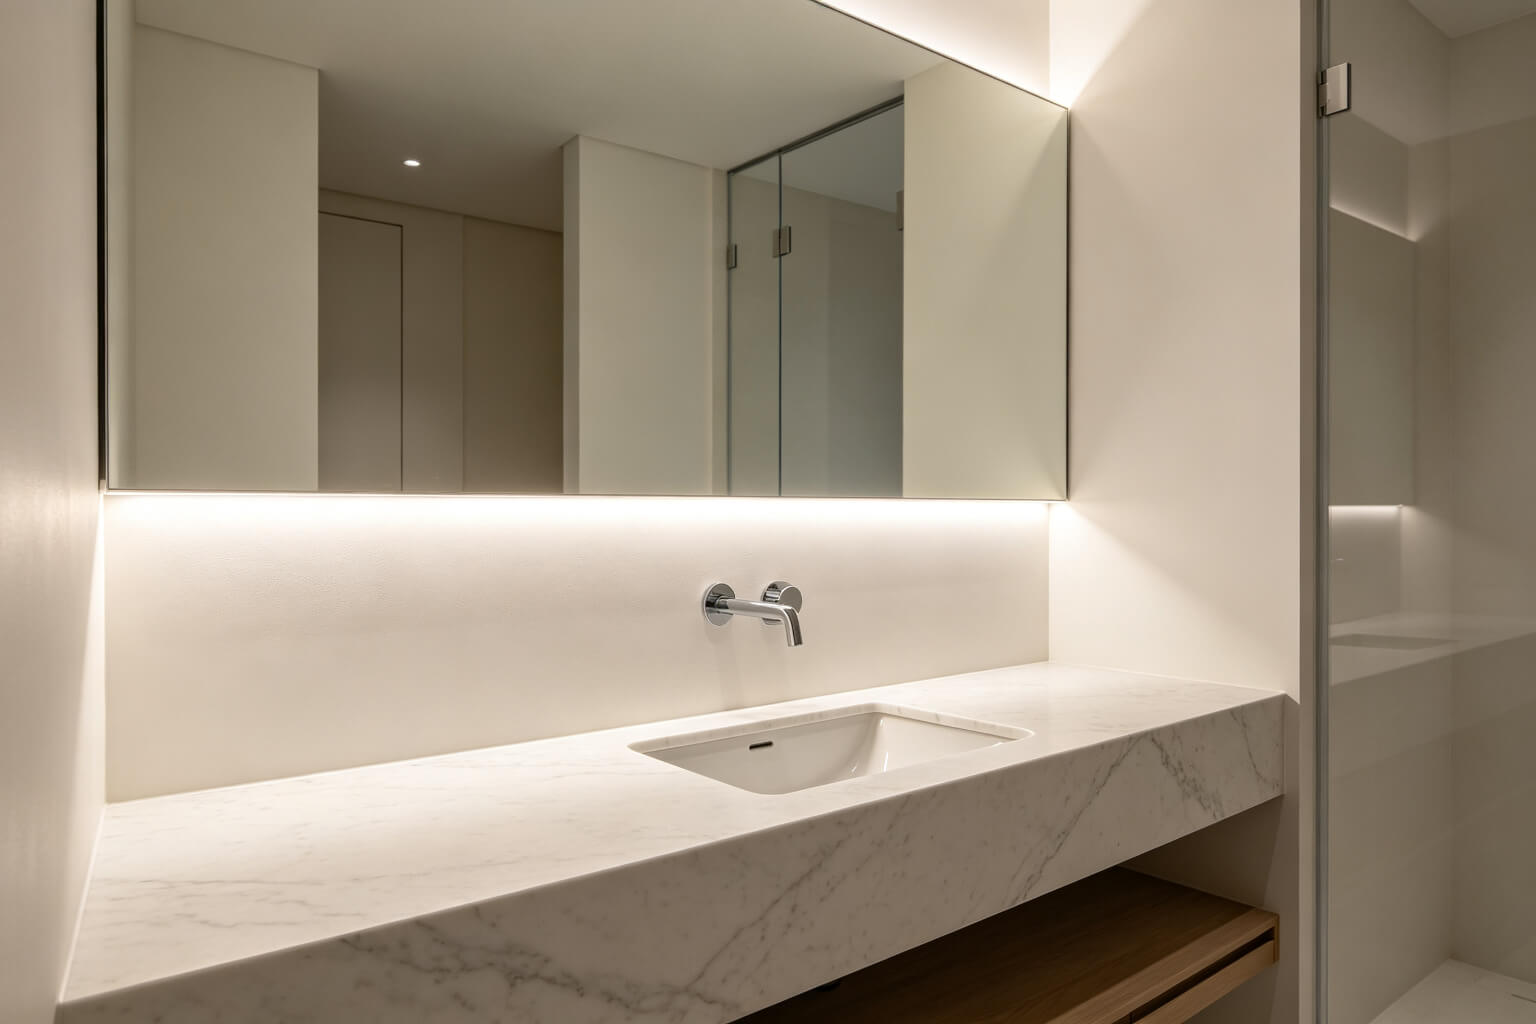
Bathroom Vanity Zone
IP65 strip + sealed ends run safely around the wet zone.
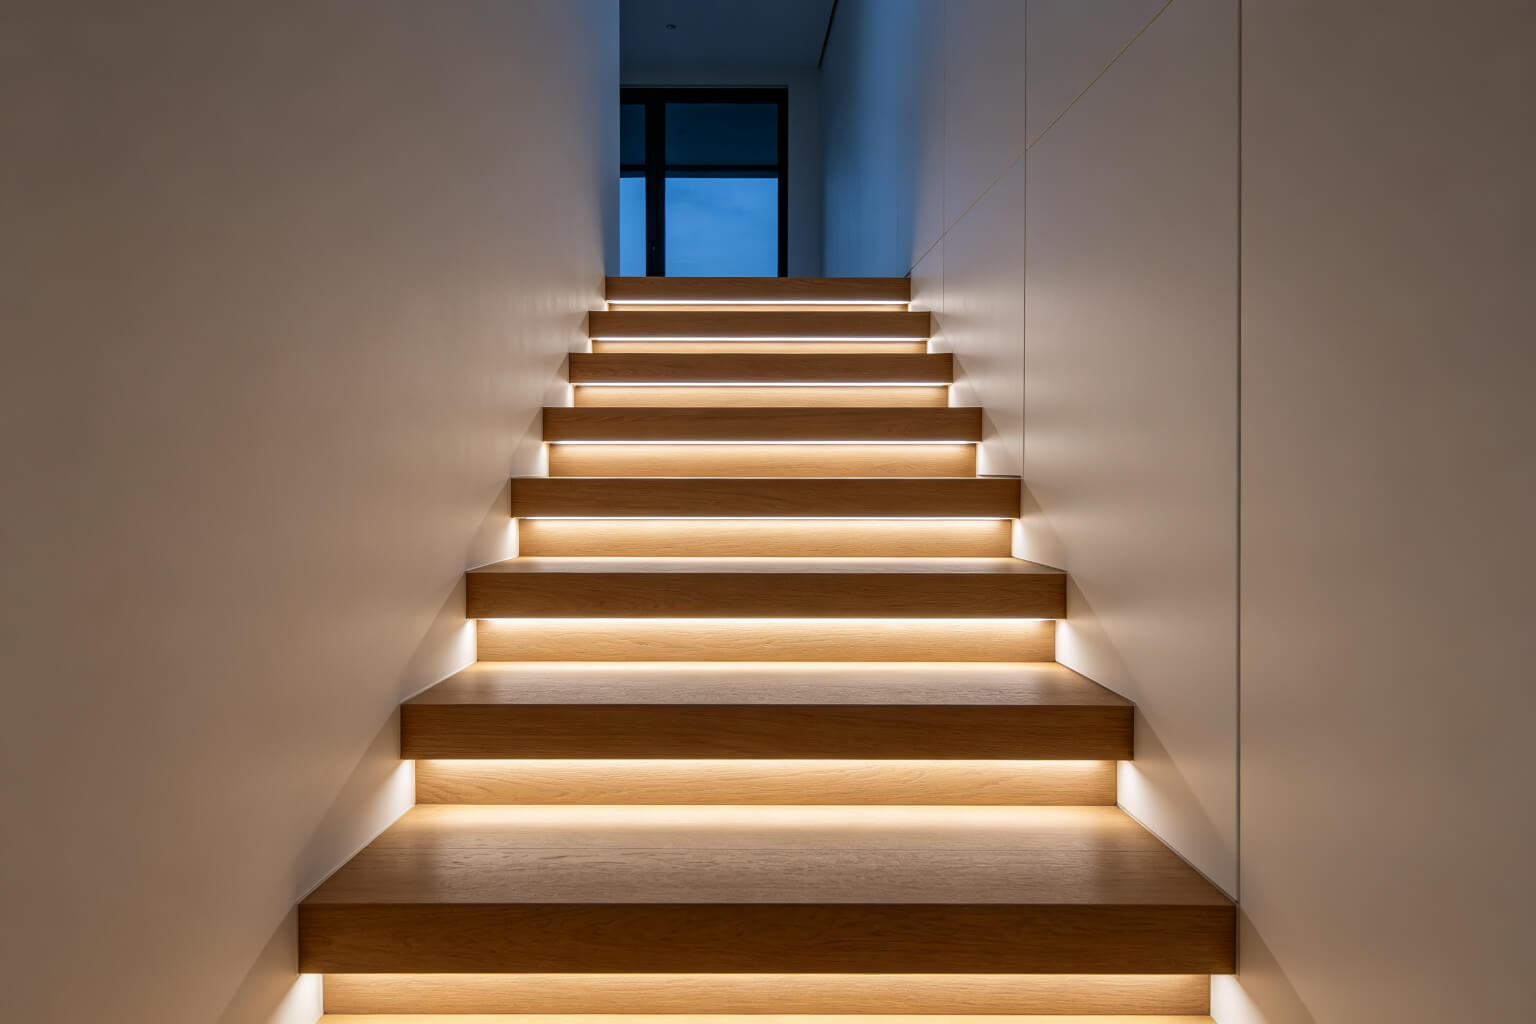
Stair and Night Guide
Low-glow baseboard light marks steps and corridors after dark.
Frequently Asked Questions
Can I use baseboard LED lighting in a rental home?
Yes. Surface-mount profiles stick or screw onto the wall without cutting into plaster. On moving out, the rail comes off with minor patch-up. For bathroom or wet-zone installs, see our under-cabinet lighting guide for IP-rated strip tips.
How long can a single LED strip run before voltage drop?
Plan for 5 m on 12 V or 10 m on 24 V before you see a visible dim end. Longer runs should be split with a second driver or fed from both ends of the channel.
Do I need an electrician to install baseboard LED lighting?
For the low-voltage side (12/24 V) a competent DIYer can handle it. The mains-to-driver AC connection should be done by a licensed electrician, especially in bathrooms and commercial projects.
Can I dim baseboard LED channels?
Yes. Pair a dimmable driver (0-10 V, DALI, trailing edge or Bluetooth) with a compatible control. Wall and facade projects often combine baseboard uplight with facade linear lighting for a coordinated design.
What color temperature works best for baseboard lighting?
2700 K warm white is the default for bedrooms and living rooms; 3000 K for hotels and corridors; 4000 K only in work areas where neutral light matters.
Looking for a custom baseboard LED channel?
KayTai OEM/ODM service delivers aluminum profiles, diffusers and end caps to your project specs.

I have been looking for a clear explanation of baseboard channels and this is the best I have found. The comparison of floor-wash vs up-light mounting answered exactly what I needed for a hallway project. The section on why it beats surface-mounted trim is very convincing.
Really useful guide. The installation steps are detailed enough to follow without a contractor. One question: what diffuser angle gives the nicest soft glow on carpeted floors? I would love a follow-up on choosing diffusers for low mounting heights.
The light outlet height for a floor-wash effect was the detail I was missing. I had planned a standard baseboard height and this guide convinced me to raise it slightly. The diffuser comparison also settled an opal vs frosted debate with my client.