
A plaster-in LED profile (also called trimless LED profile, mud-in LED channel, or recessed plaster LED profile) is an aluminum extrusion with perforated side flanges that gets embedded into drywall, plasterboard or ceilings. After the wall is skim-coated and painted, only a thin line of soft light remains visible — the fixture itself disappears into the architecture.
This is the most premium linear lighting finish available today. But it is also the most unforgiving: a poorly fixed profile cracks in six months, plaster over the diffuser kills the effect, and wrong sizing shows LED dots. This guide covers what the system is, how to install it right, and the five failure modes contractors fix most often.
What Is a Plaster-In LED Profile?
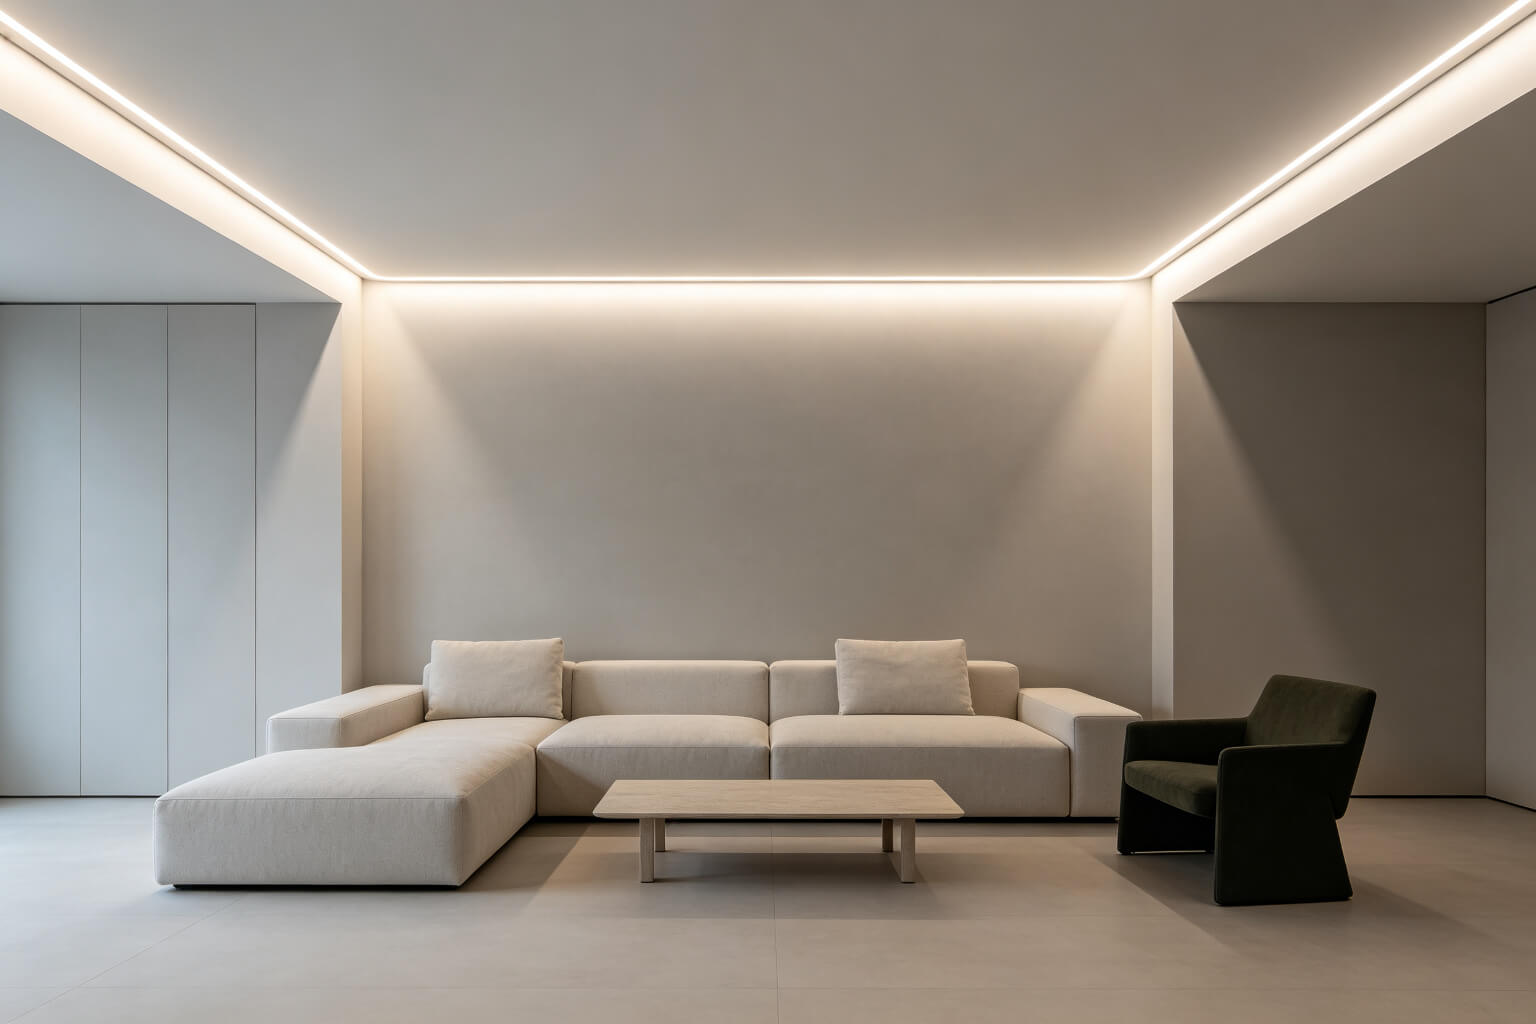
A trimless plaster-in LED channel washing the wall from a floating ceiling
A plaster-in LED profile looks like a normal aluminum LED channel from the side, but it has wide perforated wings on both sides. Those wings are what hold the skim coat: the holes grip the joint compound so the aluminum blends into the drywall instead of sitting on top of it.
After finishing, you see only a 12–15 mm wide light slot. No metal, no trim, no frame. That is why architects specify it for luxury homes, hotels and high-end retail where the light itself should be the only visible element.

Cross-section: aluminum body, perforated wings, LED strip and opal diffuser
How the System Is Built
Four components work together. The aluminum body is not just a housing — it is a structural element that has to be fixed to the framing before the drywall goes on.
| Component | What It Does | Spec Check |
|---|---|---|
| Aluminum body | Holds strip, dissipates heat, provides mounting | 6063-T5 aluminum; anodized or white powder-coated |
| Perforated wing (flange) | Anchors skim coat to the extrusion | Holes must be clean — mud will not grip an anodized surface |
| LED strip groove | Holds the PCB | Internal width 8 / 10 / 12 mm must match your strip; 12 V or 24 V |
| Diffuser | Hides LED dots, softens output | Opal PC for residential; clear for high-lumen coves |
See our LED aluminum profile range for standard sizes and finishes.
Why It Became Popular
Invisible Architecture
No visible fixture, no trim ring, no shadow gap. The light line is the only thing you see, which is why minimalist and luxury interiors specify it over surface-mount channels.
True Heat Sink
The aluminum body dissipates heat the way a proper heat sink should, and the perforated wings carry heat into the drywall assembly. Strip lifespan is far longer than tape stuck directly to plaster.

Continuous Linear Glow
Opal diffusers over COB strip produce a seamless line with no visible dots — ideal for floating ceilings, feature walls and stair guides.
How to Choose the Right Profile
Three dimensions decide whether the result looks seamless or cheap. Get these wrong and no amount of skim coat will fix it.
| Parameter | Typical Range | How to Decide |
|---|---|---|
| Slot width (visible) | 12 / 15 / 20 mm | 12 mm for slim architectural lines; 20 mm for high-output coves |
| Recess depth | 10 / 15 / 20 / 30 mm | Must clear drywall thickness plus framing. Deeper = less dot visibility |
| Internal groove width | 8 / 10 / 12 mm | Match your LED strip PCB width with 1 mm clearance each side |
| Wing width | 20–25 mm each side | Wider wings = stronger mud bond and fewer cracks |
| Diffuser | Opal / Frosted / Clear | Opal hides dots best; clear gives max lumen but shows emitters |
For strip selection, see the complete LED strip light buying guide. Note that plaster-in profiles need a COB or high-density SMD strip — low-density strips show through even an opal diffuser.
Step-by-Step Installation
The golden rule: finish the wall first, then install the strip and diffuser last. Plaster dust and joint compound destroy LED strips. Here is the correct order.
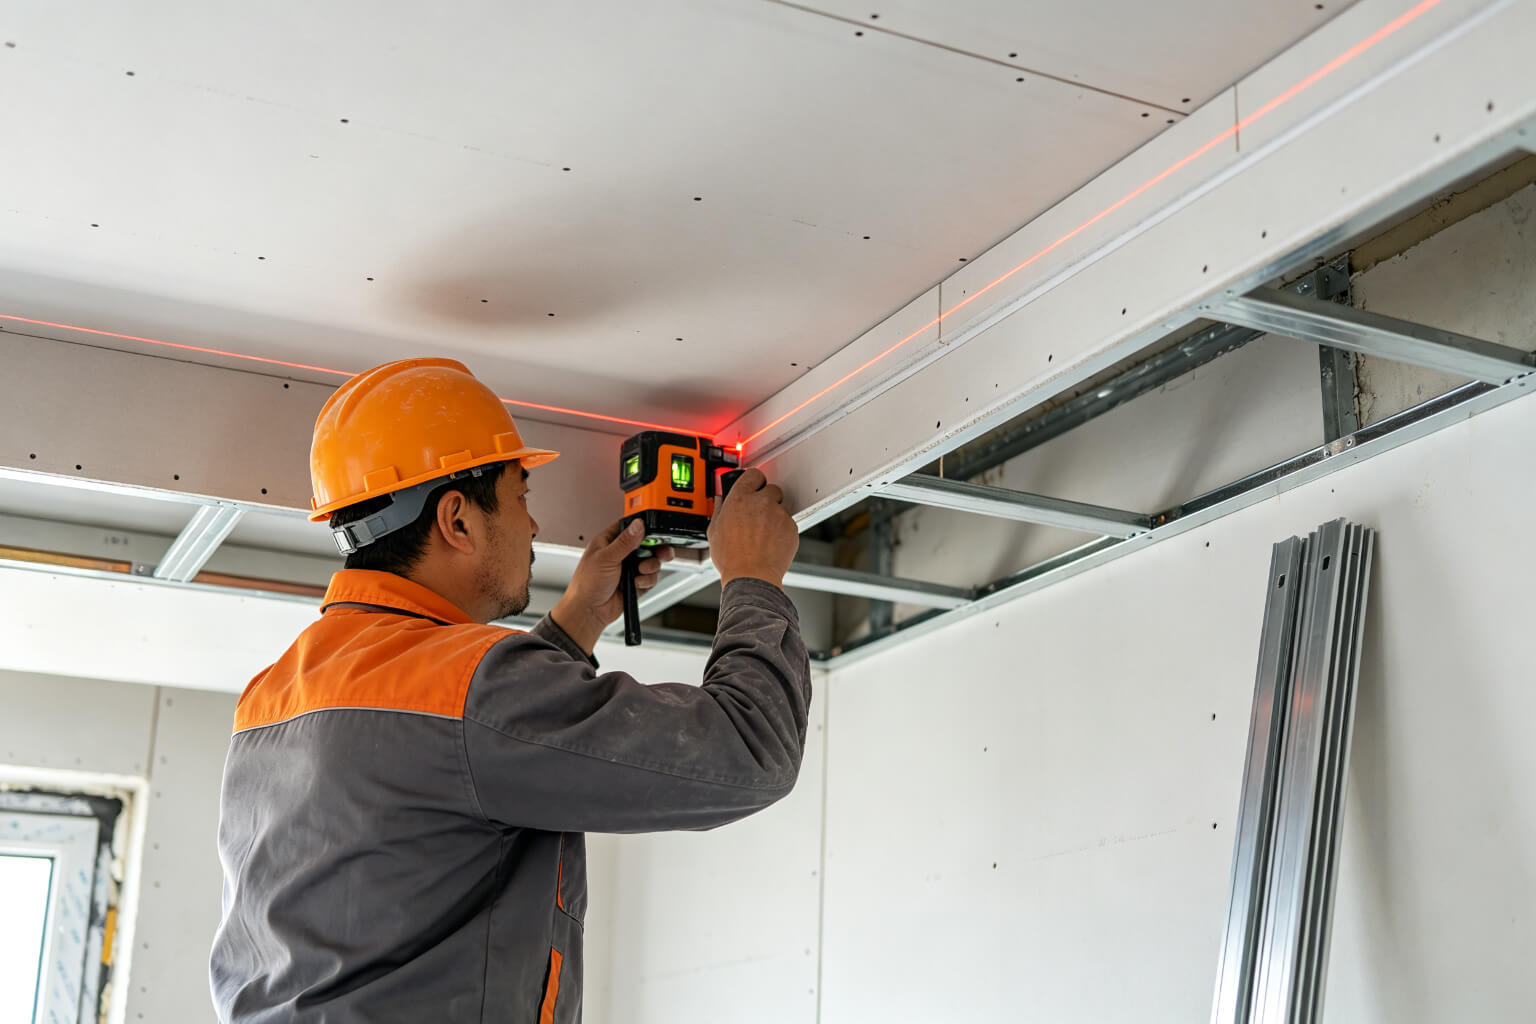
Mark the Slot on the Framing
Use a laser level to mark the profile centreline on the ceiling joists or studs. Reserve a 52 mm wide slot — this leaves ~25 mm wing on each side for the mud to grip.
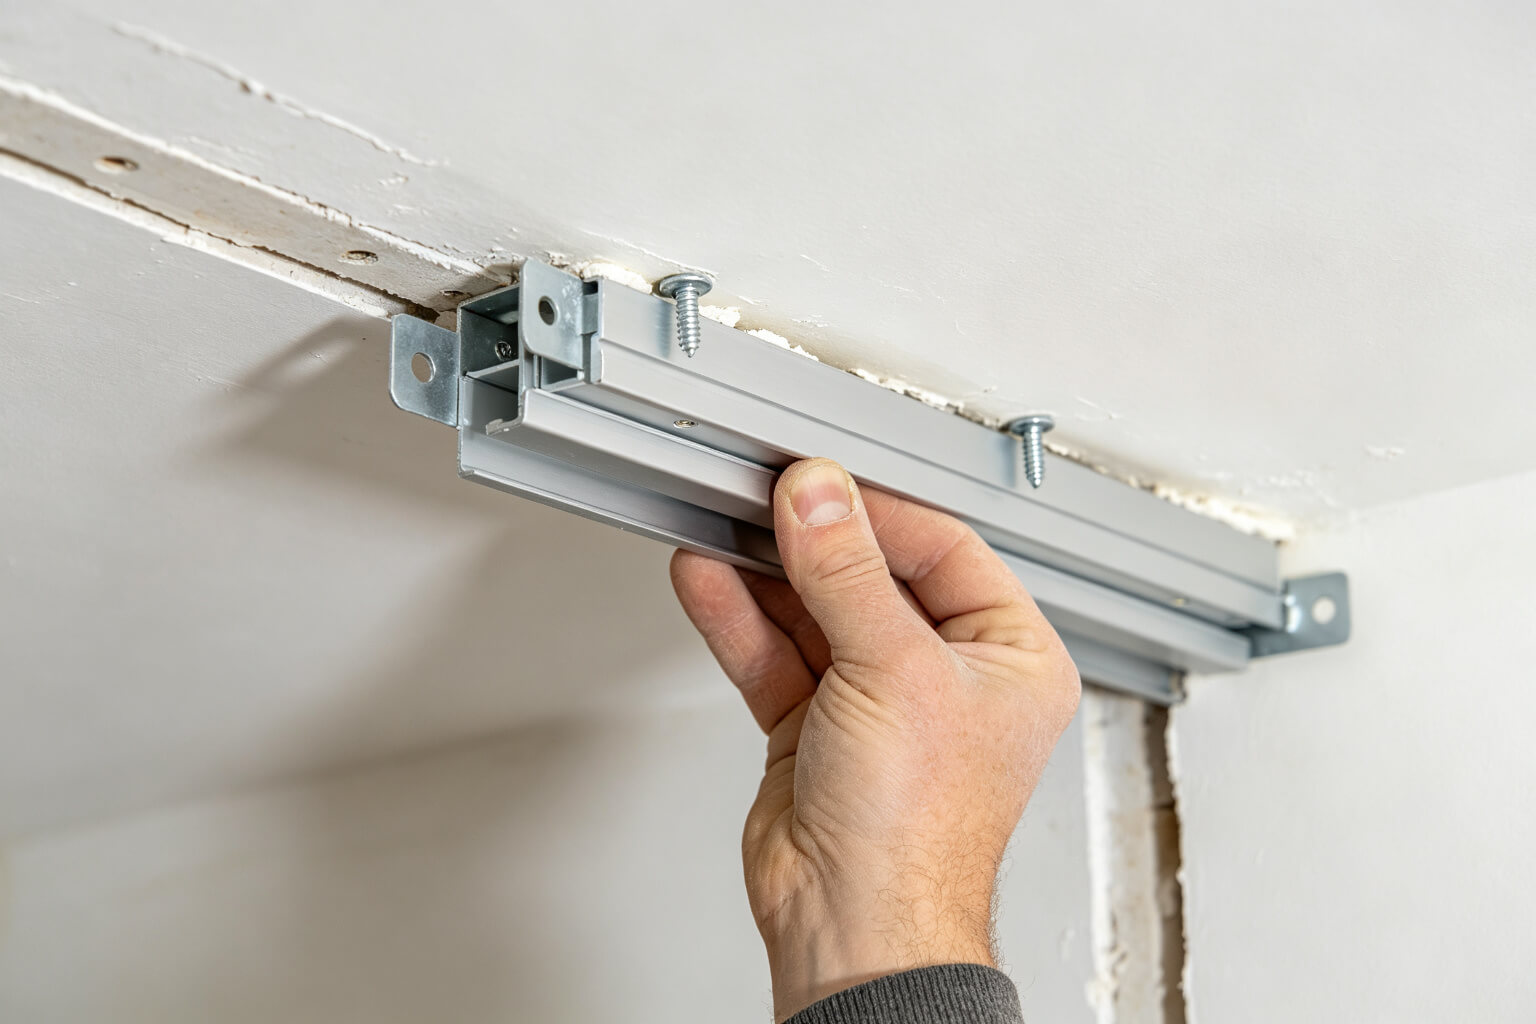
Fix the Aluminum Profile
Screw the extrusion directly to the framing every 60 cm. Do not rely on adhesive alone — movement between the profile and drywall is the #1 cause of cracks.
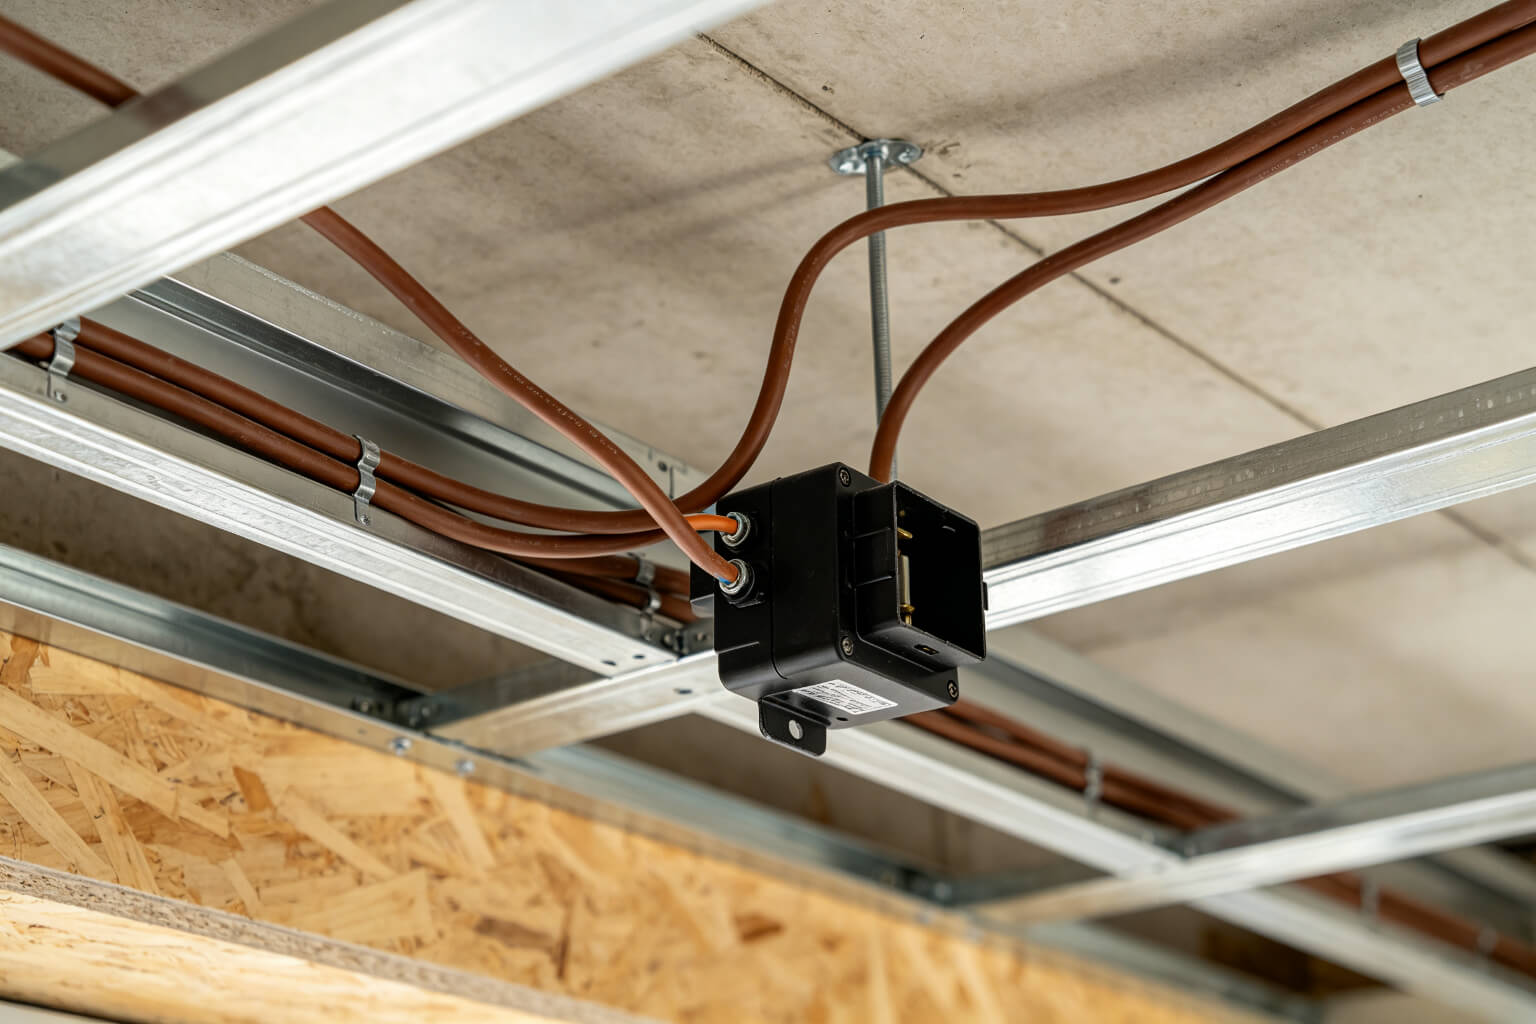
Route Low-Voltage Wiring
Run 18–22 AWG wire from the driver to each section. Keep drivers accessible above the ceiling — you do not want to open a finished ceiling to replace one. Use 24 V for runs over 5 m.
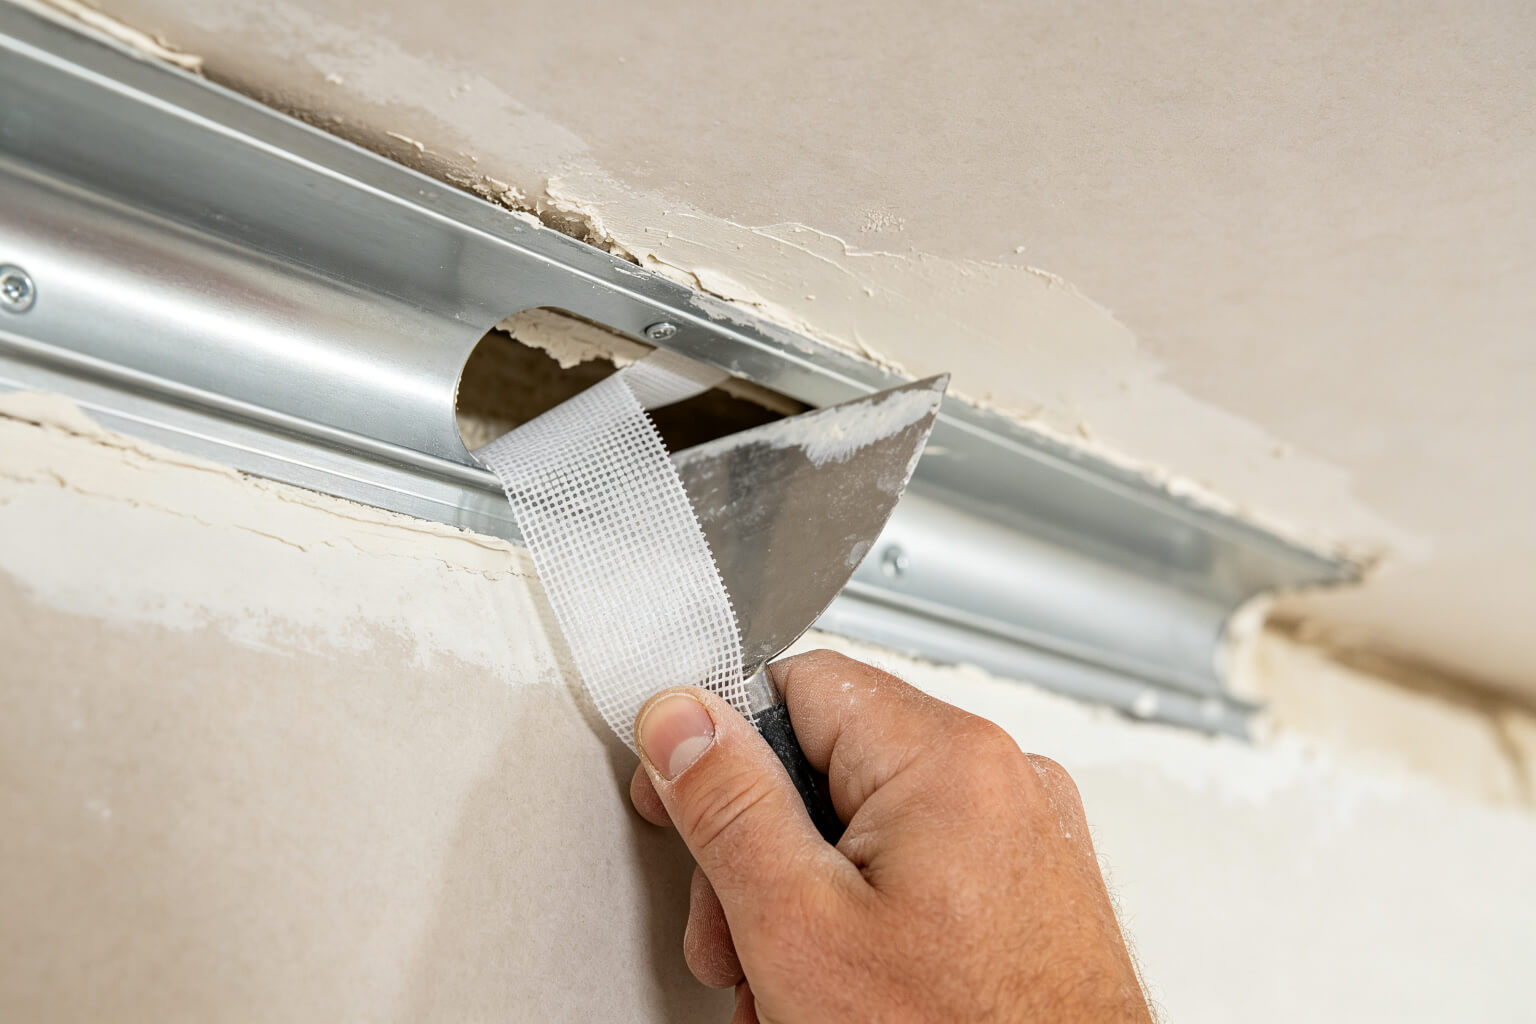
Mesh Tape and First Coat
Stick alkali-resistant fibreglass mesh tape over the joint between the perforated wing and drywall. Apply the first coat of joint compound and feather it out onto both sides. Do not plaster over the diffuser slot — tape it off with masking film.
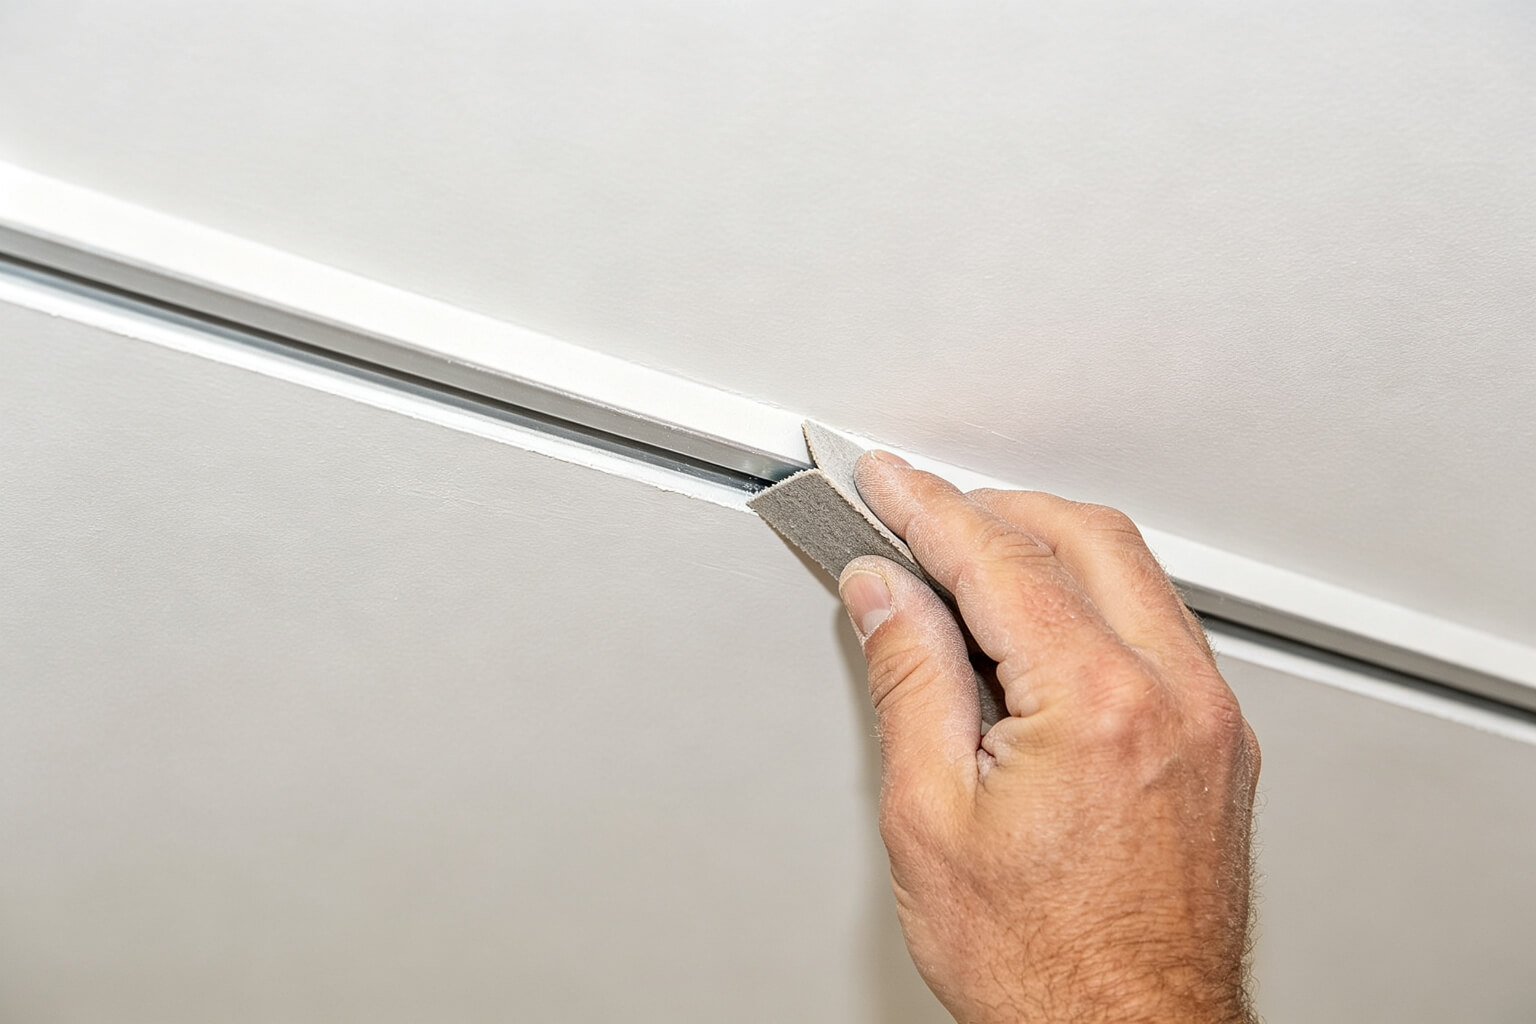
Sand and Second Coat
Let the first coat cure fully, sand flat, then apply a second thin finish coat. Sand again until the transition between drywall and the aluminum edge is invisible. Three passes (base / level / feather) is the pro standard.
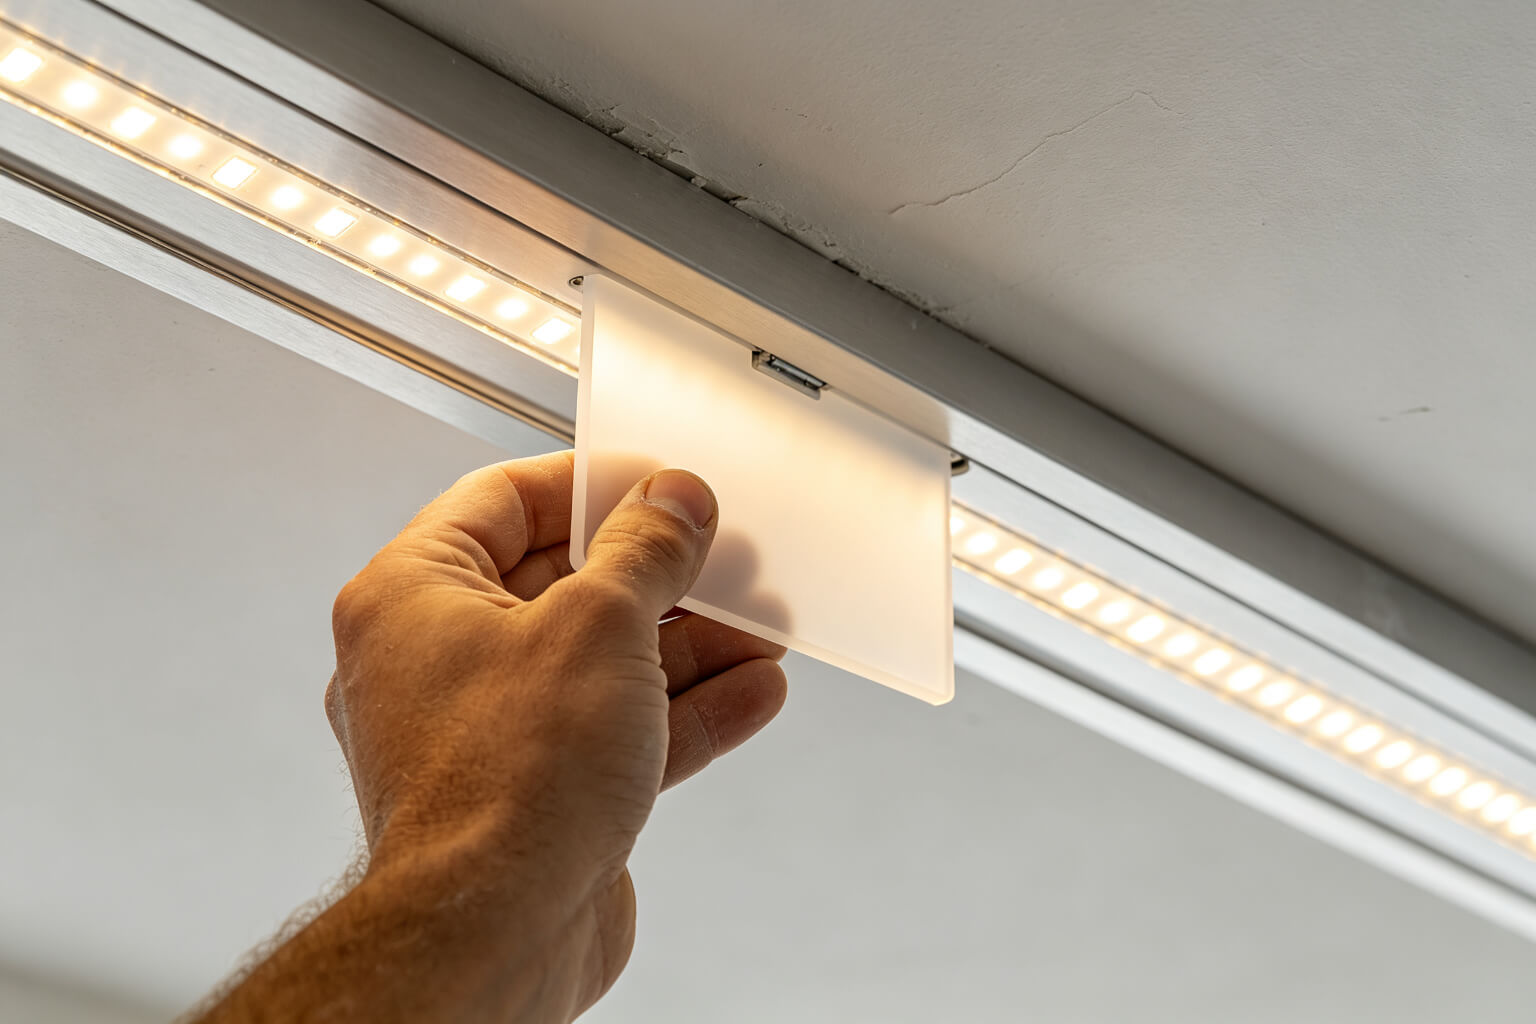
Strip and Diffuser Last
Only after the wall is painted and dust-free, stick the LED strip into the groove and clip the opal diffuser into place. Power up and check for hotspots, dot visibility and even light.
How to Prevent Cracks and Light Bleed
Industry data from Italian and UK plasterers puts crack failures at around 46% within six months of install. Almost all of them are avoidable.
| Problem | Why It Happens | Fix |
|---|---|---|
| Cracks along the profile edge | No mesh tape; profile not fixed on both sides; seasonal movement from wood framing or underfloor heating | Use mesh tape across every wing-to-drywall joint, screw every 60 cm, and use polymer-modified joint compound instead of standard mud |
| Light bleed through the plaster | Plaster too thin over the wing, or foam backing board | Apply a light-blocking primer over the wing before skim coat, and keep plaster build-up to at least 2 mm over the aluminum |
| Visible LED dots | Shallow profile, low-density SMD strip, clear diffuser | Switch to COB strip, go deeper (15 mm+), and use opal diffuser |
| Diffuser jammed or painted over | Plasterer covered the slot during finishing | Mask the diffuser slot with removable film before plastering; strip it off the same day, not days later |
| Dust inside the channel | Strip installed before skim coat | Always install the strip after sanding and painting; vacuum the groove first |
Plaster-In vs Surface-Mount
| Feature | Plaster-In (Trimless) | Surface-Mount |
|---|---|---|
| Best for | New builds, luxury residential, hotels | Retrofit, rental, furniture lighting |
| Timing | Before drywall and paint | Any time, on top of finished wall |
| Visual finish | Only a light slot visible | Aluminum rail visible (silver / black / white) |
| Crack risk | Yes — needs mesh tape and proper mud | None |
| Cost | Higher — more labor and finishing | Lower — self-adhesive or screw-on |
| Service access | Driver must be pre-planned | Profile can be opened at any time |
For retrofit projects where you cannot open the wall, see our drywall LED channel install guide and baseboard LED channel guide for surface-mount alternatives.
KayTai Plaster-In LED Channels
KayTai manufactures a full range of trimless plaster-in profiles in white powder-coated finish, with matching opal diffusers, end caps and mounting clips. Custom lengths, RAL colors and OEM branding available.


Where KayTai trimless channels are used
Bedroom Floating Cove
Perimeter ceiling wash makes the room feel taller and calmer.
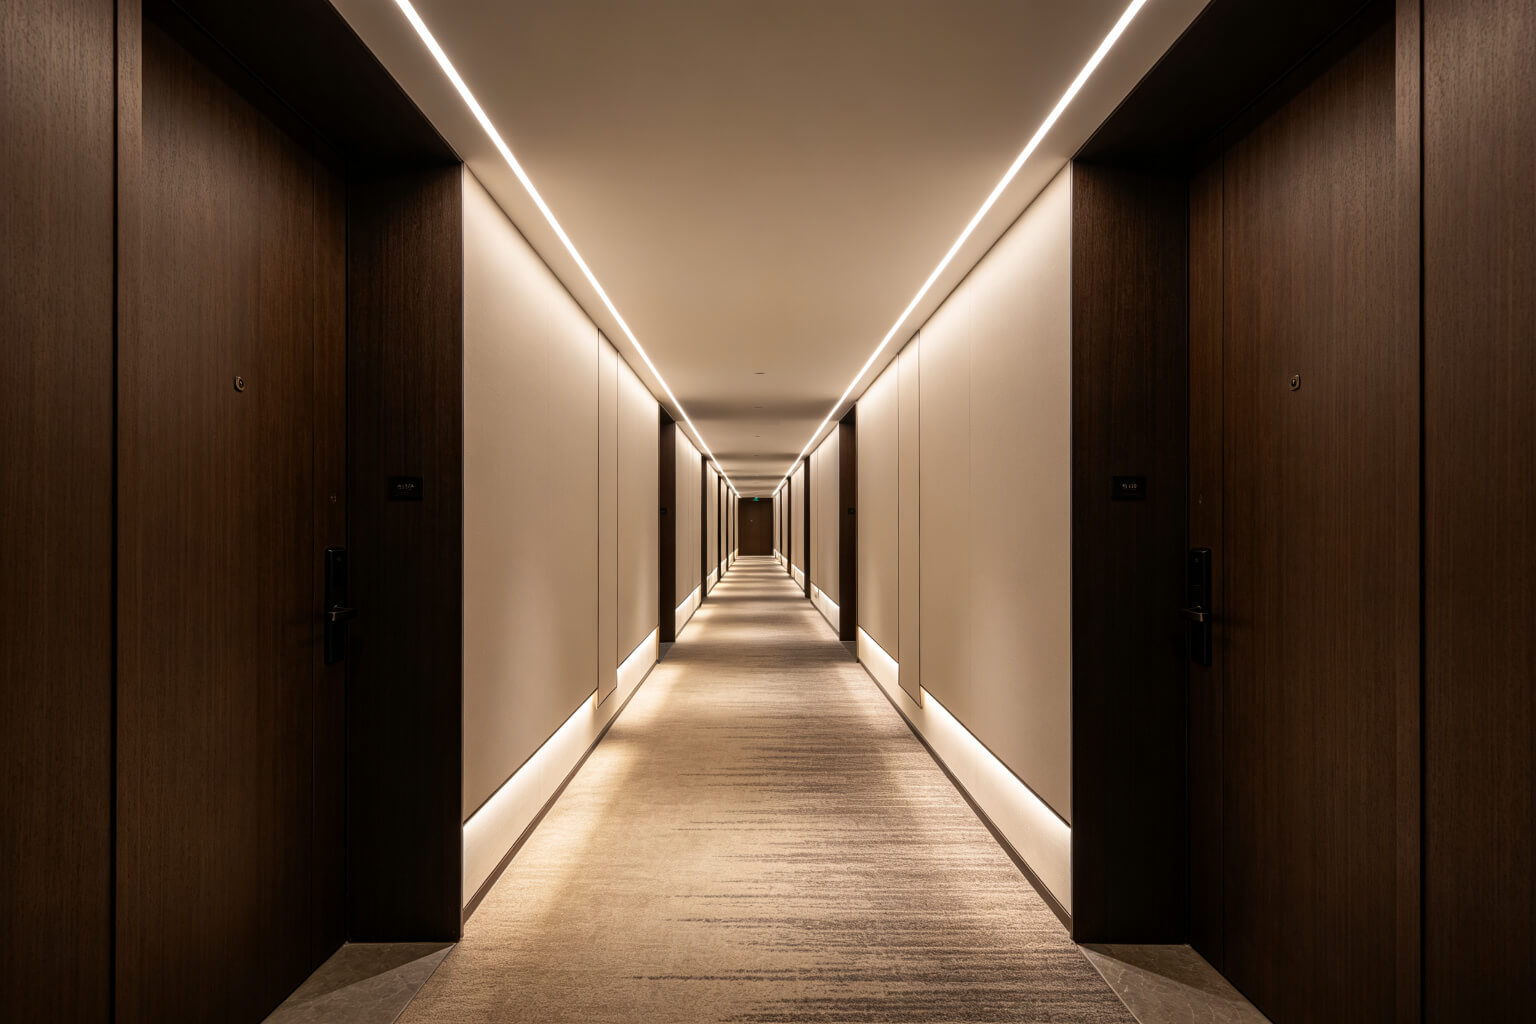
Hotel Corridor
Continuous linear downlight guides guests without glare.
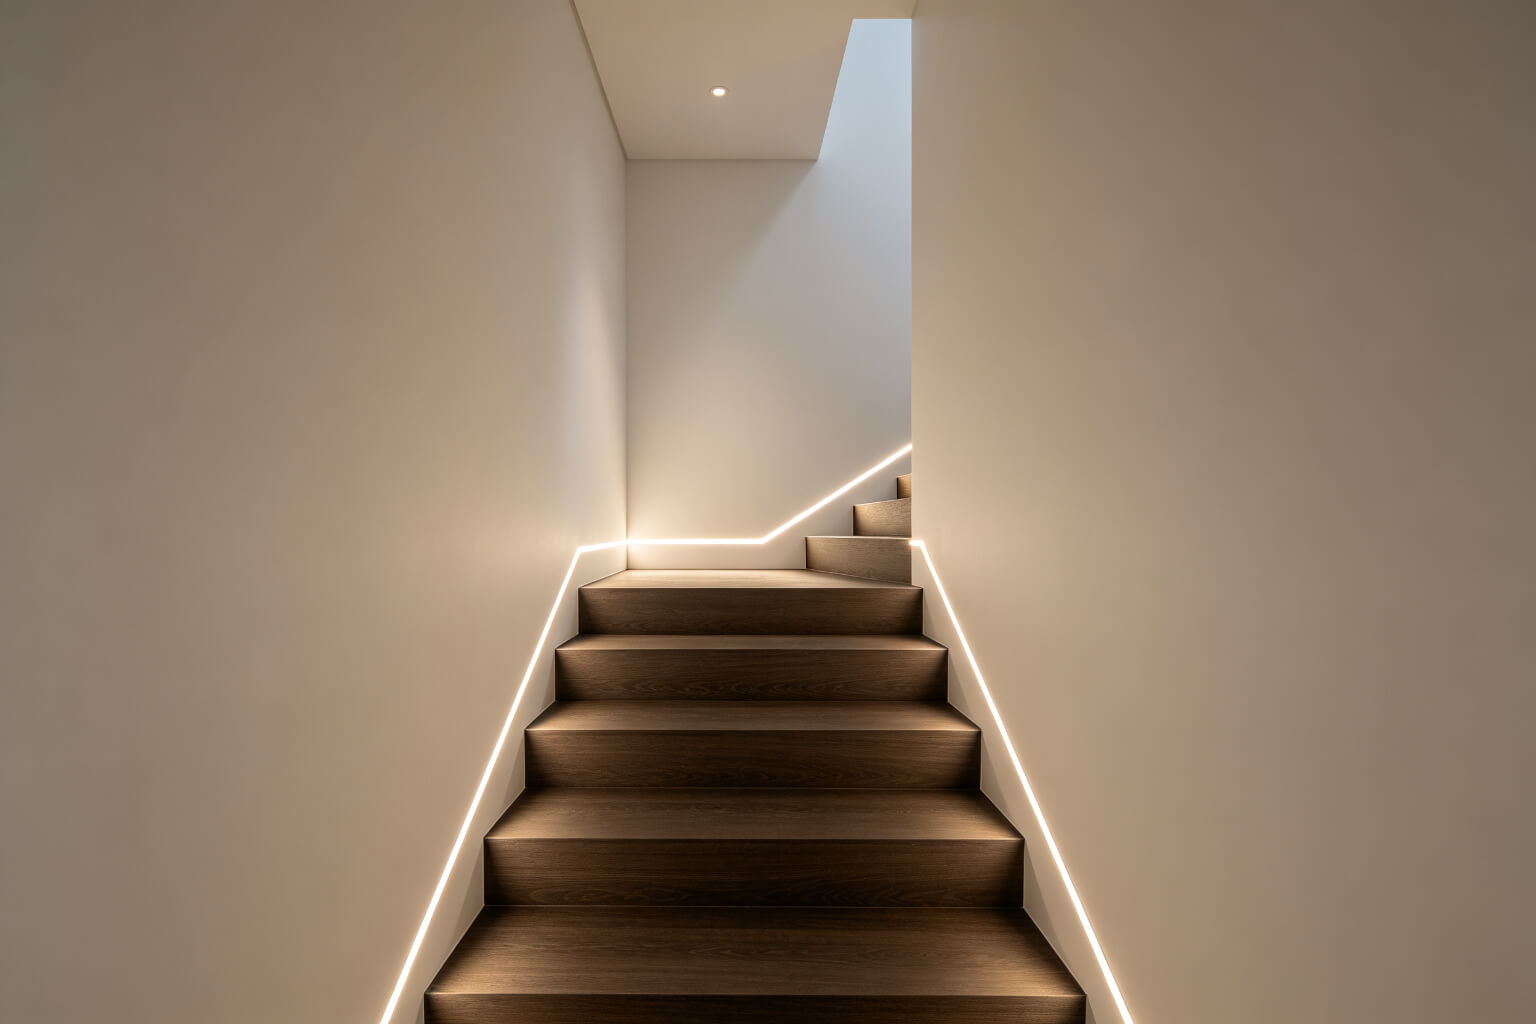
Staircase Guide Light
Low-glow trimless line marks treads and landings safely.
Living Room Feature Wall
Ceiling cove washing a full feature wall in warm white.
Frequently Asked Questions
Can plaster-in LED profiles be installed in an existing finished room?
No. They need to be fixed to framing before the drywall goes on. For retrofit, use a surface-mount profile or a baseboard channel — see our baseboard LED channel guide.
Should I install the LED strip before or after plastering?
Always after. Plaster dust and wet joint compound destroy LED strips. Install the profile, fix the wiring, plaster and sand, paint, then finally stick the strip and clip the diffuser.
Why is my plaster-in LED line cracking after a few months?
Almost always the joint: no mesh tape, insufficient screws, or standard joint compound instead of polymer-modified mud. Re-tape the edge, re-mud with mesh, and make sure the profile is screwed to framing on both sides.
Can I dim plaster-in LED lighting?
Yes. Pair a dimmable 24 V driver (0–10 V, DALI, trailing edge or Bluetooth) with a compatible control. See our LED strip dimming guide for driver choices.
How deep should the slot in my drywall be?
The standard reserved opening is 52 mm wide. Depth must match the profile body — typical plaster-in bodies run 10–30 mm deep. Always check the spec sheet before cutting: a too-deep slot leaves a shadow gap around the diffuser.
Need a custom plaster-in LED profile?
KayTai OEM/ODM service supplies trimless aluminum channels, diffusers and end caps to your project specs.

The crack prevention section is gold. The data on failure rates convinced me to use mesh tape and polymer-modified compound on every joint. Clear explanation of why trimless profiles fail — this is the kind of detail most suppliers never publish.
Finally a guide that explains the perforated wing properly. The tip about masking the diffuser slot before plastering is exactly the detail you only learn the hard way. Bookmarking this for our next apartment project.
We just specced a plaster-in profile for a villa living room and the section on stopping plaster cracks at the profile edge was exactly what our installer needed. The recess depth guidance helped us avoid a redo on the slab. Bookmarked this for the next trimless job.